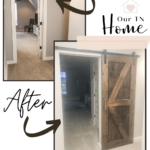
The Custom Barn Door Project for our bonus room is certainly one of my favorites. Not only did my husband make a custom barn door for our bonus room, but he also added a second closet to the room. The barn door really opened up the room, making it more inviting. And, can anyone ever have too much storage space? The answer is no, one cannot. Indeed, the closet was a bonus for the bonus room!
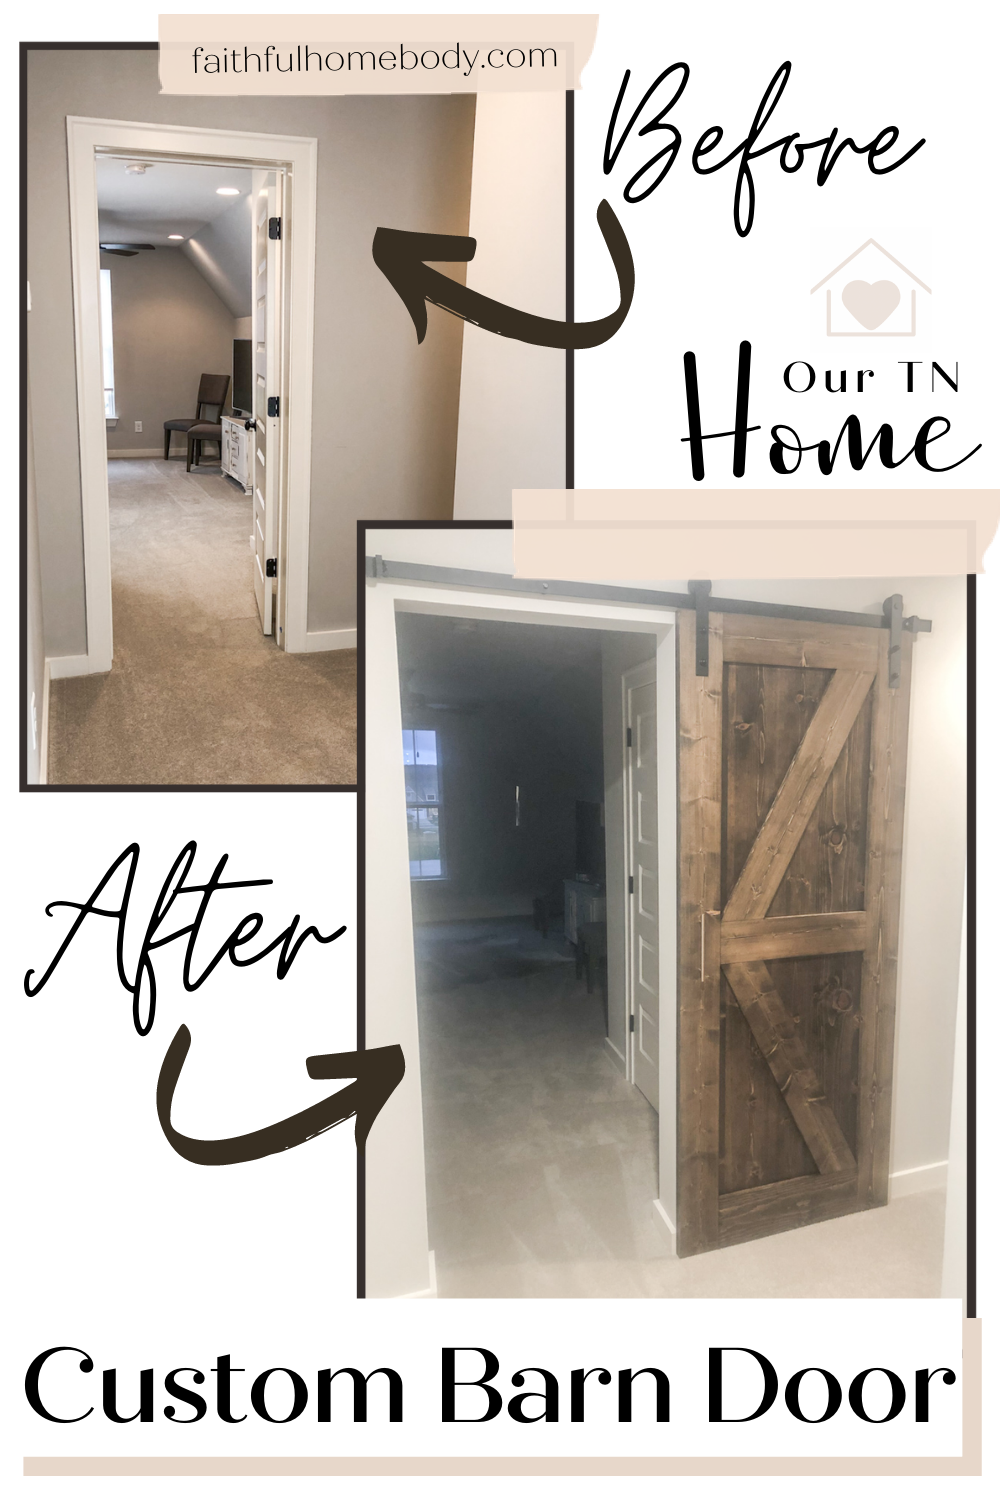
The custom barn door coupled with the added closet was a wonderful improvement for our home. Below, you’ll see the Custom Barn Door Project, constructed by my talented husband. And, to gush a little bit, he is brilliant at bringing our design visions to life! Because he is a skilled craftsman, we were also able to save money.
(This post contains affiliate links. Please refer to my disclosure statement for more information.)
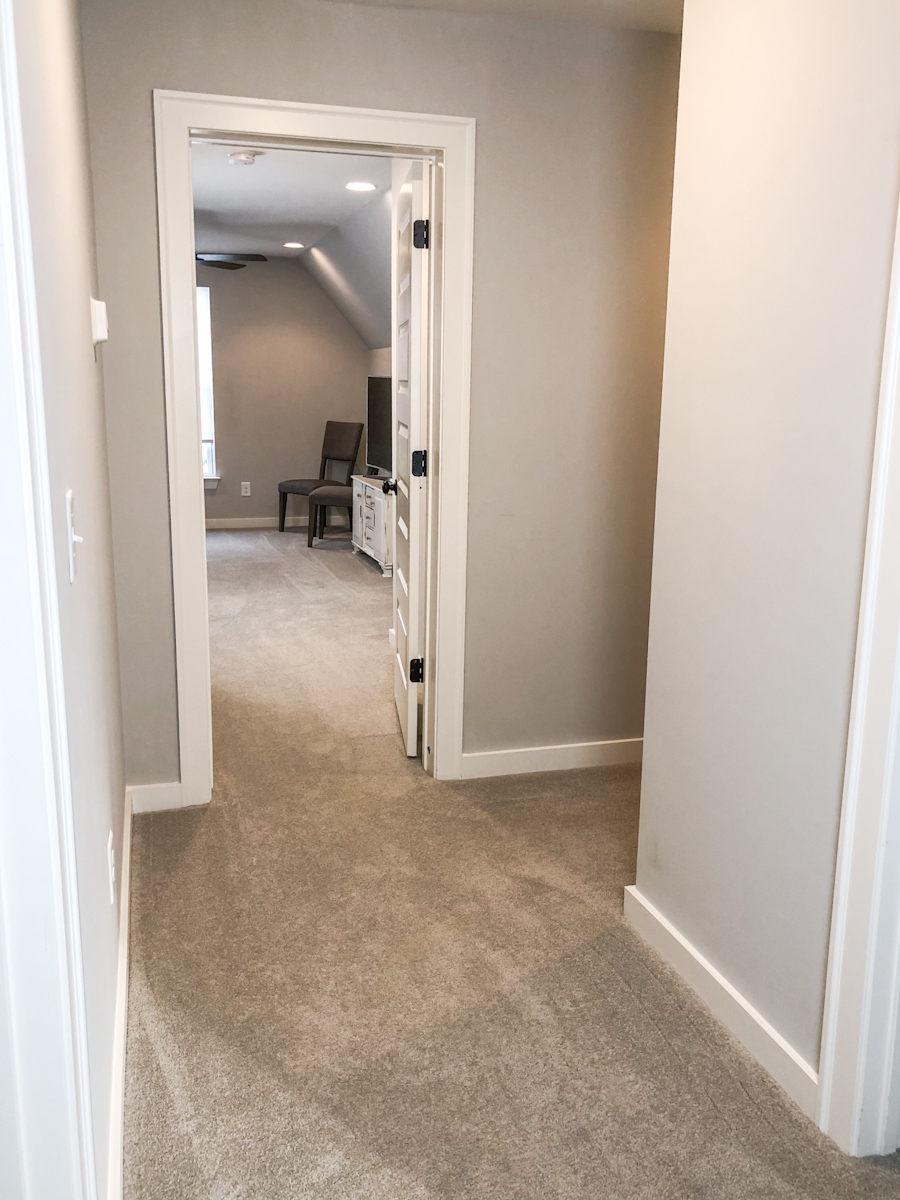
The doorway to the bonus room before the barn door. 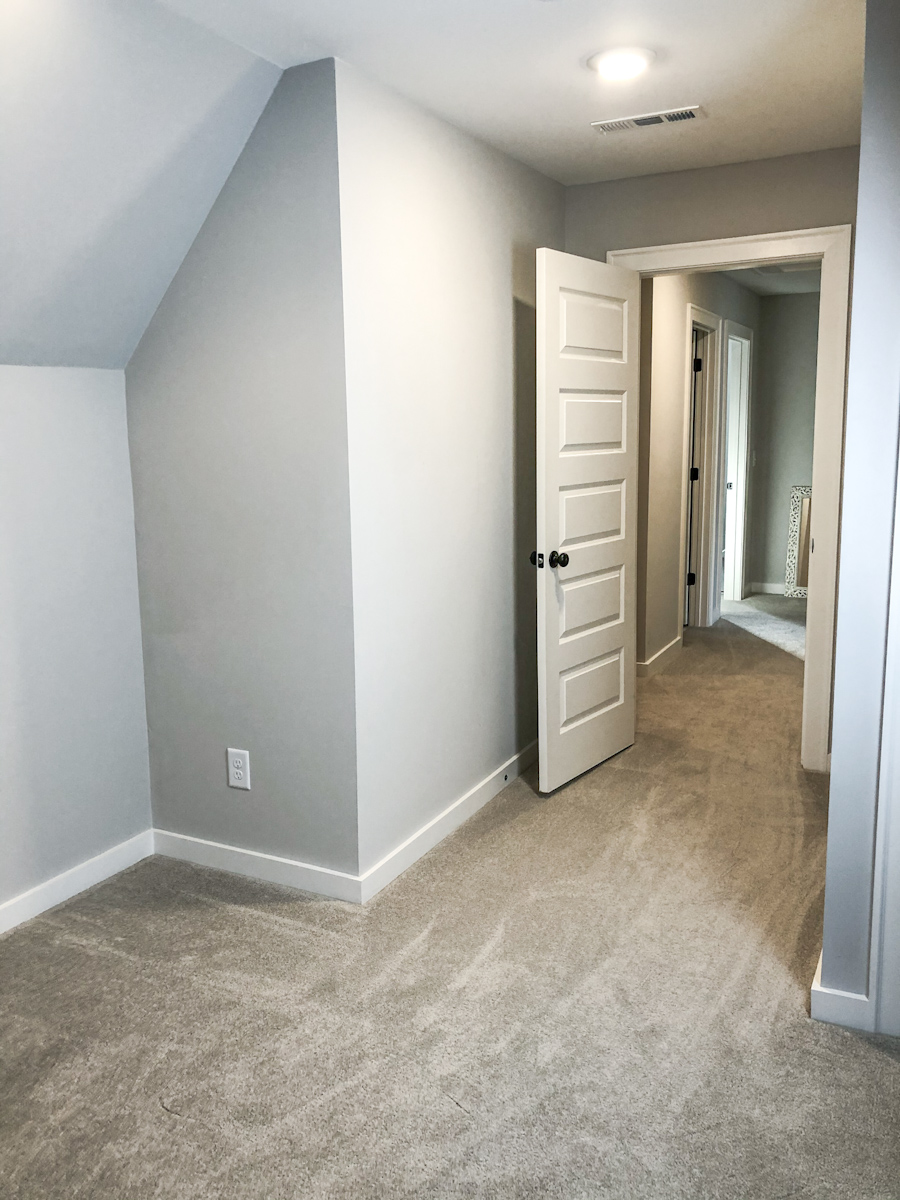
The wall in bonus room before the closet addition.
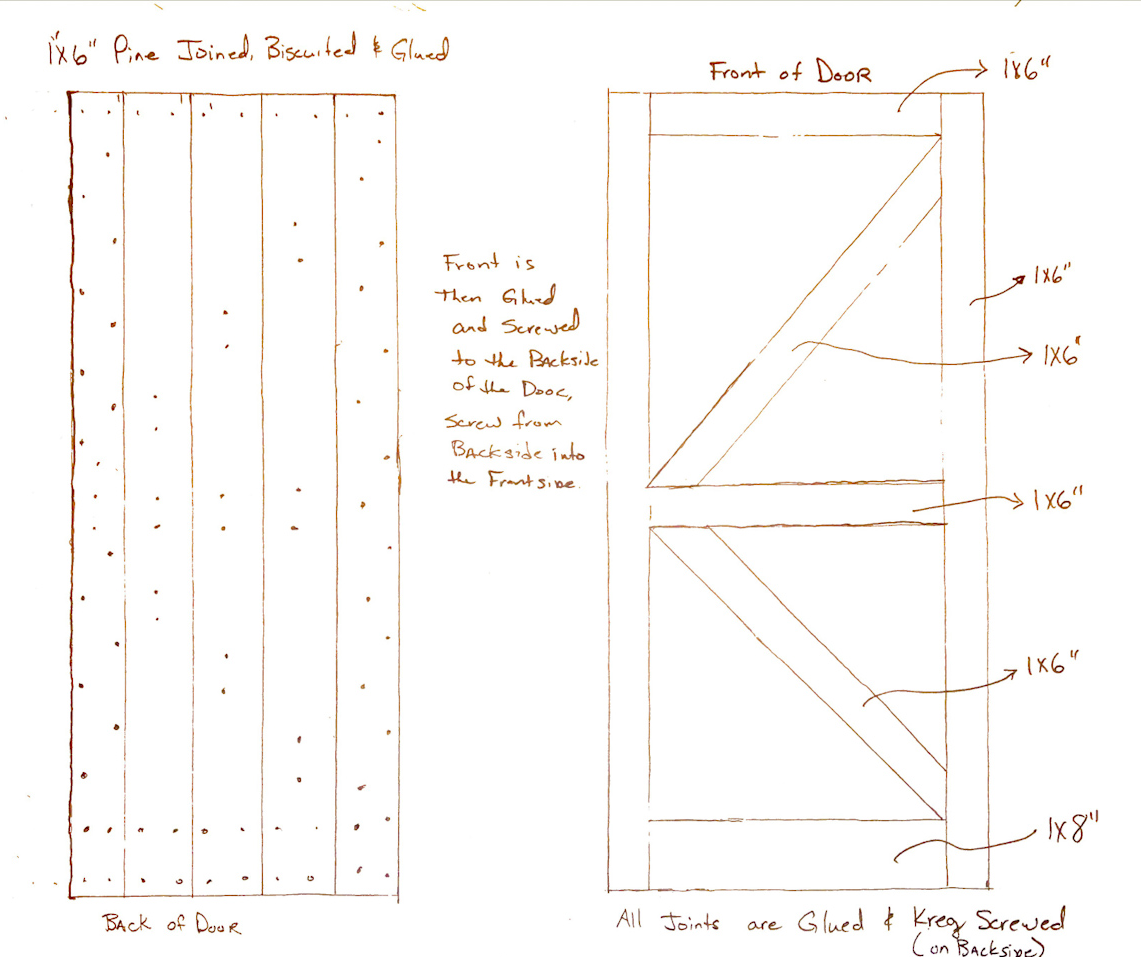
Concept & Sketch of the Barn Door
Materials & Specifications
For the Back of the Door (Panel):
- 5, 1-inch X 6-inch pine boards, cut to 82 inches long.
- Biscuits.
- Titebond III Ultimate Wood Glue.
- Black trim screws.
- Minwax, Dark Walnut Wood Finish Penetrating Stain, and brush.
For the Front of the Door (Frame):
- 4, 1-inch X 6-inch boards, approximately 96 inches long.
- Cut 2 boards to approximately 82 inches long. (side stiles)
- Cut 2 boards to 25 inches. (top and middle rail)
- Cut 2 boards, for diagonals.
- 1, 1-inch X 8-inch board
- Cut to 25 inches for bottom rail.
- Titebond III Ultimate Wood Glue.
- Kreg pocket screws
- Minwax, Dark Walnut Wood Finish Penetrating Stain, and brush.
To Hang the Barn Door:
Tools
- Chop saw
- Table saw
- Biscuit joiner
- Drill
- Kreg Jig
- Pipe Clamps
- Sawhorses
- Tape Measure
- Carpenter Square
- Palm Sander
- Vacuum
How to Build the Door
The barn door was constructed with a panel of boards for the back of the door and a frame for the front of the door.
For the back of the door, 5, 1-inch X 6-inch pine boards, approximately 82 inches long, were joined, biscuited, glued, and clamped.
The boards were cut-to-size for the width of the opening to the Bonus Room, plus 2 inches (one inch on either side). The biscuits were cut-in and glued, about every 12 inches, on all butted joints.
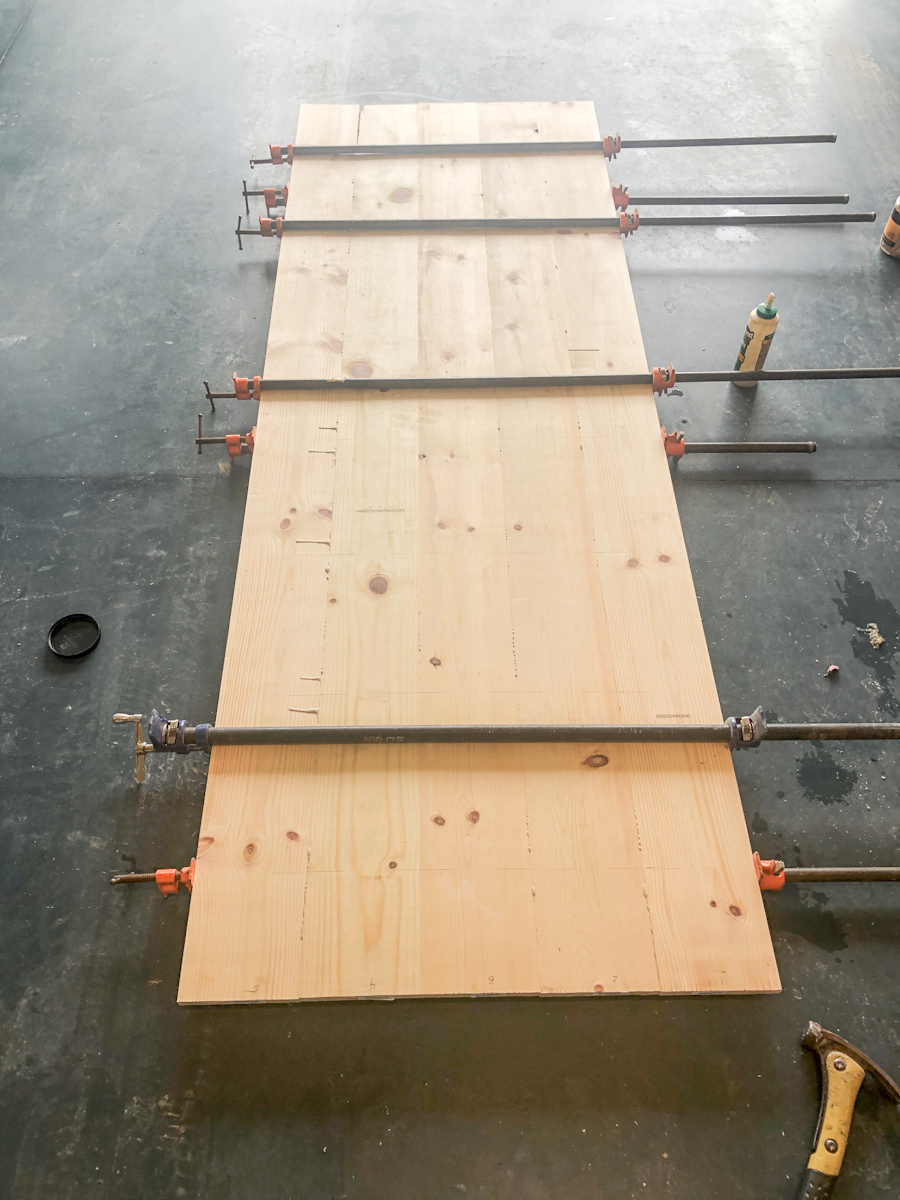
The back of the door. 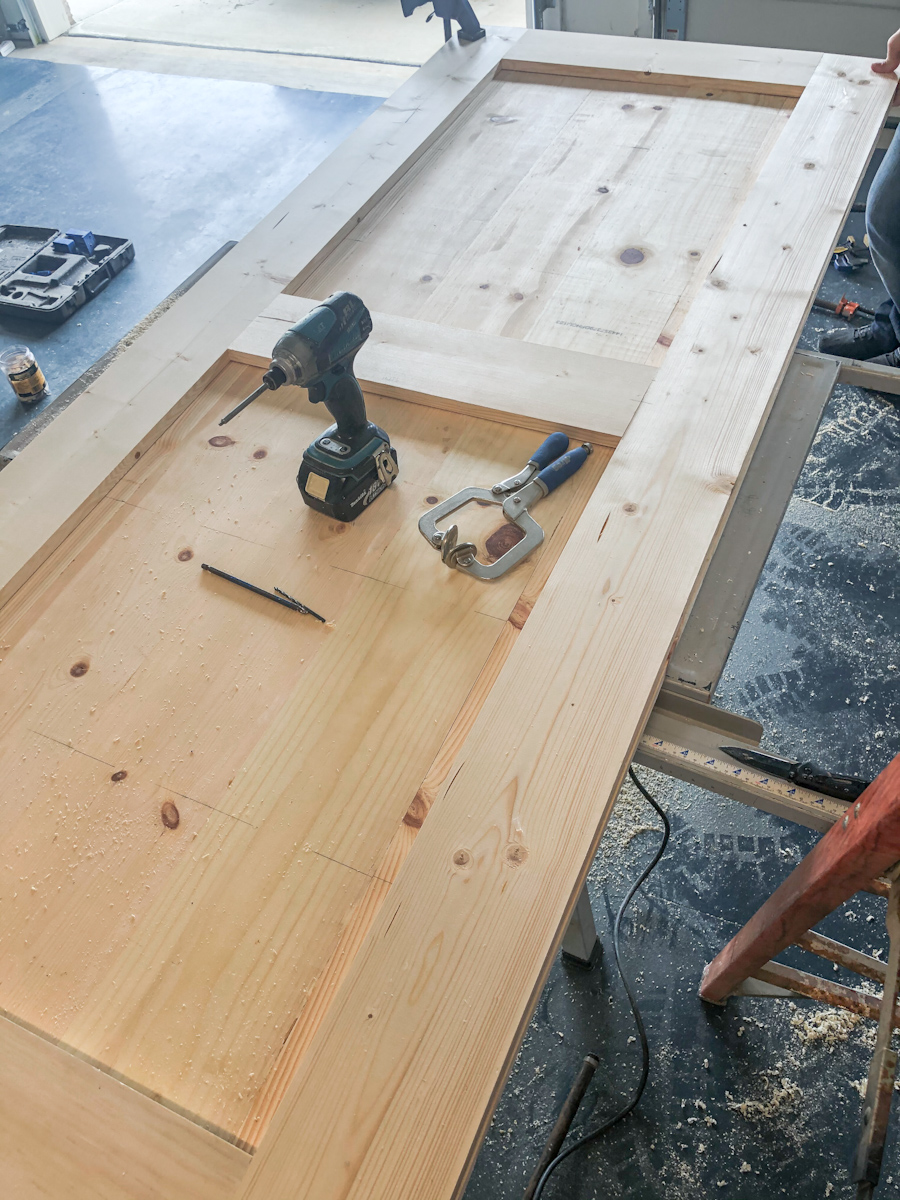
The front of the door.
For the front of the door, the joints for the boards were glued, then screwed together using Kreg pocket screws before the glue had been set.
Next, the front door frame and the back door panel were glued together. And finally, from the backside, black trim screws were used to firmly affix the frame and panel.
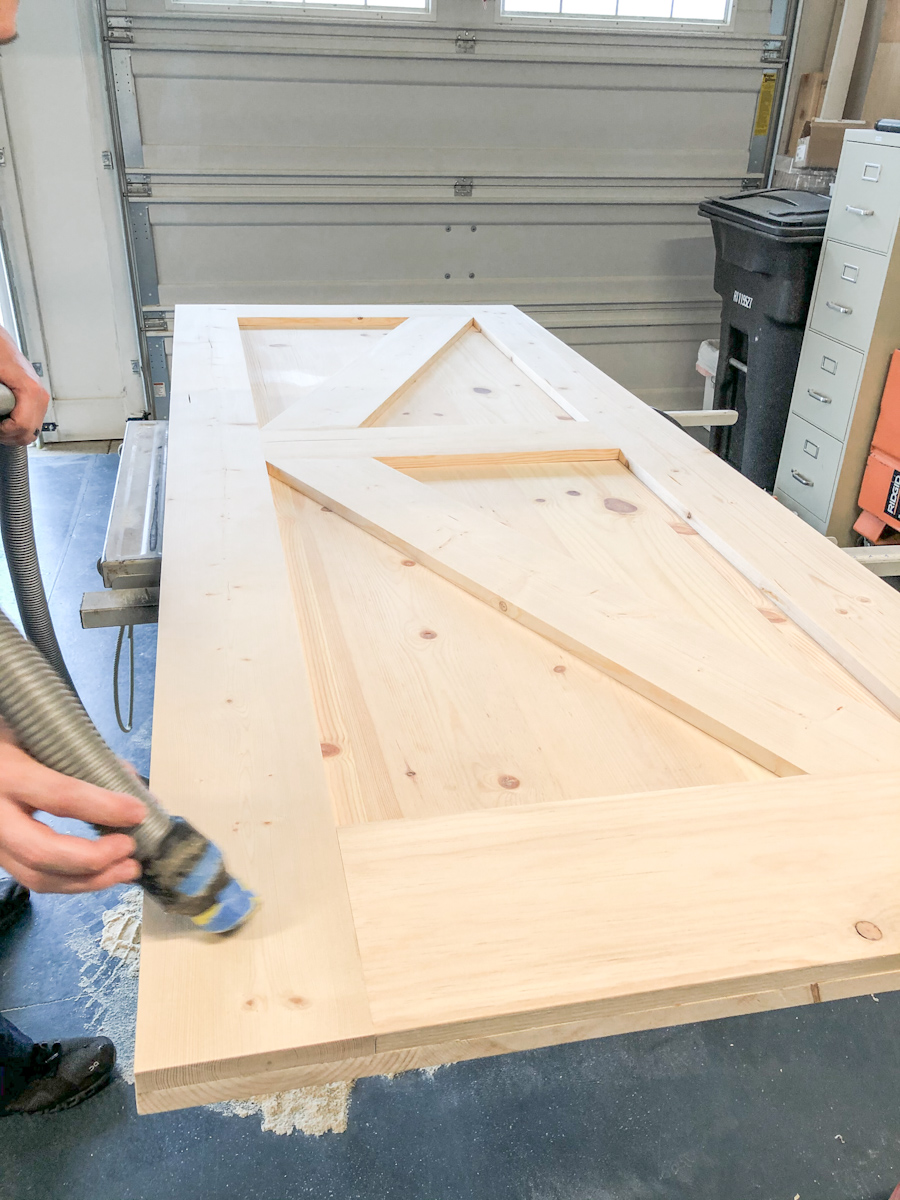
Sanding the front of the door. 
The front of the door, sanded & ready for stain.
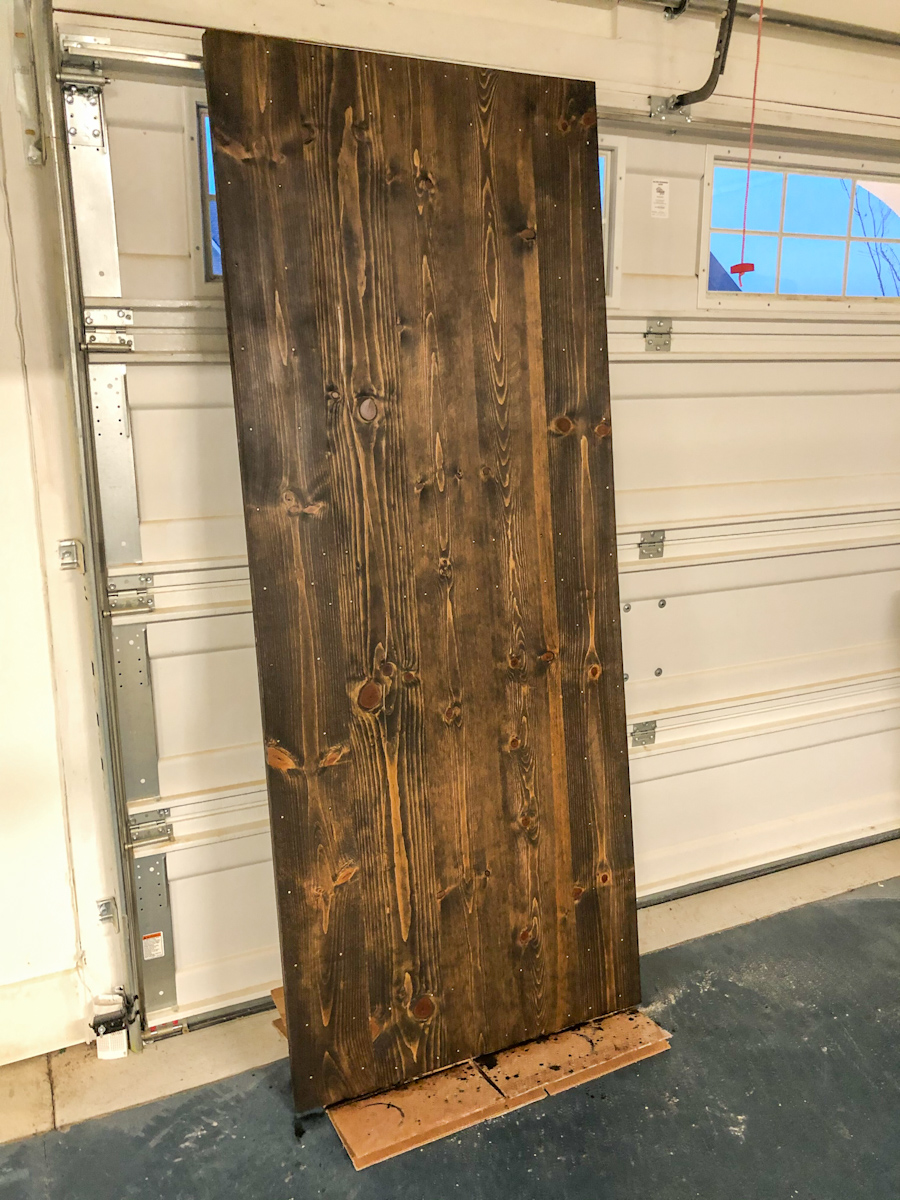
Finally, my husband sanded and stained the door using Minwax, Dark Walnut Wood Finish Penetrating Stain.
The Finished Barn Door
We purchased a 6ft Heavy Duty Sliding Barn Door Hardware Kit from Amazon, and it worked great! We also installed a simple handle in champagne bronze from Home Depot.
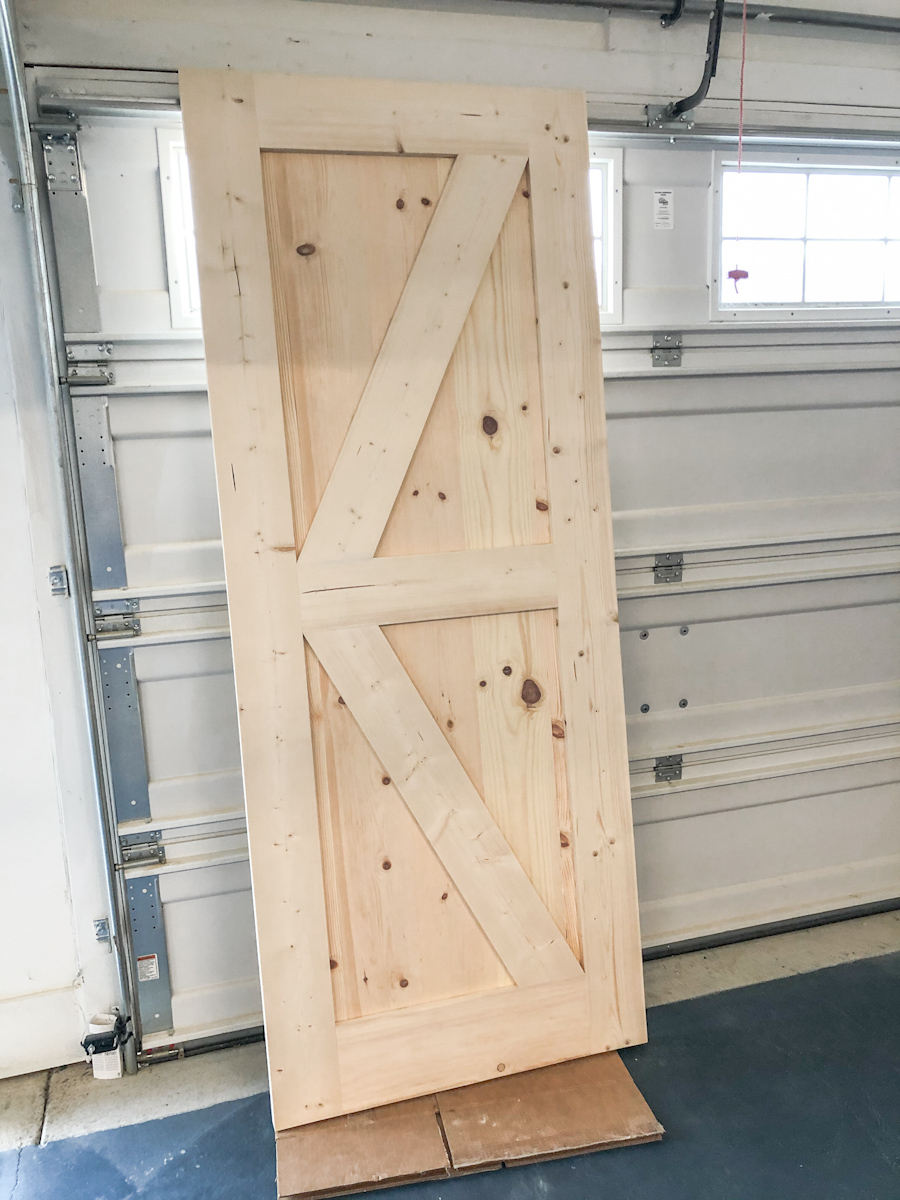
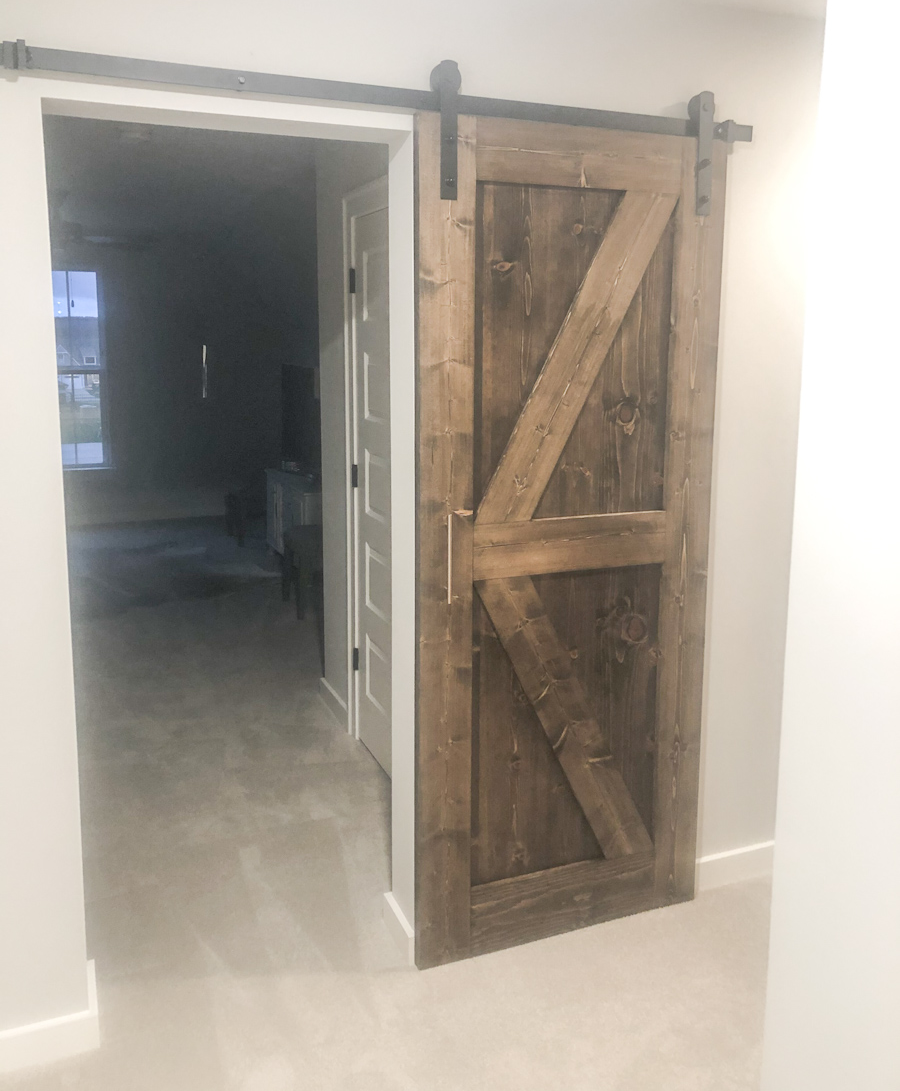
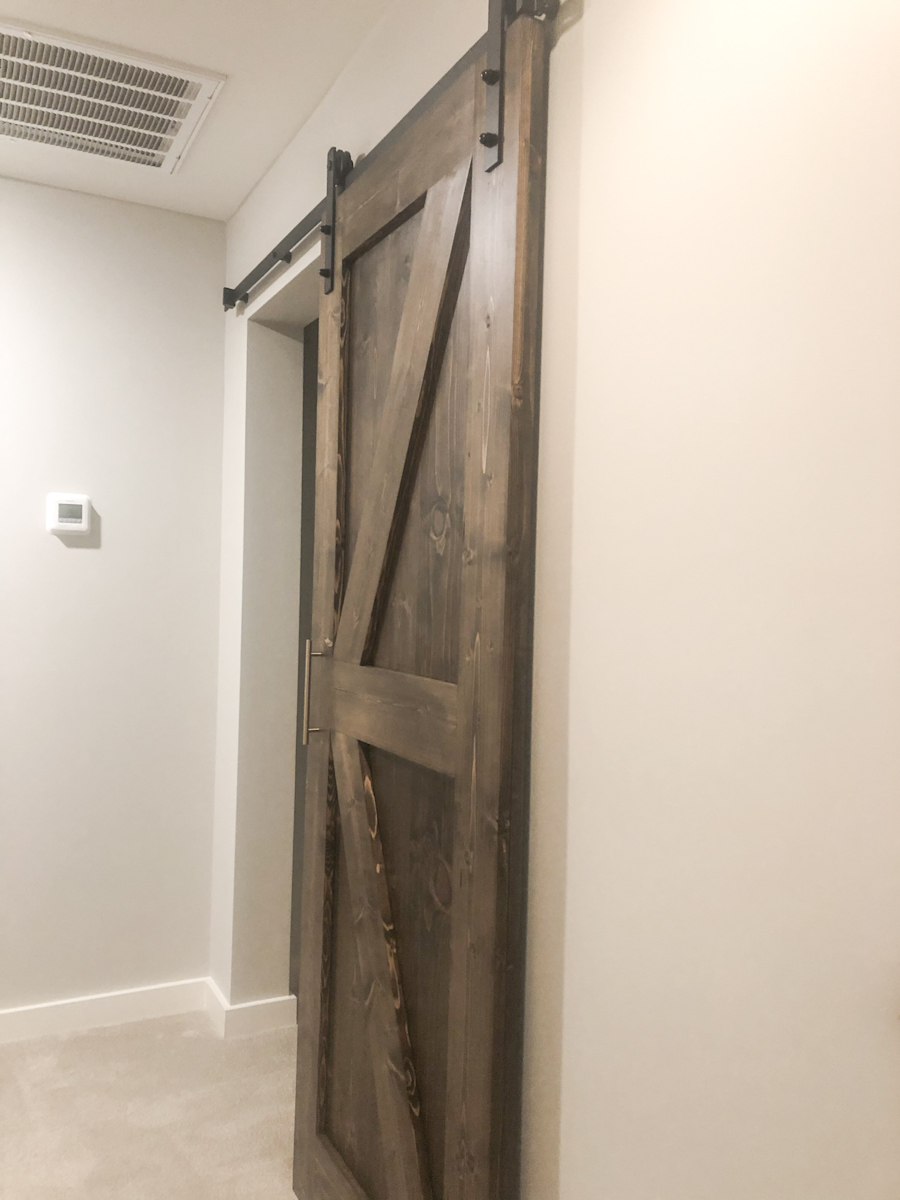
Look how amazing the finished door looks! It’s marvelous, it adds so much character to this space!
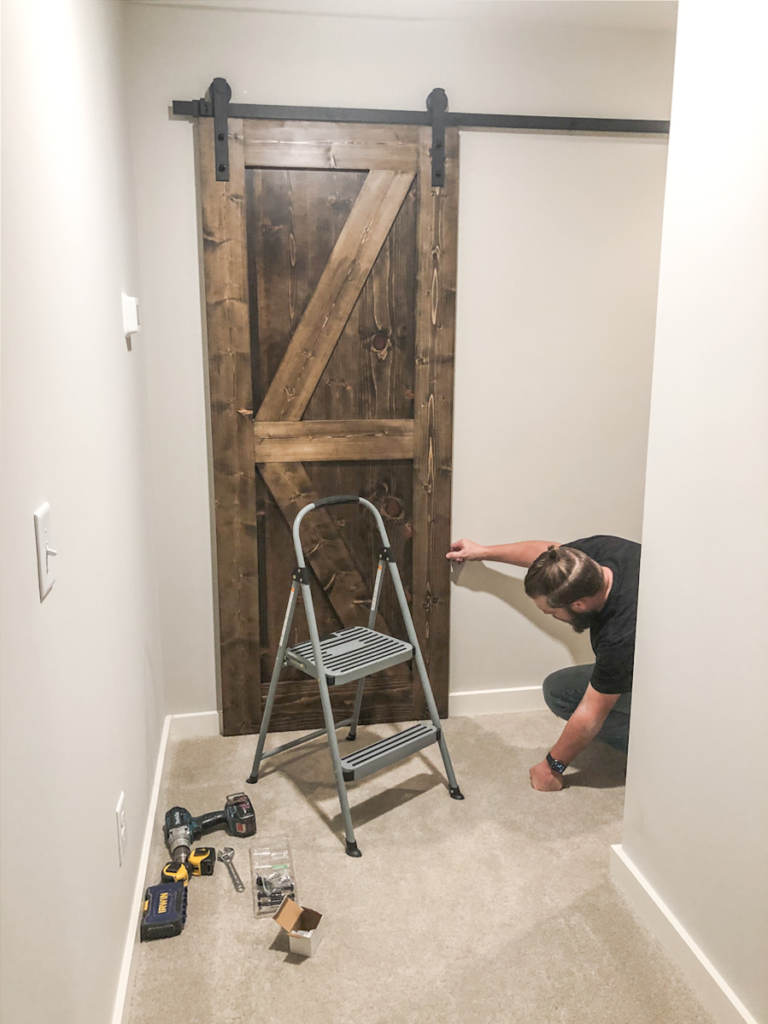
Hanging the barn door 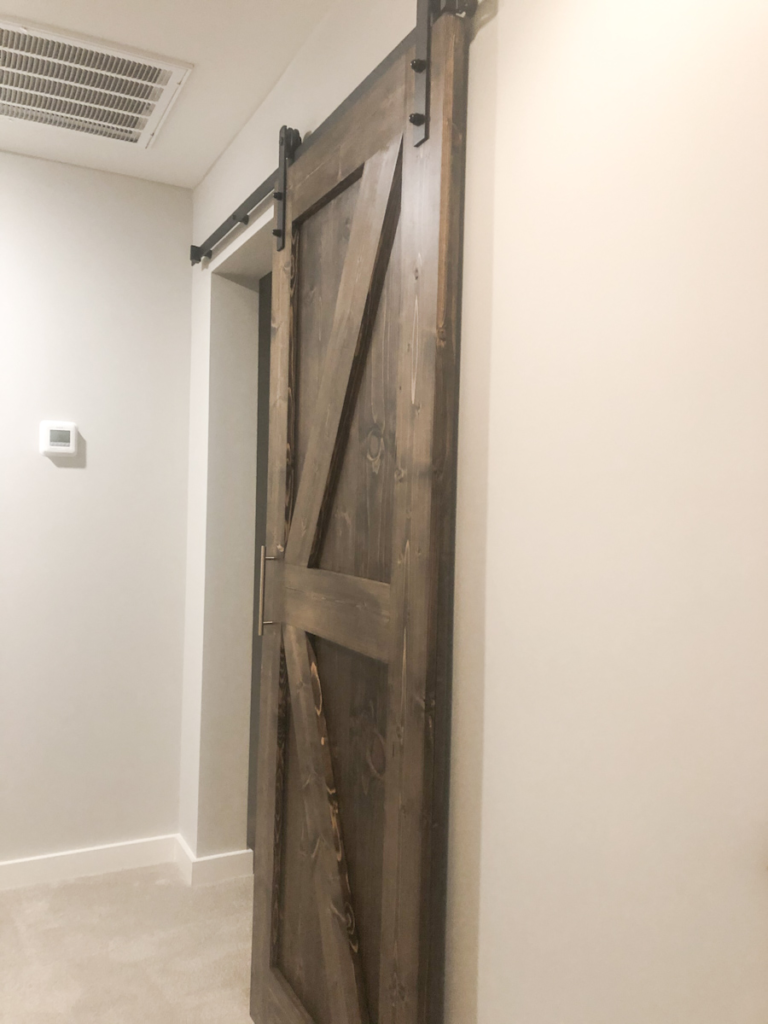
The finished barn door
Building the Closet & Drywall Cased Opening to the Bonus Room
My husband framed in a closet in the bonus room. We thought, “that is just wasted space!” Thus, the additional closet idea was born. The additional closet added so much storage, handy!
Since we were adding the barn door leading into the bonus room, we could reuse that door and trim for the closet. My husband also added a ceiling light and switch.
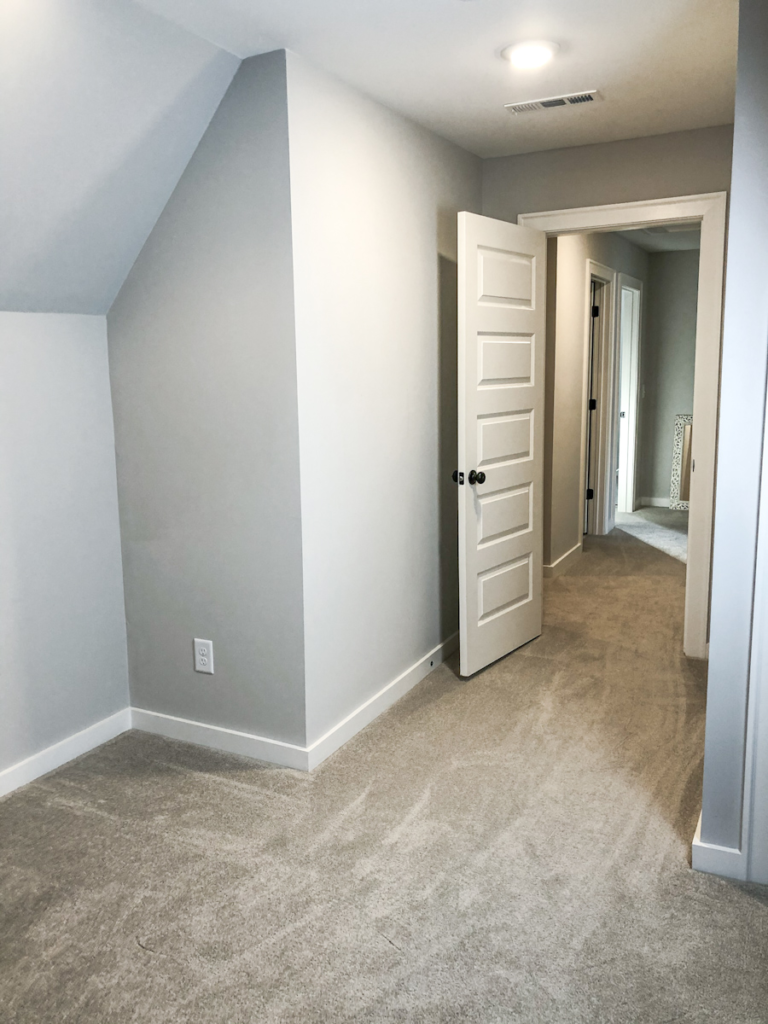
Before the closet 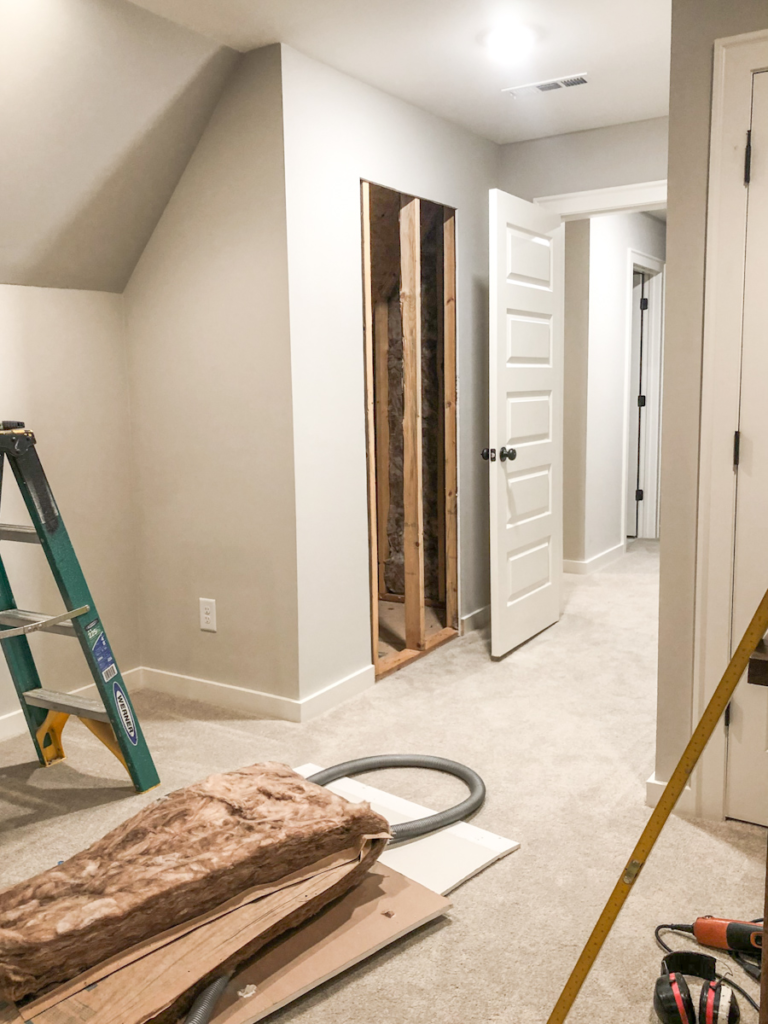
Drywall cut for the closet 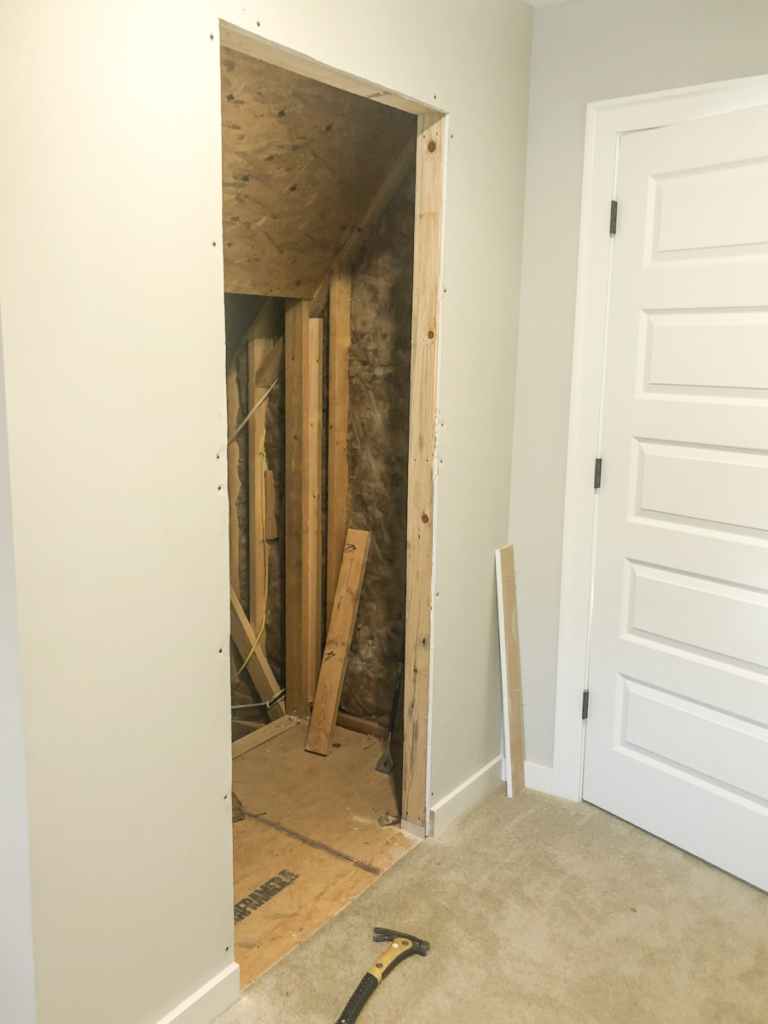
Framing in the closet 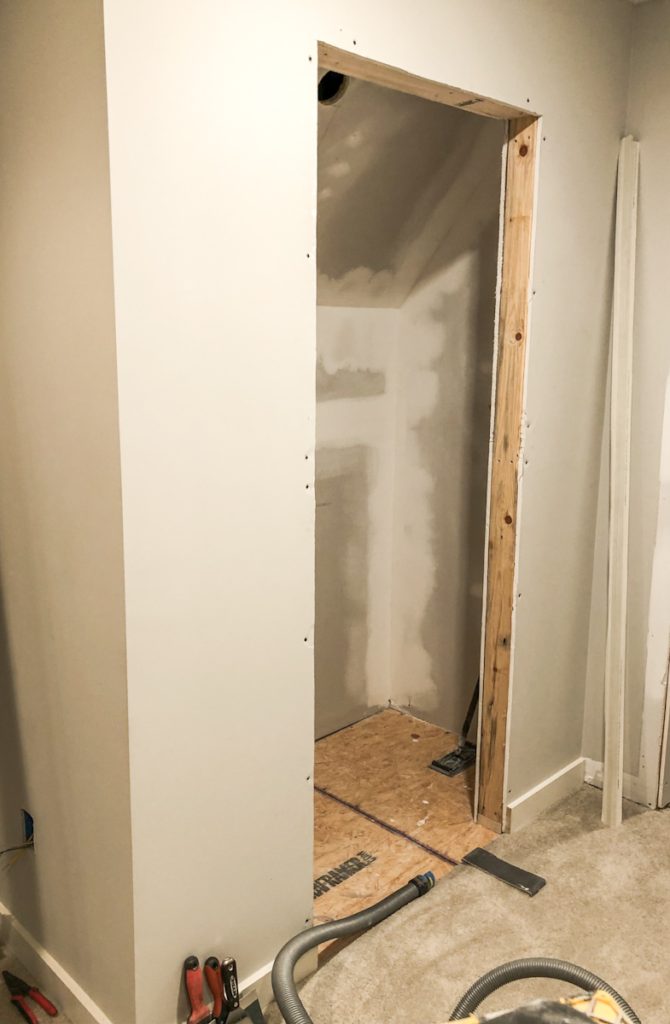
Drywall in the closet 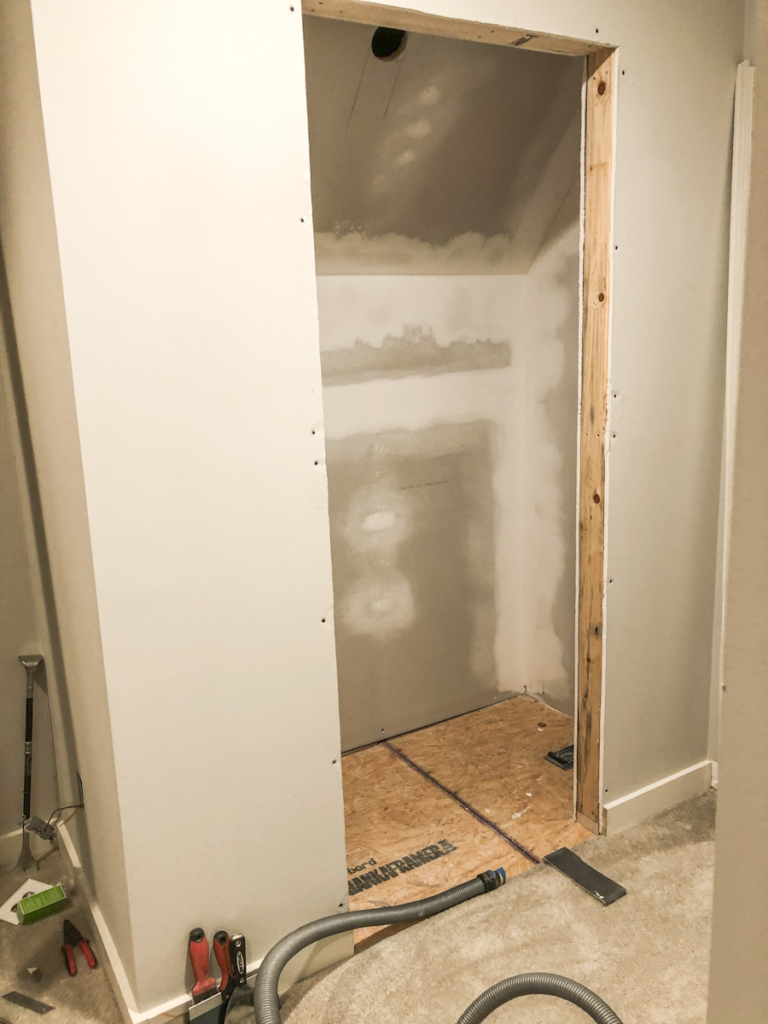
Drywall in the closet 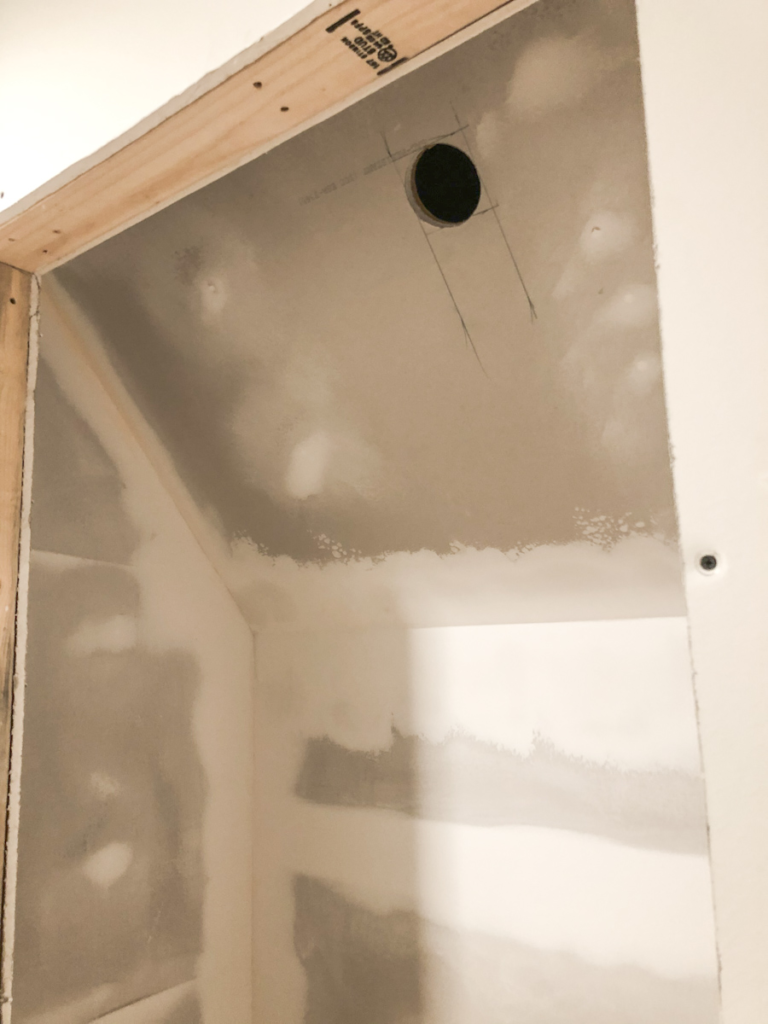
Adding a closet light 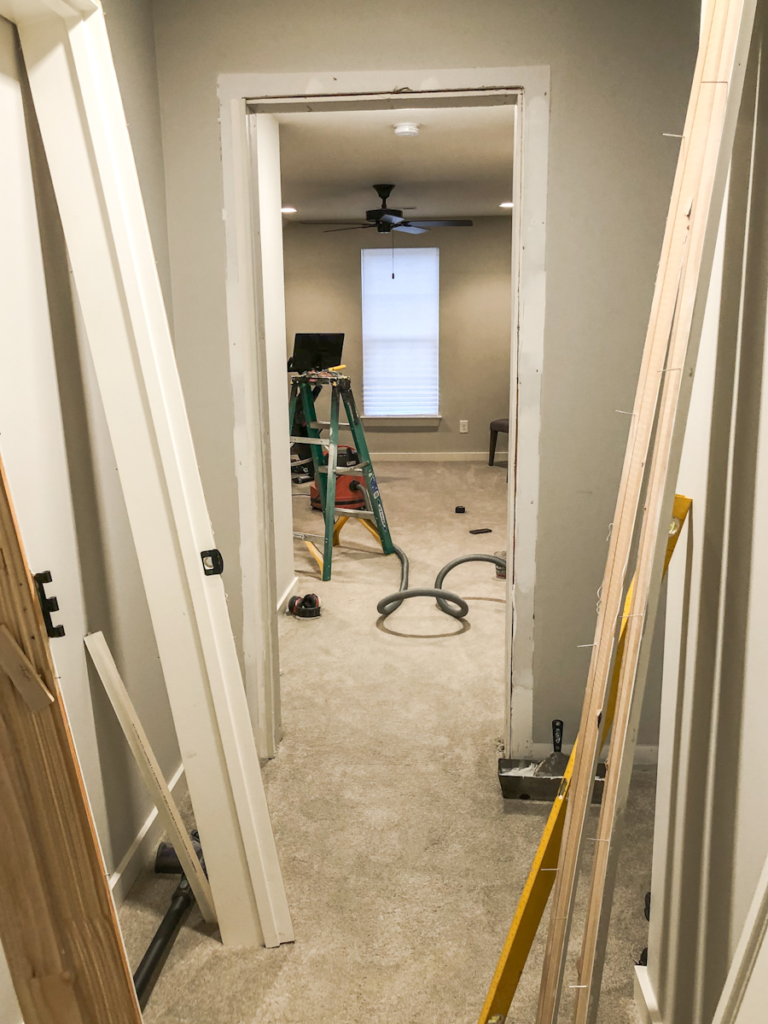
Removing the existing trim & door in the doorway 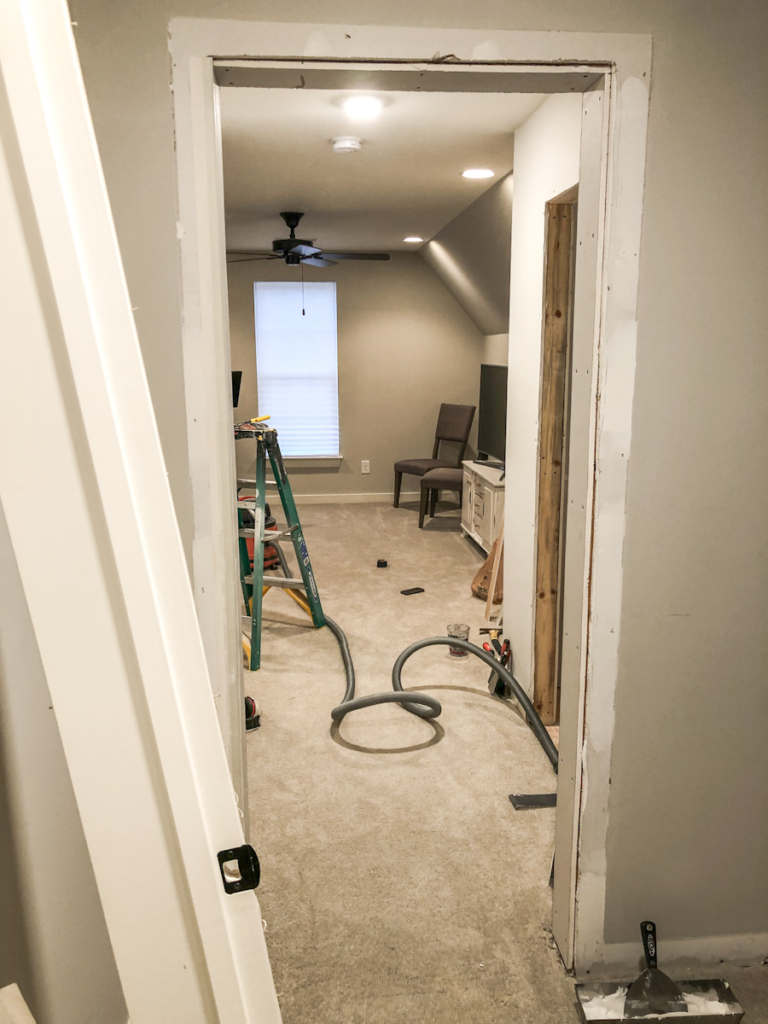
Reusing the trim & door for the closet door 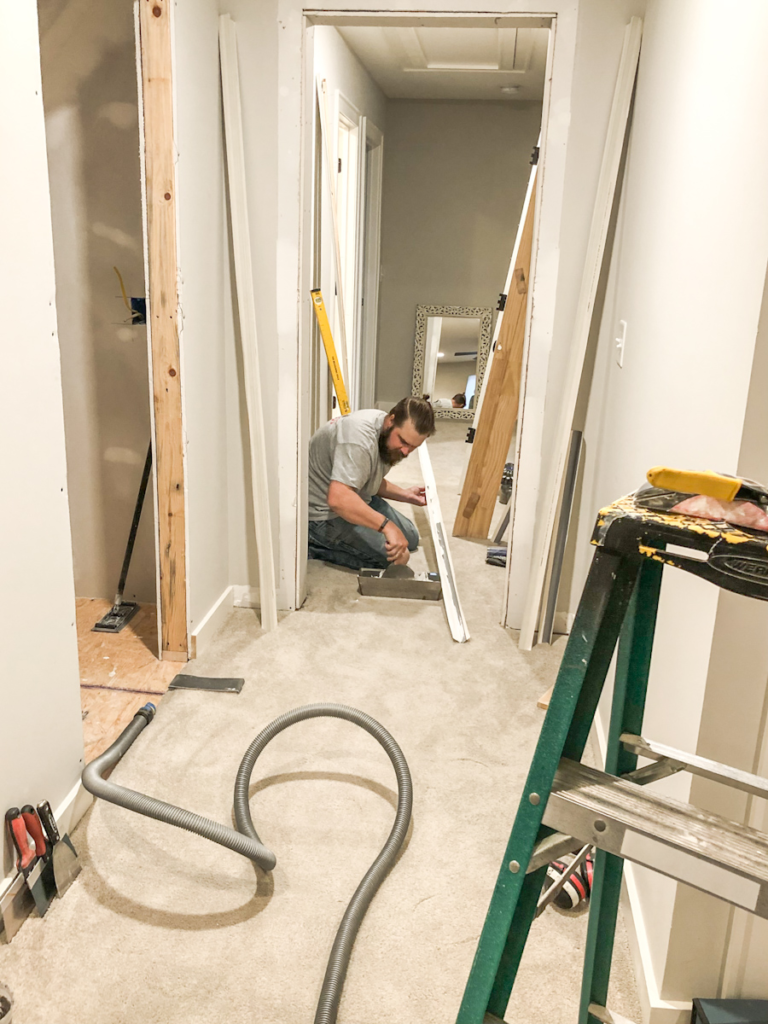
Prepping drywall corner bead for the doorway into the bonus room
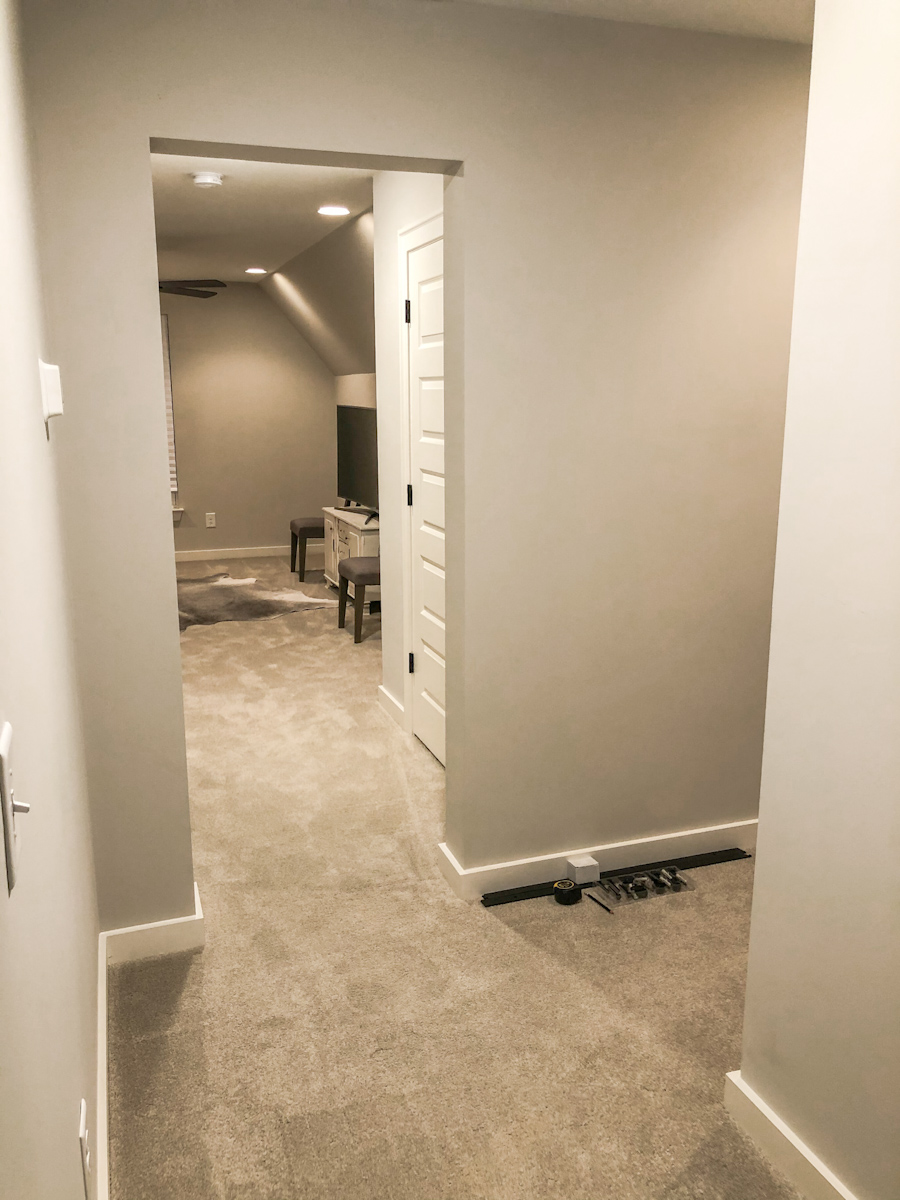
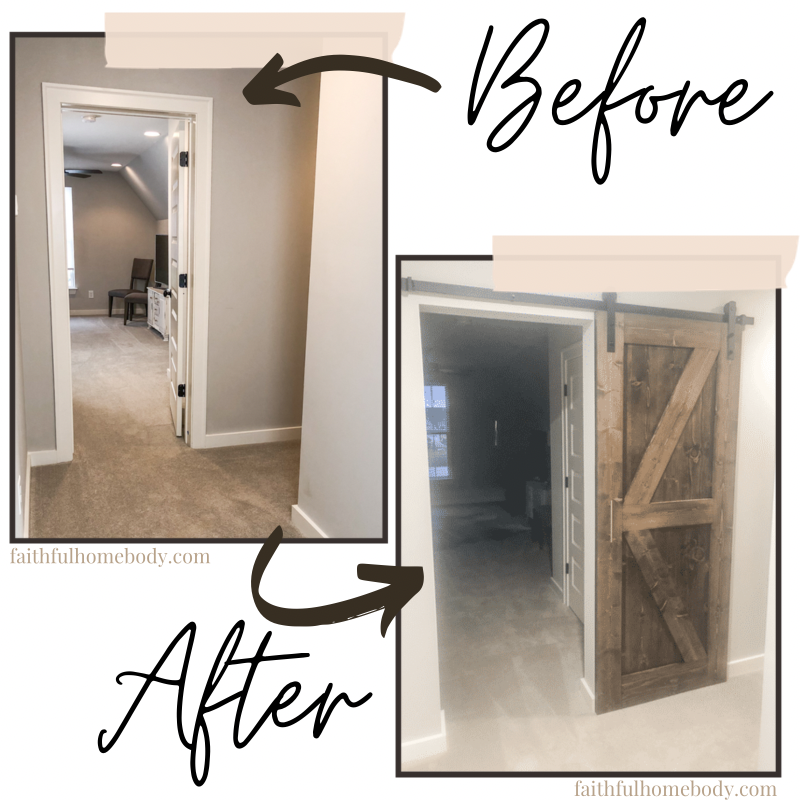

I really like how the barn door created a wonderful entryway for the bonus room. Especially because it made the space so inviting. And, that closet, though! I don’t know about you, but I can always use more storage space. The closet was a wonderful addition to the room!
As shown above, my husband did a phenomenal job building the custom barn door and adding a second closet to our bonus room. I’m so appreciative of his craftsmanship. He’s a talented guy!
additional projects
Interested in more projects from our Tennessee home? See additional projects below:
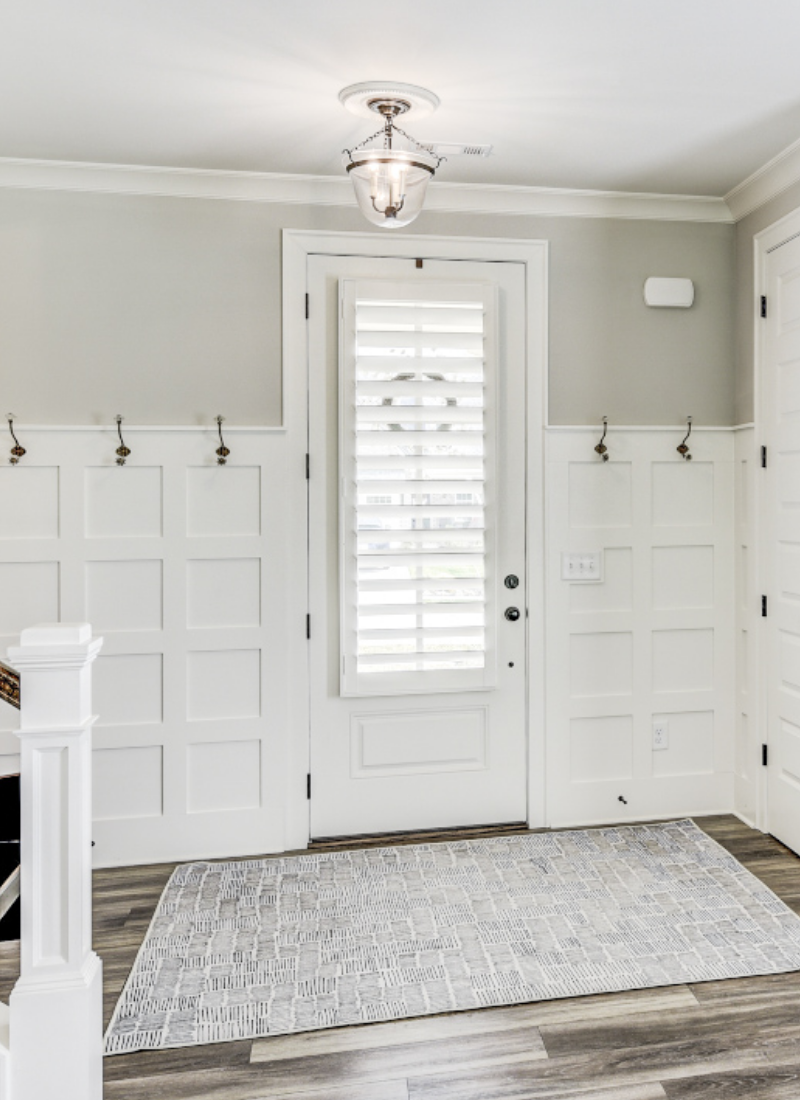
- Our TN Home | Judges Paneling in the Entryway Project
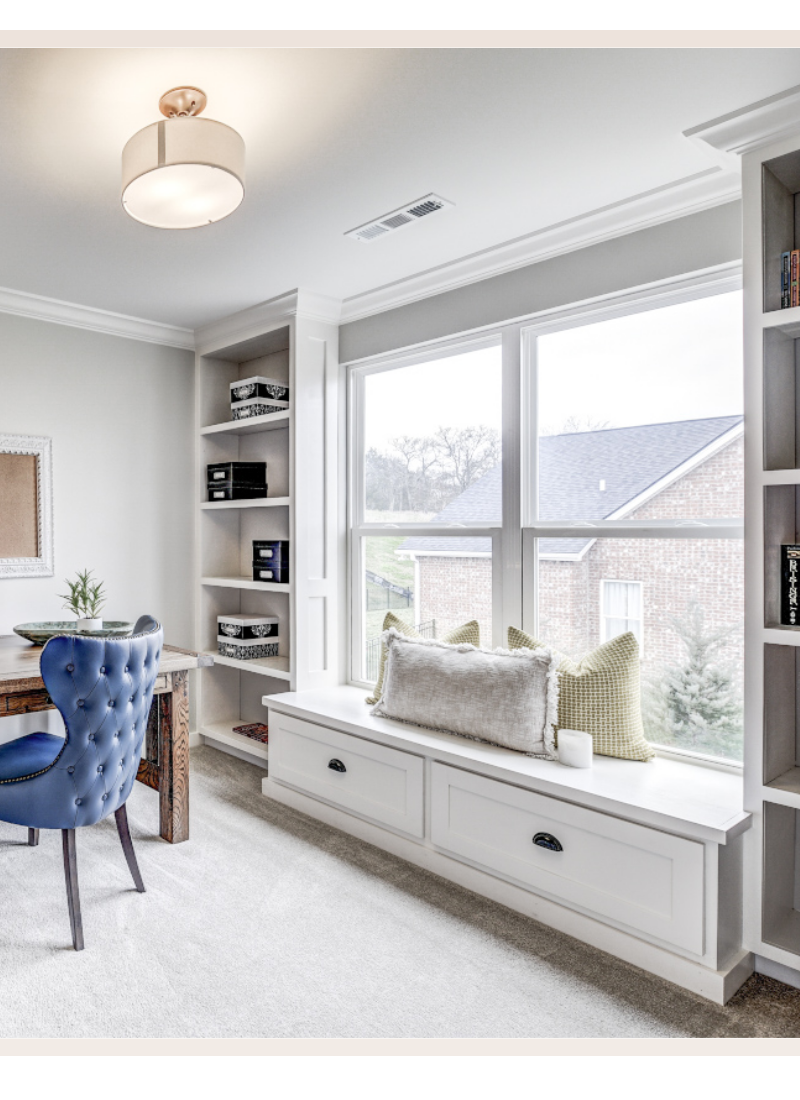
- Our TN Home | Custom Home Office Design | Shelves & Window Bench Project
And, if you haven’t already, check out Our TN Home | A Beautiful Home Tour!
What do you think of our Custom Barn Door Project? I’d love to hear your comments in the comment section below.
Here’s to all the home projects and here’s to happy home vibes!


Leave a Reply