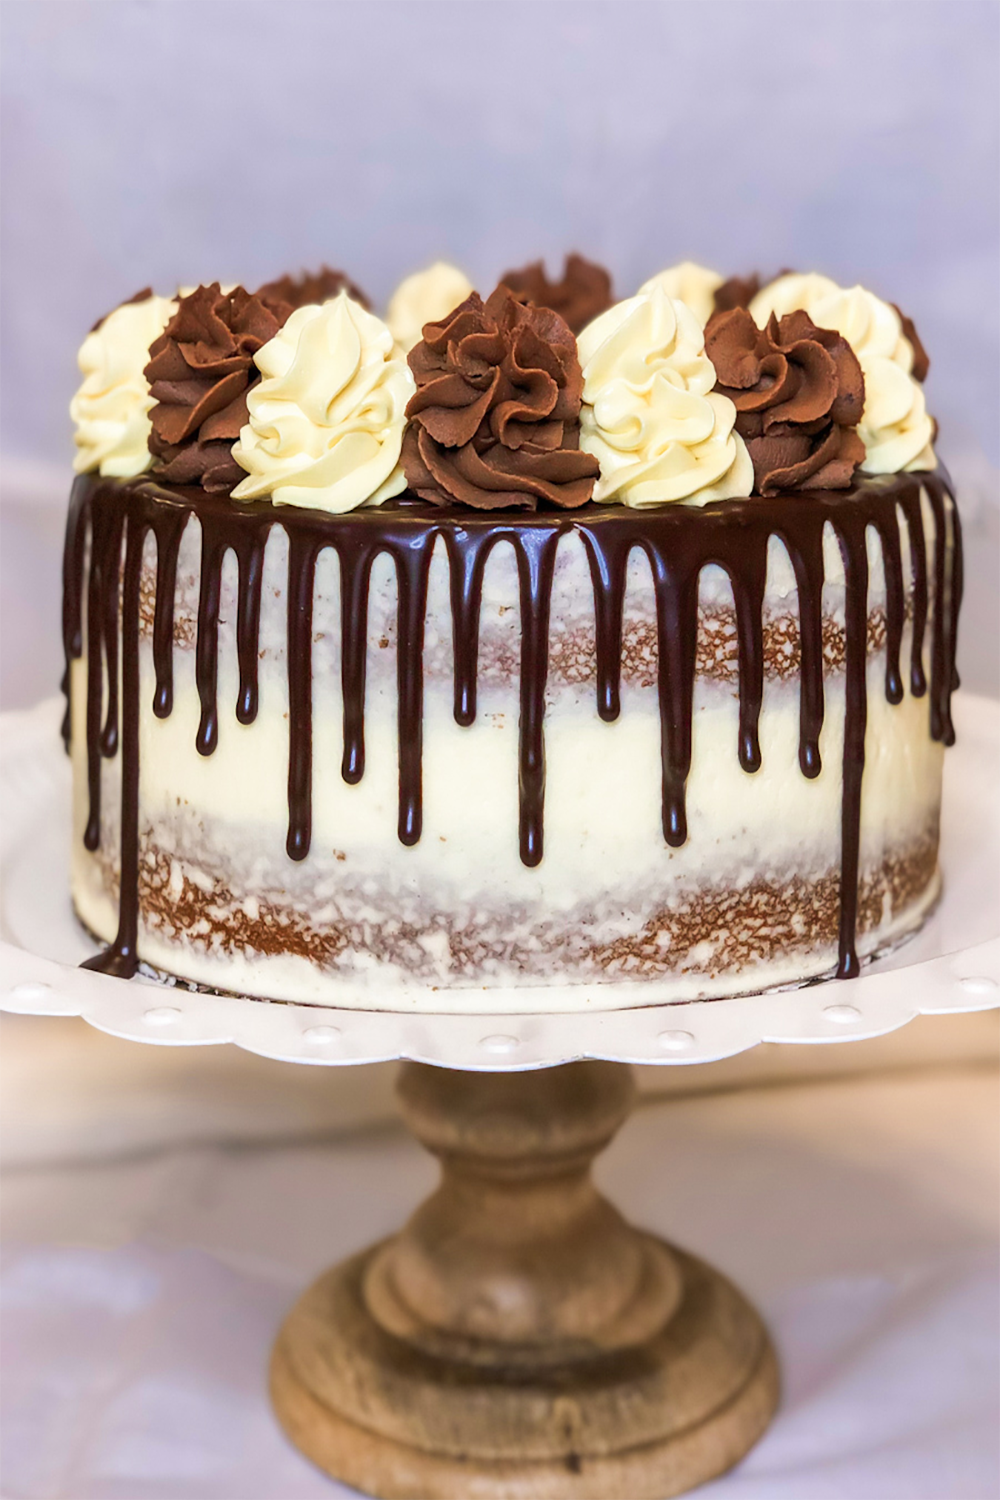
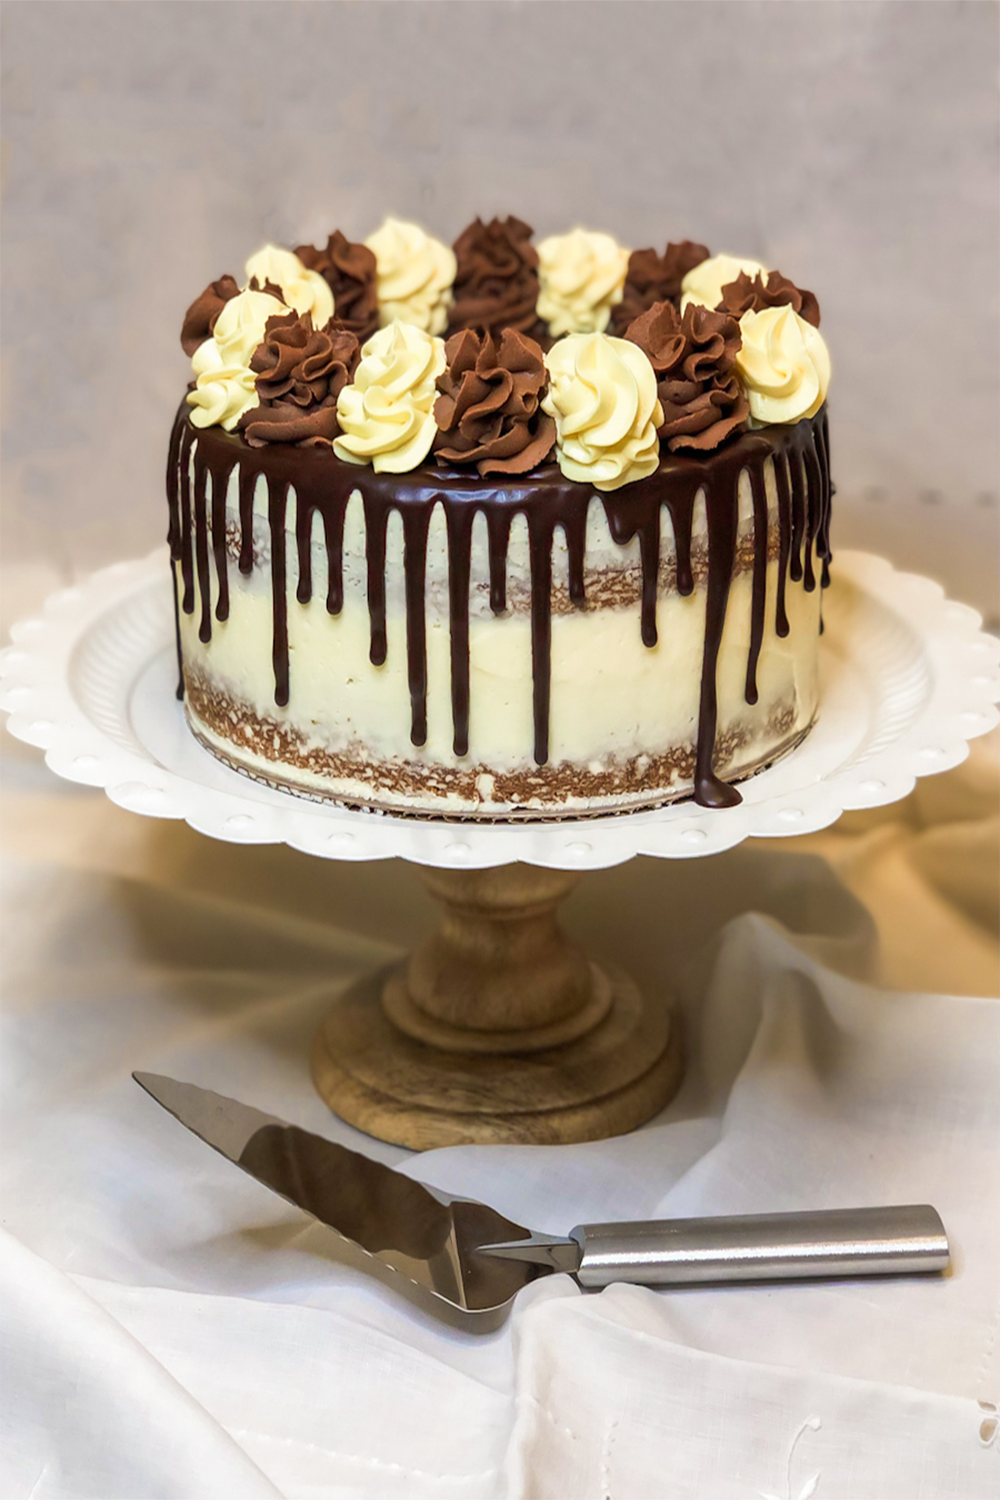
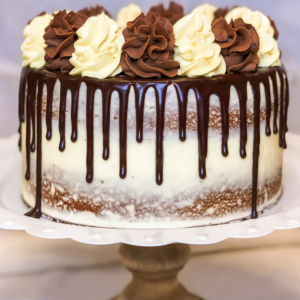
The classic combo of yellow cake layered with creamy vanilla custard, yet so much more. Rich, dark chocolate ganache drip covers this crumb-coated vanilla buttercream cake. And, to top it off, chocolate buttercream and creamy vanilla custard swirls. This is the Ultimate Boston Cream Pie!
(This post contains affiliate links. Please refer to my disclosure statement for more information.)
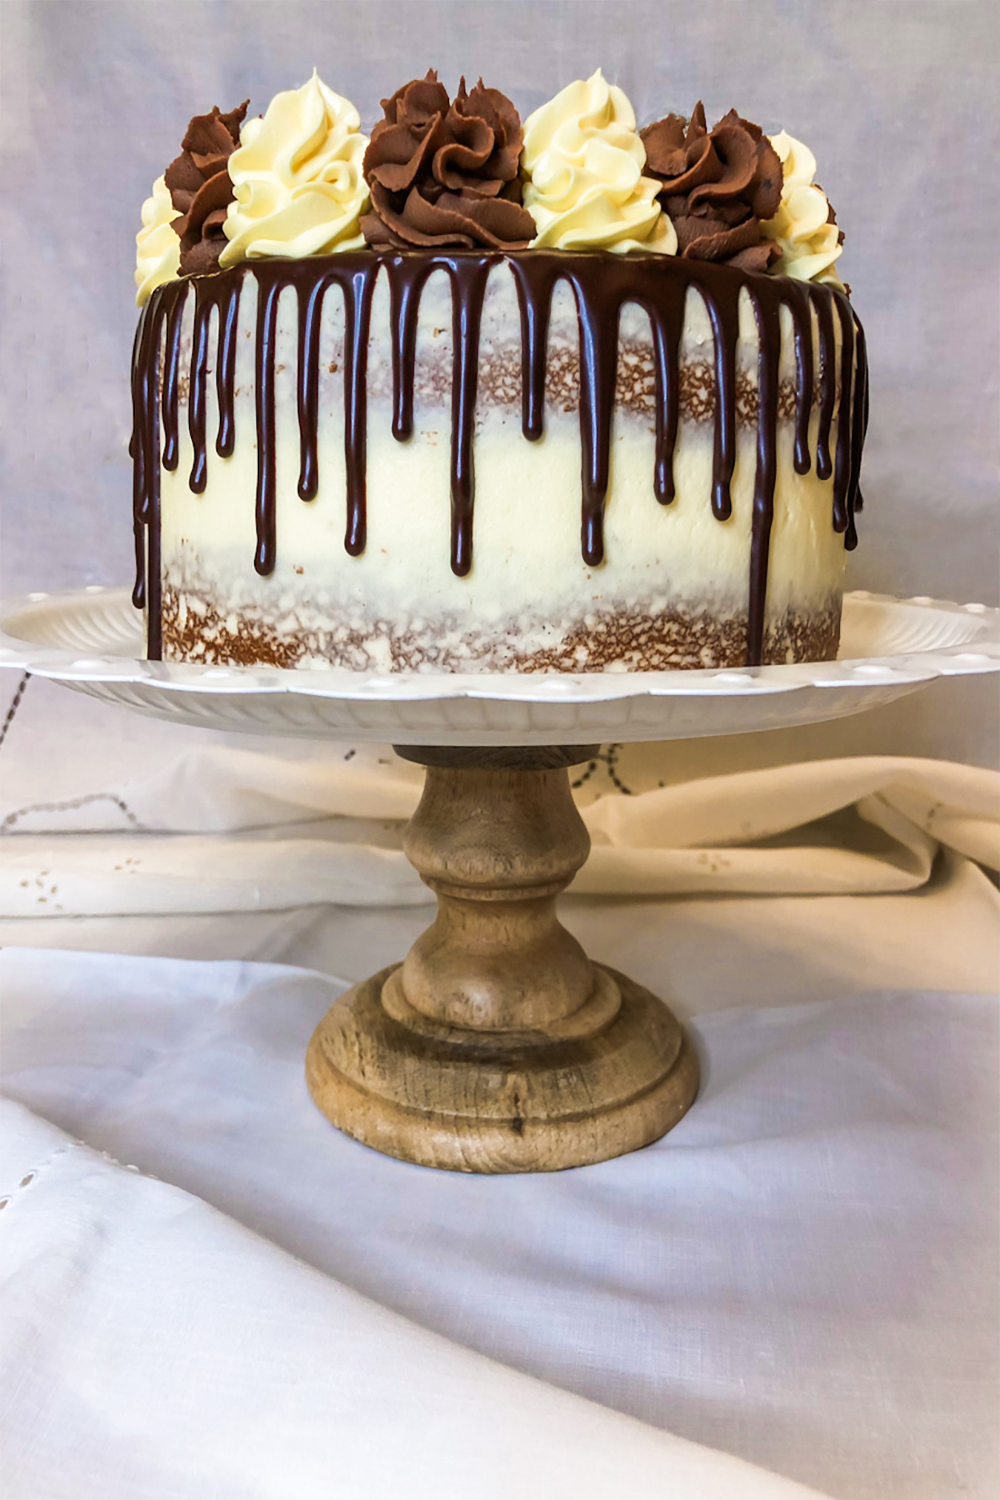
Rustic, with a crumb-coating of vanilla buttercream, yet decadent with rich dark chocolate ganache drip. Topped with chocolate buttercream and creamy vanilla custard swirls.
The creamy vanilla custard is layered on the inside and swirled on the top – yum! In this case, more is more and so much better.
The “Pie” that’s a Cake
I’ve really been into making birthday cakes this past year or so. For my sister’s birthday, she mentioned her choice, a Boston cream pie.
At first, I was like, sure, I love to make pies! Ummmm, yeah. I didn’t realize that Boston cream pie was actually a cake. Whoopsie. I can’t be alone on this one, right?!
So, I set out to make a Boston cream pie (cake!) that would wow her!
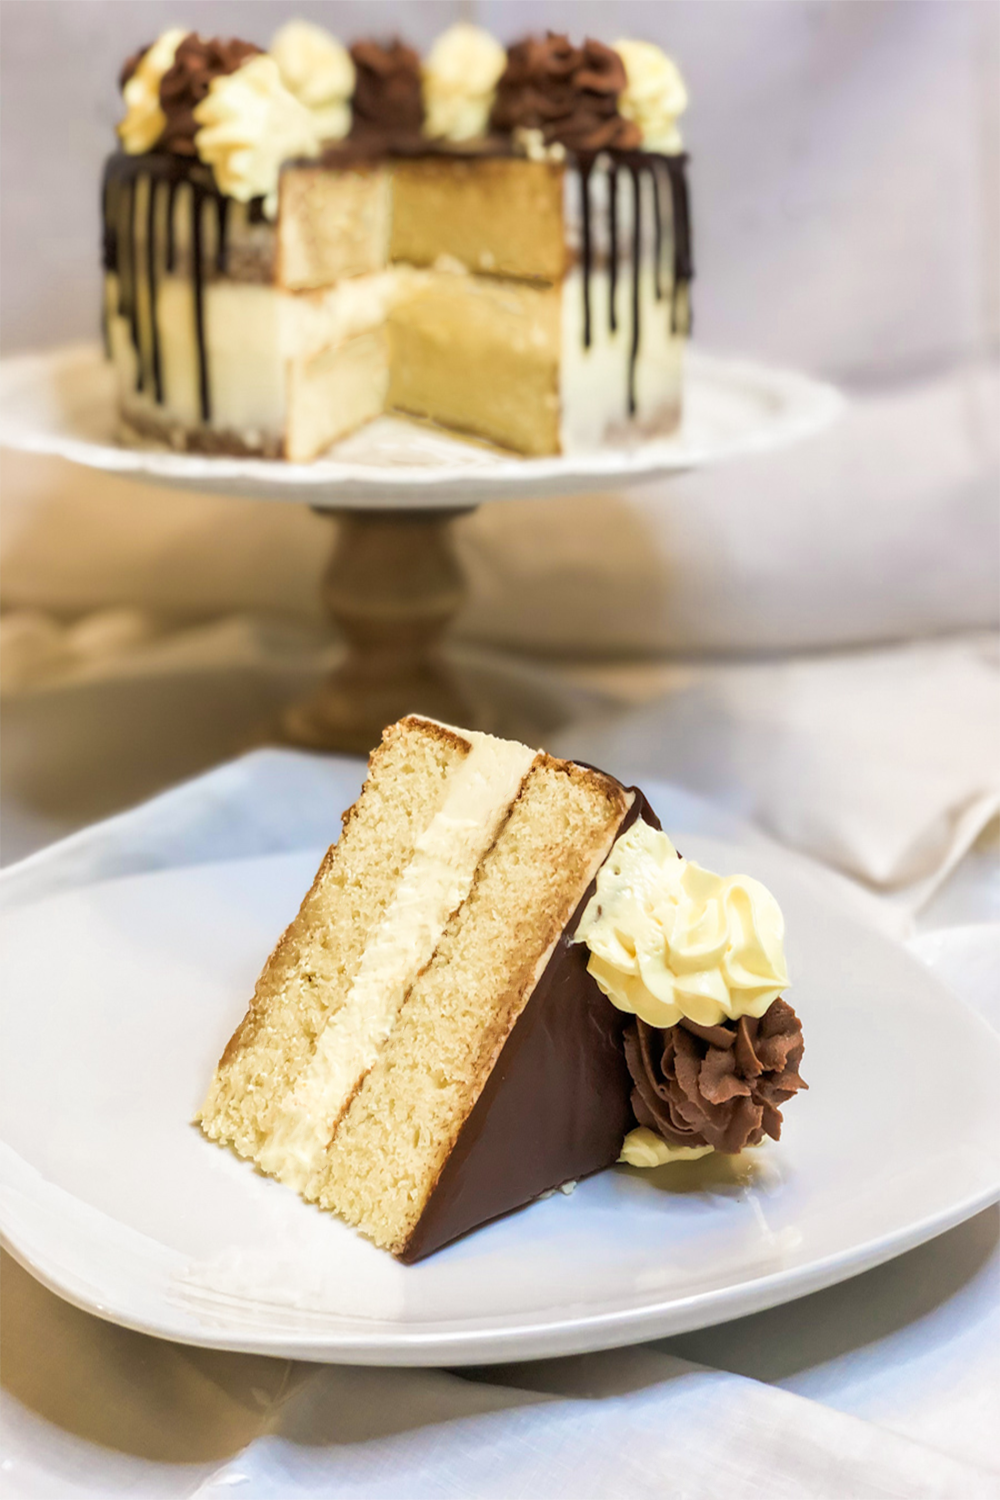
Of course, I incorporated the traditional building blocks of the cake. Then, to go a little above and beyond, I decided to crumb-coat the cake with vanilla buttercream frosting, add a dark chocolate ganache drip, and finally, top the cake with vanilla custard and chocolate buttercream swirls. Nailed it.
What a transformation of this traditional cake. Without a doubt, the Ultimate Boston Cream Pie!
Building the Cake
This cake does take some time to complete. At least for me, it did. I gave myself three days to bake, make the filling and frosting, assemble, and decorate.
I’ve learned that I need to give myself plenty of time. Especially to frost the cake and if I should encounter any mishaps along the way. Which, there’s usually at least one! Here’s my schedule:
- Day 1 – Bake the cake. Cool completely, wrap in saran wrap, and refrigerate.
- Day 2 – Make the custard and refrigerate. Make the buttercream frosting and seal in air-tight containers. Make the chocolate ganache and leave to set overnight.
- Day 3 – Level, assemble and frost the cake. Decorate the cake with ganache drip and swirls of chocolate buttercream and custard.
Day 1 – Bake the Yellow Cake
I like to bake my cakes at least a few days in advance. Once baked, I can wrap the cooled cakes in saran wrap and refrigerate them until I’m ready to assemble and frost.
tips
- Bring all the ingredients to room temperature before mixing the batter and baking.
- I like to use Nielsen-Massey Pure Vanilla Powder in my cakes and frosting. It tastes amazing with such a rich and pure vanilla flavor. However, any pure vanilla powder or vanilla extract will do.
- Use high-quality cake pans. I purchased new 8″ pans at TJ Maxx since all my cake pans are in storage at the moment. They were, meh, OK. They baked my cakes a lot faster than I thought they would. Be sure to check your cakes with a toothpick about a third of the way through baking. They’re done when a toothpick is inserted and it comes out mostly clean.
- Line the bottoms of the pans with parchment paper, after greasing & flouring. Cut the paper to fit the pans.
- Allow the cakes to cool, almost completely, in the pans. Turn the cakes out on a wire rack to finish cooling. Then, apply a simple syrup if desired. See below.
- Use the simple syrup to moisten your cakes. Drizzle over the cooled cakes before wrapping them in saran wrap and refrigerating. Traditional simple syrup is made from one part water to one part sugar (1:1). Bring water and sugar to a boil in a small saucepan and stir until the sugar has dissolved. Allow the syrup to cool before drizzling it over the cakes.
- Wrap the completely cooled cakes in saran wrap and refrigerate them until ready to level and assemble.
Day 2 – Make the Custard, Buttercream Frosting, and Chocolate Ganache
Custard
A super easy “custard” filling. Really, it’s fancy Jell-O vanilla pudding. The addition of powdered sugar and the Extra Creamy Cool Whip really elevates the pudding and creates a scrumptious custard-like filling.
Once whipped together, place in an airtight container and refrigerate until ready to assemble and layer the cake.
I used a Wilton 2A tip and piping bag to pipe a continuous swirl of vanilla custard in the center of the cake, starting inside an outline of vanilla buttercream.
Reserve the remaining custard to use for the swirls on the top of the cake. The swirls will be applied after the ganache drip has been set.
I preferred to use a Wilton 1M (open star ) tip to pipe the vanilla custard swirls on top of the cake.

Vanilla & chocolate buttercream frosting
- Start by making the vanilla buttercream.
- Reserve ¼ of the mixture, setting aside in a small bowl. (The cacao powder will be added to this mixture for the chocolate buttercream.)
- Continue to mix the remaining vanilla buttercream, adding additional powdered sugar or cream until the desired consistency is reached.
- Place the vanilla buttercream mixture into an airtight container and set it aside.
- Place the reserved ¼ part mixture back into the mixing bowl. Add the cacao powder and mix until the desired consistency is reached, adding additional cream, if needed.
- Place the chocolate buttercream into a separate airtight container and set it aside.
- A 2D (closed star) decorating tip and piping bag were used to pipe the chocolate buttercream swirls on top of the cake.
This cacao powder has a superior chocolate flavor. I love to use it when baking. It is organic cacao from Peru and also contains a boost of nutrients.

dark chocolate ganache drip
Before using the ganache for a drip, the cake should be assembled with the custard filling, crumb-coated with the vanilla buttercream, and refrigerated until chilled.
I made the ganache the night before I used it for the drip on the cake.
Making a ganache can feel intimidating, though. Here’s what I’ve learned:
- Finely chop the chocolate. Like, super-duper finely chop the chocolate.
- Place the chopped chocolate in a metal bowl. Metal will retain the heat better when the warm cream is added, allowing the chocolate to melt better.
- Don’t boil the heavy cream. Rather, scald the cream. Place a small saucepan with the cream on low heat. Allow the cream to heat until almost boiling. There will be small bubbles forming around the edge of the saucepan.
- Remove from heat and pour over the chocolate. Cover with saran wrap for 2 minutes.
- Gently stir the mixture from the center, working your way out until the ganache is shiny and smooth.
- Place plastic wrap directly on the surface of the ganache.
- Allow ganache to cool completely and thicken overnight.
- Don’t stir or agitate the ganache when it’s cooling/setting. Do not refrigerate.
- Once it has set overnight, gently stir the ganache from the center working your way out until the ganache is shiny and smooth. Transfer to a microwavable bowl and warm it *slightly* in the microwave, approximately 5-10 seconds.
- Use a funnel and pour the ganache into a squeeze bottle.
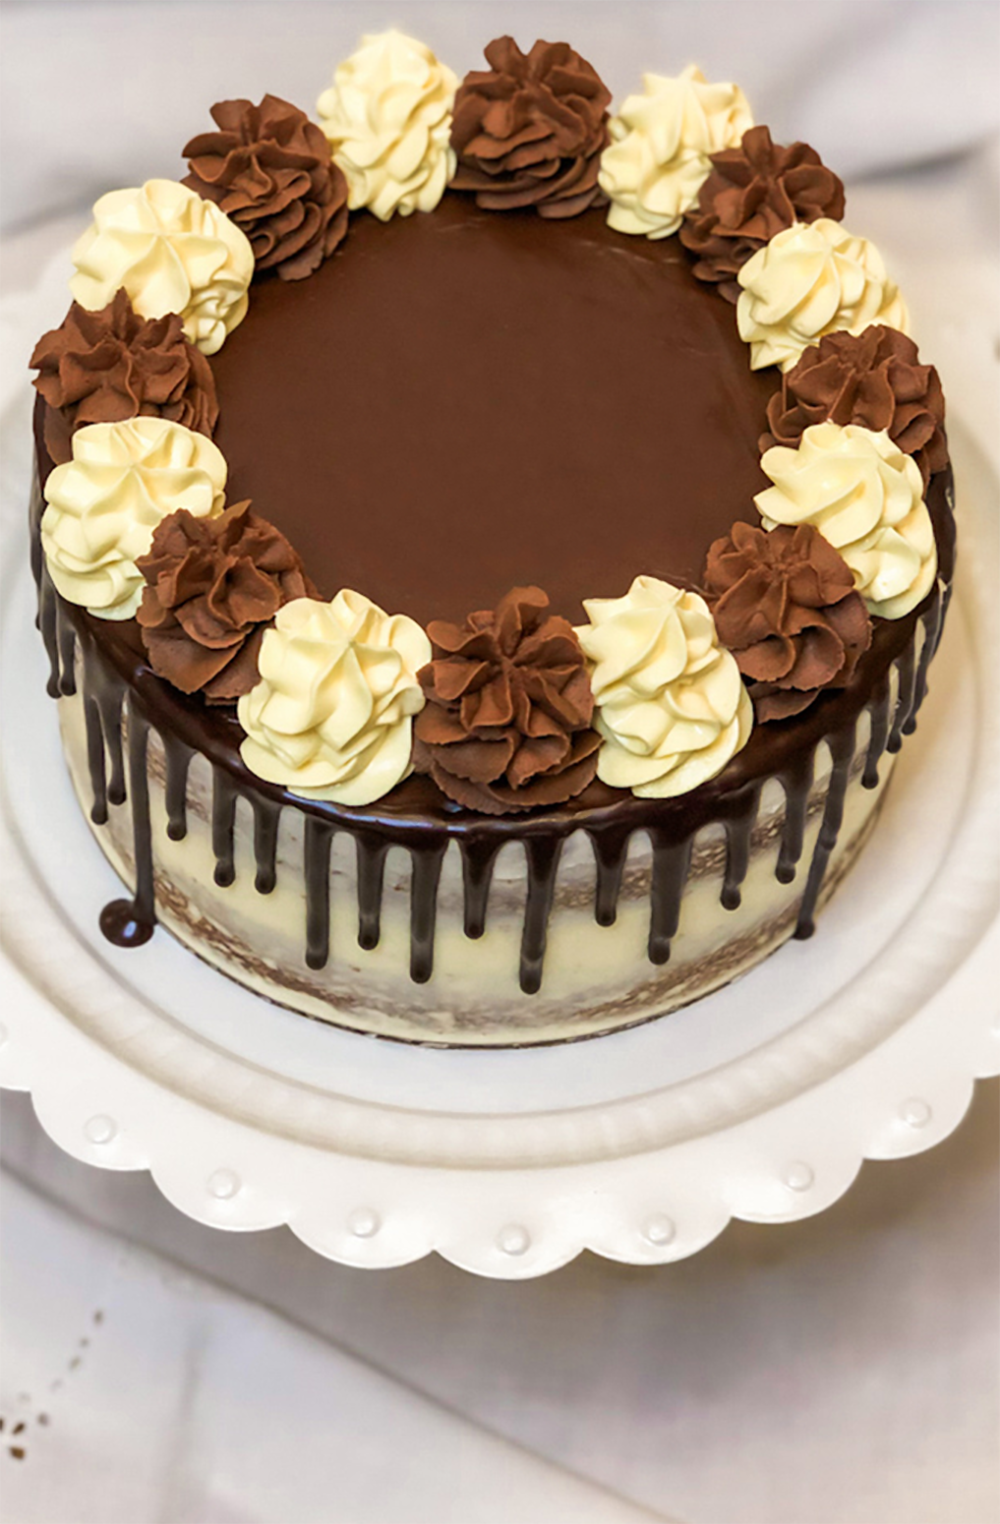
- Apply the ganache to the top of the cake using the squeeze bottle, creating a drip effect. Fill in the center and smooth.
- Keep in mind, with the chilled cake, the ganache will firm up more quickly and affect the length of the drips.
Day 3 – Level, Assemble, and Frost the Cake.
- Level the tops of the cakes using a cake leveler.
- Add a small smear of vanilla buttercream to an 8″ cake board. Place one of the cakes on the board.
- Place the cake board with the first layer of cake on a cake turntable.
- I used three tips to decorate this cake, using the Wilton Tip Set, X-Large.
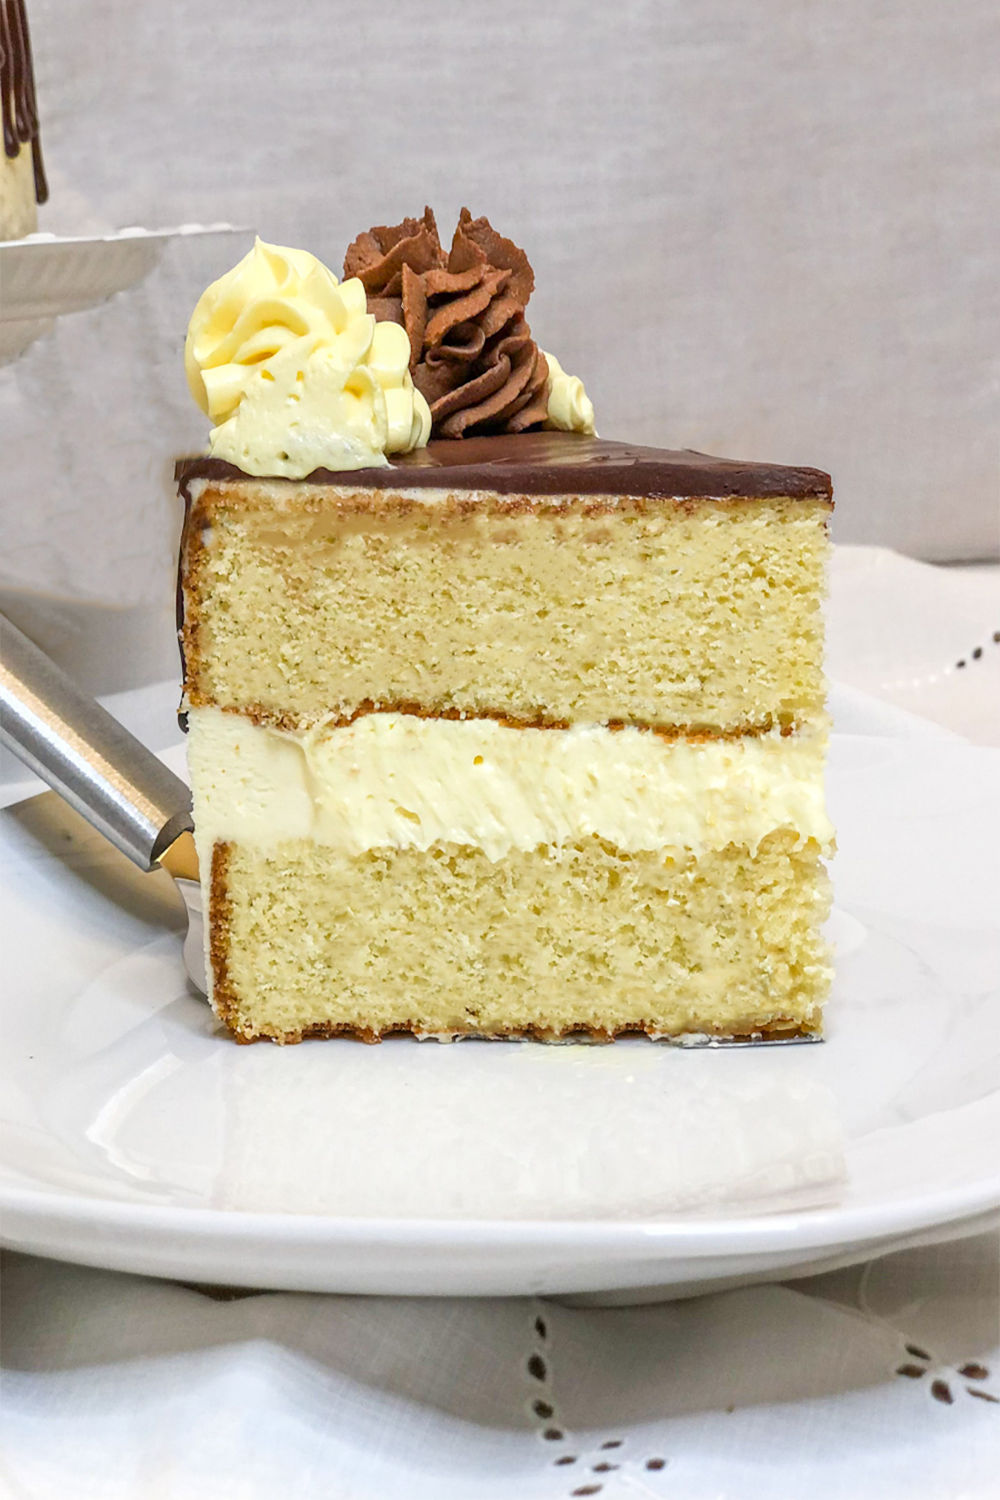
- Use the Wilton 2A tip and piping bag to pipe a border of vanilla buttercream around the top edge of the cake. This border of vanilla buttercream will contain the custard, so it won’t ooze out the sides of the cake.
- If you want the custard filling layer to be thicker, pipe another layer of vanilla buttercream on top of the first outline.
- Then, use the Wilton 2A tip and piping bag to pipe a continuous swirl of vanilla custard in the center of the cake, starting inside the outline of vanilla buttercream.
- Place the remaining cake layer on top of the filling.
- Crumb-coat the sides and top of the cake with vanilla buttercream using an offset spatula. Use a pastry scraper to smooth the frosting and remove any excess. I did not add a lot of frosting since I wanted the cake layers to show through. Refrigerate the cake until chilled.
- Use a cake lifter to remove the cake from the turntable and set it on a cake stand.
- Apply the ganache drip. Refrigerate until chilled.
- Use a Wilton 2D (closed star) tip and piping bag to pipe the chocolate buttercream swirls.
- Use a Wilton 1M (open star) tip and piping bag to pipe the vanilla custard swirls.
- Refrigerate until chilled. Serve & enjoy!
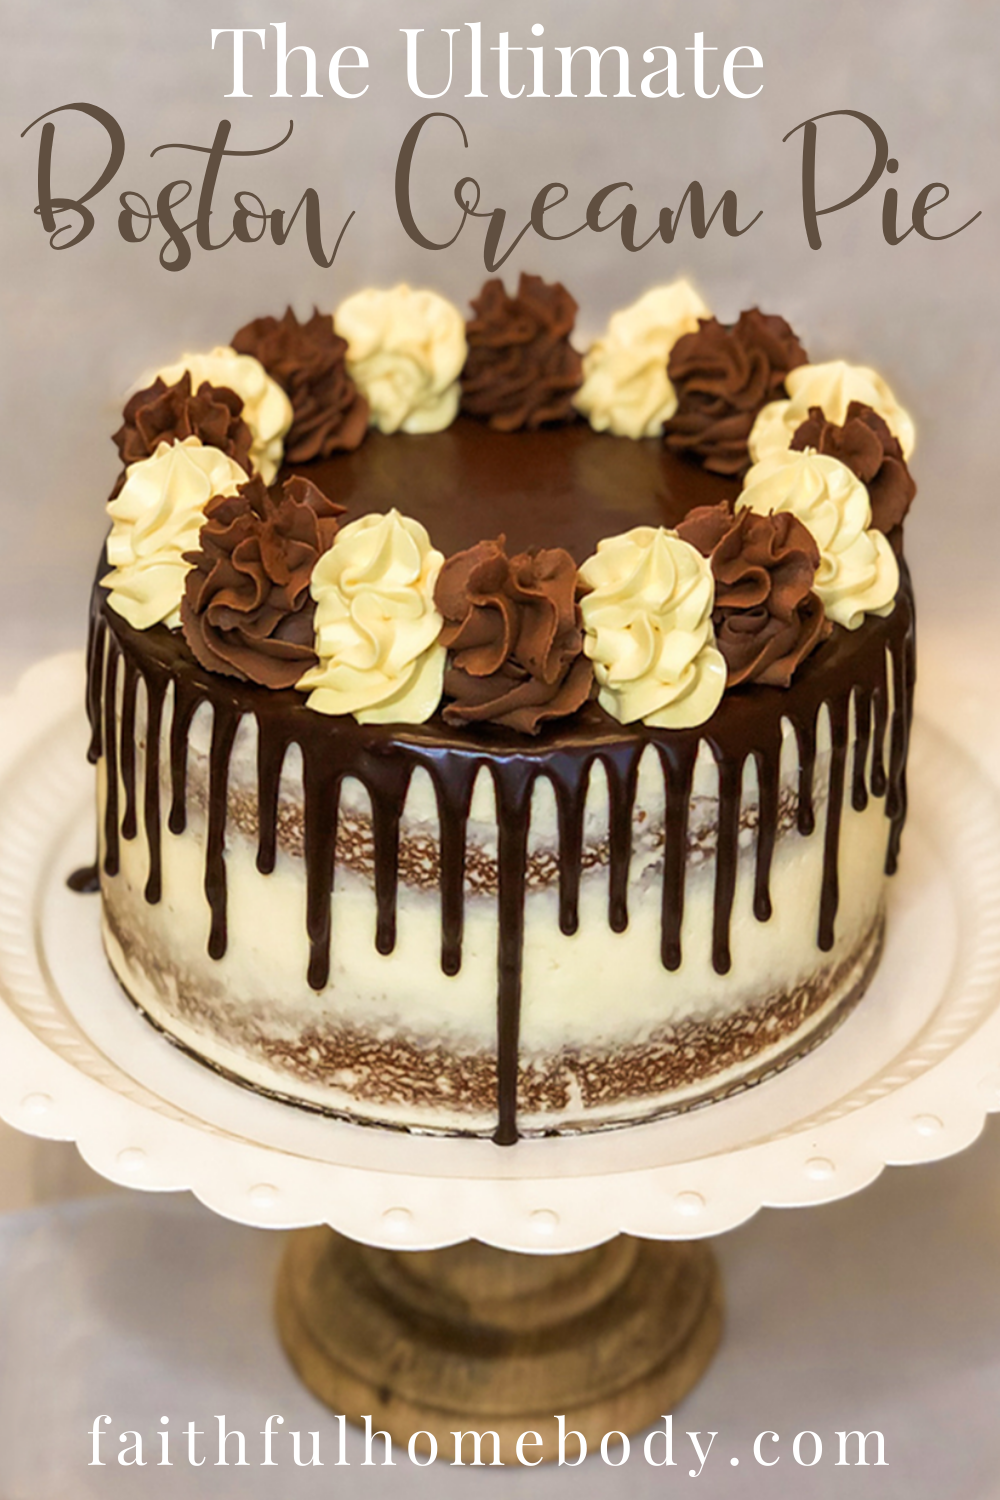

I must say, I think this was one of my best cakes to date. And, I’m so happy that I made this special birthday treat for my sister. She thoroughly enjoyed it! Well, we all enjoyed it! Even though this cake takes a little more time to complete, it is well worth the effort.
If your mouth is watering for this Ultimate Boston Cream Pie, the full recipe is below. And, be sure to pin it and share!
Enjoy!

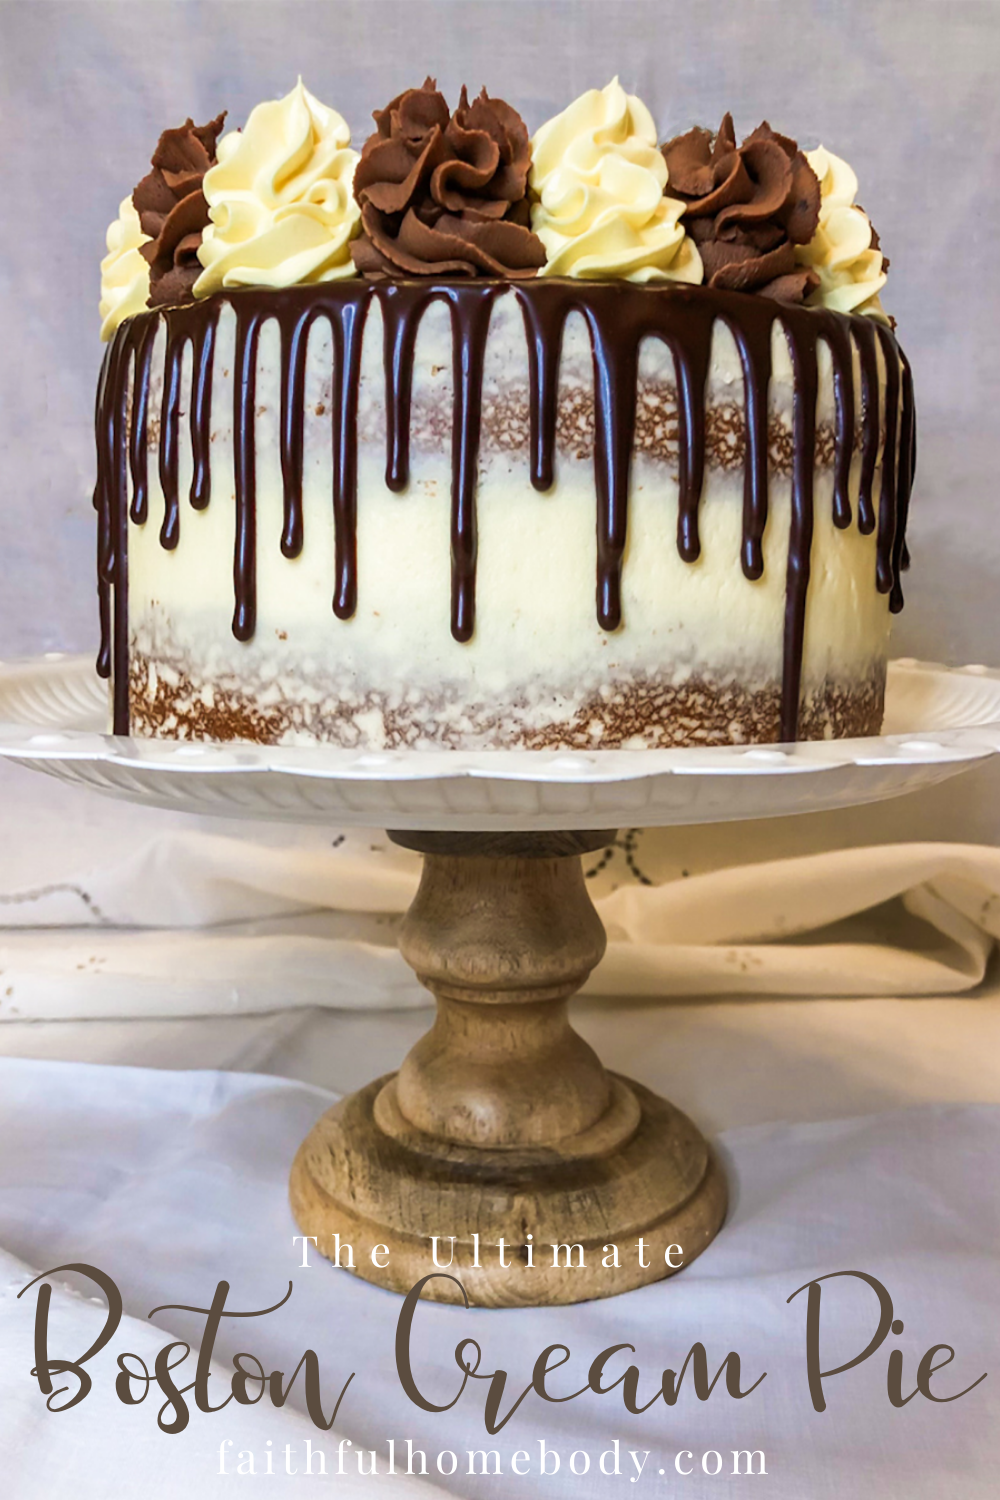
Ultimate Boston Cream Pie | Ganache Drip Cake
Ingredients
Yellow Cake
- 2¼ cups all-purpose flour
- 2¼ tsp baking powder
- ¾ tsp salt
- 2 tsp pure vanilla powder*
- ¾ cup unsalted butter room temperature
- 1½ cup sugar granulated
- 3 large eggs room temperature
- 1 cup whole milk room temperature
Vanilla Custard
- 1 package (3.4 oz) Jell-O instant pudding mix, vanilla
- ¼ cup powdered sugar
- 1 cup whole milk cold
- ½ tub (4 oz) Cool Whip, extra creamy thawed
Vanilla & Chocolate Buttercream Frosting
- ½ cup salted butter softened at room temperature
- ½ cup shortening butter flavored, room temperature
- 1 tsp pure vanilla powder
- ½ tsp almond extract
- 3 tbsp heavy whipping cream
- 3½ – 4 cups powdered sugar
- ¼ cup cacao powder or unsweetened cocoa powder
Dark Chocolate Ganache
- 4 oz Ghirardelli, 60% Cacao Bittersweet Chocolate finely chopped
- 4 oz heavy whipping cream
Instructions
Yellow Cake
- Preheat oven to 350°F. Grease and flour two 8" cake rounds and line bottoms with parchment paper.
- In a medium bowl, whisk flour, baking powder, salt, and pure vanilla powder until combined. Set aside.
- Fit a stand mixer with a paddle attachment and cream the butter and sugar on med-high until pale and fluffy. Reduce speed and add eggs, one at a time, fully incorporating after each addition.
- Add flour mixture and milk, alternating between the two. Begin and end with flour mixture. Fully incorporate after each addition.
- Bake for 30-35 mins or until a toothpick inserted into the center comes out mostly clean.
- Place the cakes on a wire rack and allow them to cool, almost completely. Turn cakes out of pans onto the wire rack and allow them to cool completely.
- Wrap the completely cooled cakes in saran wrap and refrigerate until ready to level and assemble.
Vanilla Custard (Filling & Swirls on Top)
- In a medium bowl, whisk the pudding mix and powdered sugar until combined.
- Pour in the cold milk and whisk for two minutes.
- Add spoonfuls of Cool Whip, folding with each addition until incorporated and there are no lumps.
- Place the custard into an airtight container and refrigerate.
Vanilla & Chocolate Buttercream Frosting
- Fit a stand mixer with a paddle attachment and cream together the softened butter, shortening, and almond extract.
- Add in the heavy whipping cream and mix well.
- With the mixer on low speed, add in the powdered sugar and pure vanilla powder. Mix for 2 to 3 minutes.
- Reserve ¼ of the mixture, setting aside in a small bowl. (The cacao powder will be added to this mixture for the chocolate buttercream.)
- Continue to mix remaining vanilla buttercream, adding additional powdered sugar or cream, until the desired consistency is reached. Place the vanilla buttercream mixture into an airtight container. Set aside.
- Place the reserved ¼ part mixture back into the mixing bowl. Add the cacao powder and mix until the desired consistency is reached, adding additional cream, if needed. Place the chocolate buttercream into a separate airtight container. Set aside.
Dark Chocolate Ganache Drip
- Place finely chopped chocolate into a medium metal bowl.
- Scald the cream by bringing it just barely to a simmer. Pour over chopped chocolate.
- Cover the bowl with plastic wrap and let the warm cream and chocolate stand for 2 minutes. Then, gently stir mixture from the center, working your way out until the ganache is smooth and shiny.
- Place plastic wrap directly on the surface of the ganache. Don’t stir or agitate the ganache when it’s setting. Do not refrigerate.
- Allow ganache to cool completely and thicken overnight.
- Before using the ganache for a drip, the cake should be assembled with the custard filling, crumb coated with the vanilla buttercream, and refrigerated until chilled. Then, gently stir the set ganache from the center working your way out until the ganache is shiny and smooth. Transfer to a microwavable bowl and warm it *slightly* in the microwave, approximately 5-10 seconds.
- Use a funnel and pour ganache into a squeeze bottle.
Level, Assemble, and Frost the Cake
- Level the tops of the cakes using a cake leveler.
- Add a small smear of vanilla buttercream to an 8" cake board. Place one of the cakes on the board.
- Place the cake board with the first layer of cake on a cake turntable.
- Use the Wilton 2A tip and piping bag to pipe a border of vanilla buttercream around the top edge of the cake.
- Then, use the Wilton 2A tip and piping bag to pipe a continuous swirl of vanilla custard in the center of the cake, starting inside the outline of vanilla buttercream.
- Place the remaining cake layer on top of the filling layer.
- Crumb-coat the sides and top of the cake with vanilla buttercream using an offset spatula. Use a pastry scraper to smooth the frosting and remove any excess.
- Refrigerate the cake until chilled.
- Use a cake lifter to remove the cake from the turntable and set it on a cake stand.
- Apply the ganache drip. Place the tip of the squeeze bottle, containing the ganache, just a little bit above the top edge of the cake, and gently squeeze the bottle to release the ganache. Release the pressure on the bottle when you’ve added enough of a drip, leaving just a little pressure to fill in the gap as you move to the next drip. After adding drips around the top edge of the cake, pour the remaining chocolate into the center of the cake. Use an offset spatula to spread the chocolate ganache evenly to the edges of the cake, connecting with the drip border.
- Return the drip cake to the refrigerator to chill and firm up. Then, it's ready to add swirls of vanilla and chocolate buttercream to the top of the cake.
- Use a Wilton 2D (closed star) tip and piping bag to pipe the chocolate buttercream swirls on top of the ganache.
- Use a Wilton 1M (open star) tip and piping bag to pipe the remaining vanilla custard into swirls, between the chocolate buttercream swirls.
- Refrigerate until chilled. Serve & enjoy!

Leave a Reply