

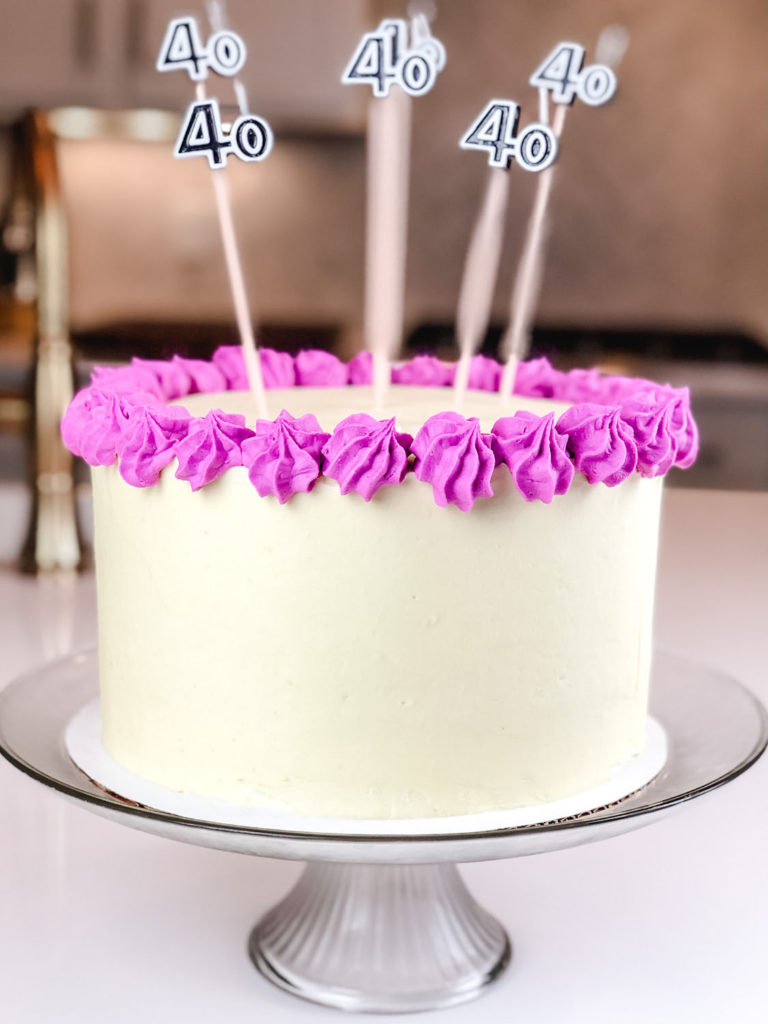
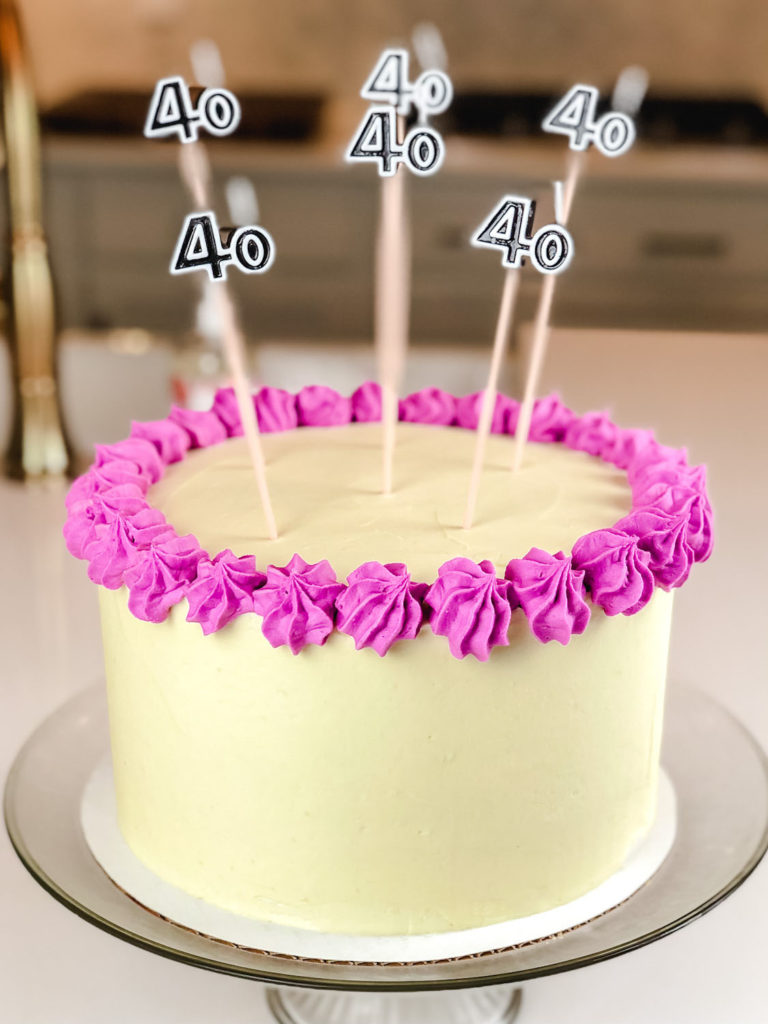
We had a special birthday in our house this past weekend – my husband turned the big 40! A big birthday calls for a big cake, right? His request? A delicious cake we enjoyed at our favorite getaway spot in Montana, a few anniversaries ago. It was a White Chocolate Huckleberry Cake. And it was phenomenal! I was determined to re-create this cake for him! Well, re-create it the best I could!
And let me tell you, this cake was AH-maze-ing!
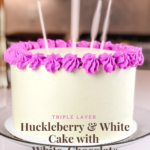
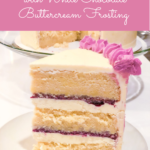
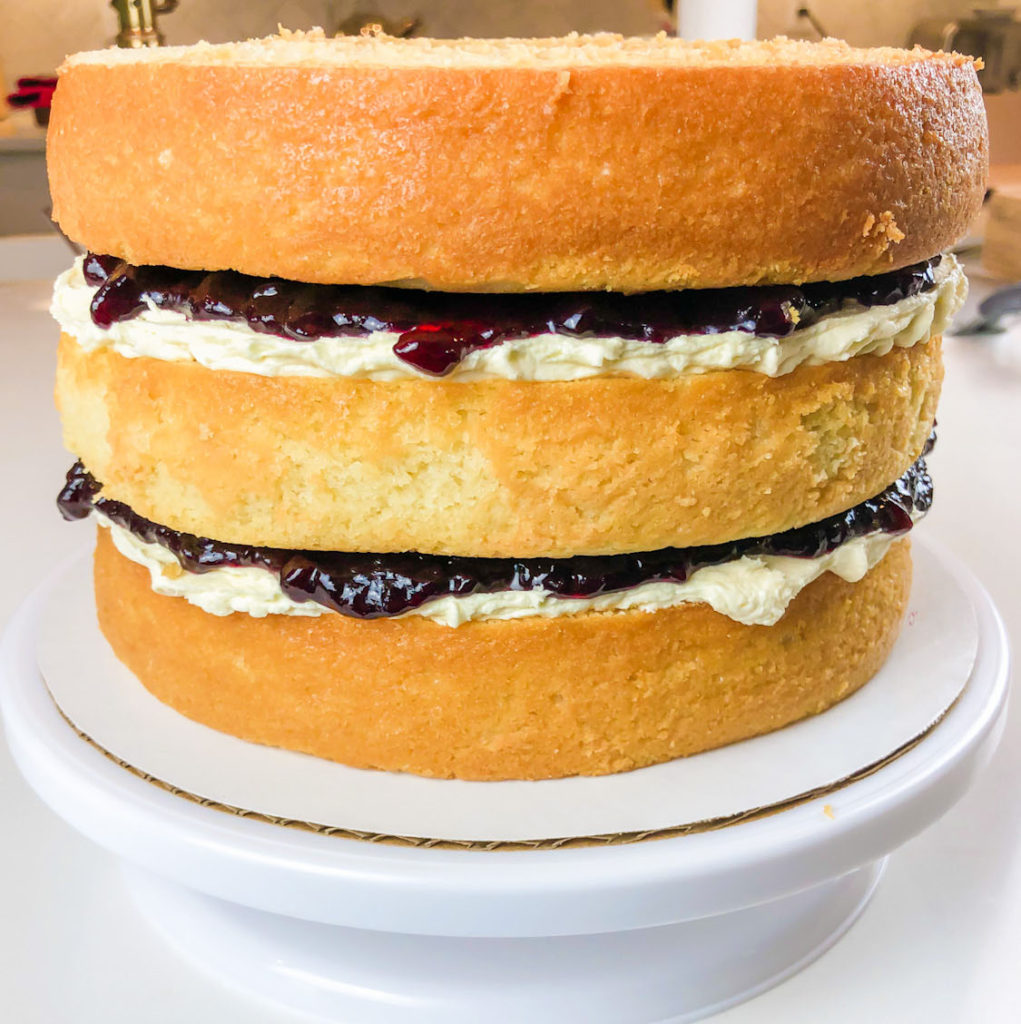
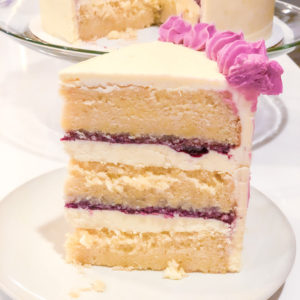
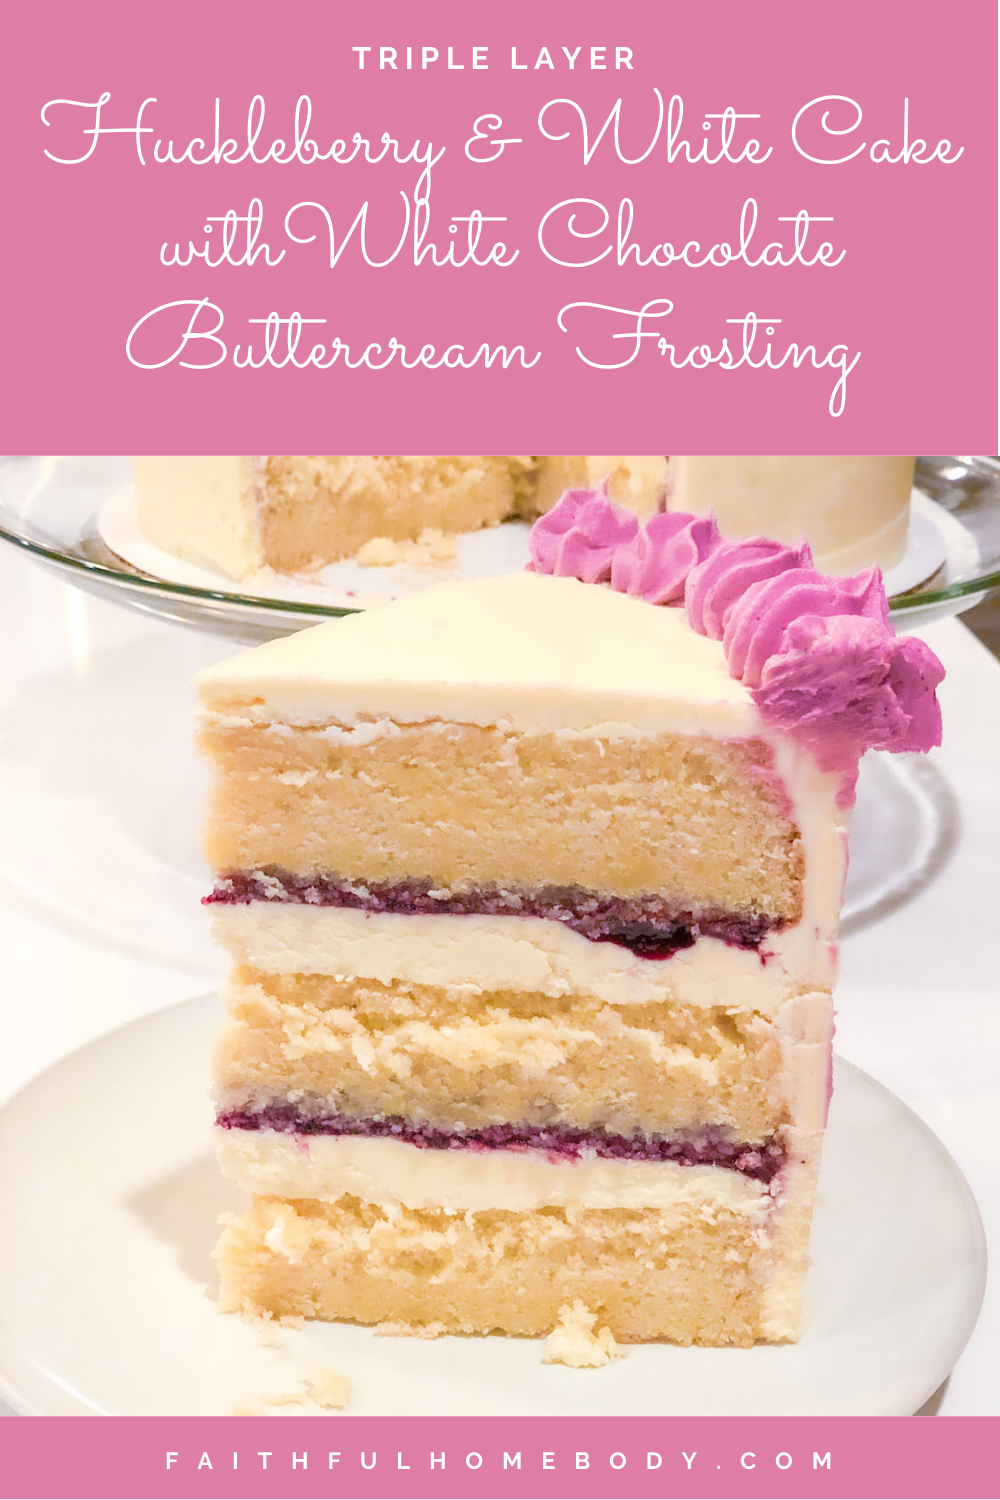
I opted to make a 9-inch, triple-layer white cake with huckleberry filling in the layers and white chocolate buttercream frosting. This recipe makes a BIG cake, perfect for birthdays or special occasions.
This post contains affiliate links. Please refer to my disclosure statement for more information.
I’m Your Huckleberry…
We moved from Montana to Tennessee about a year and a half ago. Given that, I wondered how I was going to pull off a huckleberry cake. How, oh how, do I get some Montana huckleberries without breaking the bank to get them here?


Montana is known for wild huckleberries. The Northwest, in general, is known for wild huckleberries. If you have never tasted fresh wild huckleberries, you need to! You must!! Sweet, tart, delicious. Since I couldn’t pull off getting fresh, I knew that I could purchase some huckleberry products, such as canned preserves or jams. I thought that could be the next best thing to fresh or frozen huckleberries. Using fresh berries is always the best option, so if you’re able to get your hands on some, definitely make your own huckleberry filling!
Huckleberry Cake Filling
I purchased Shadow River Wild Huckleberry Gourmet Berry Jam Preserves With No Added Refined Sugar, 9 oz, and Shadow River Wild Huckleberry Gourmet Berry Jam With Real Fruit Pieces, 13 oz. I ordered one of each and then mixed the two to use for the fruit filling, to place on top of the frosting, between the cake layers. Once mixed, I stored it in an airtight container in the refrigerator until I was ready to frost the cake.
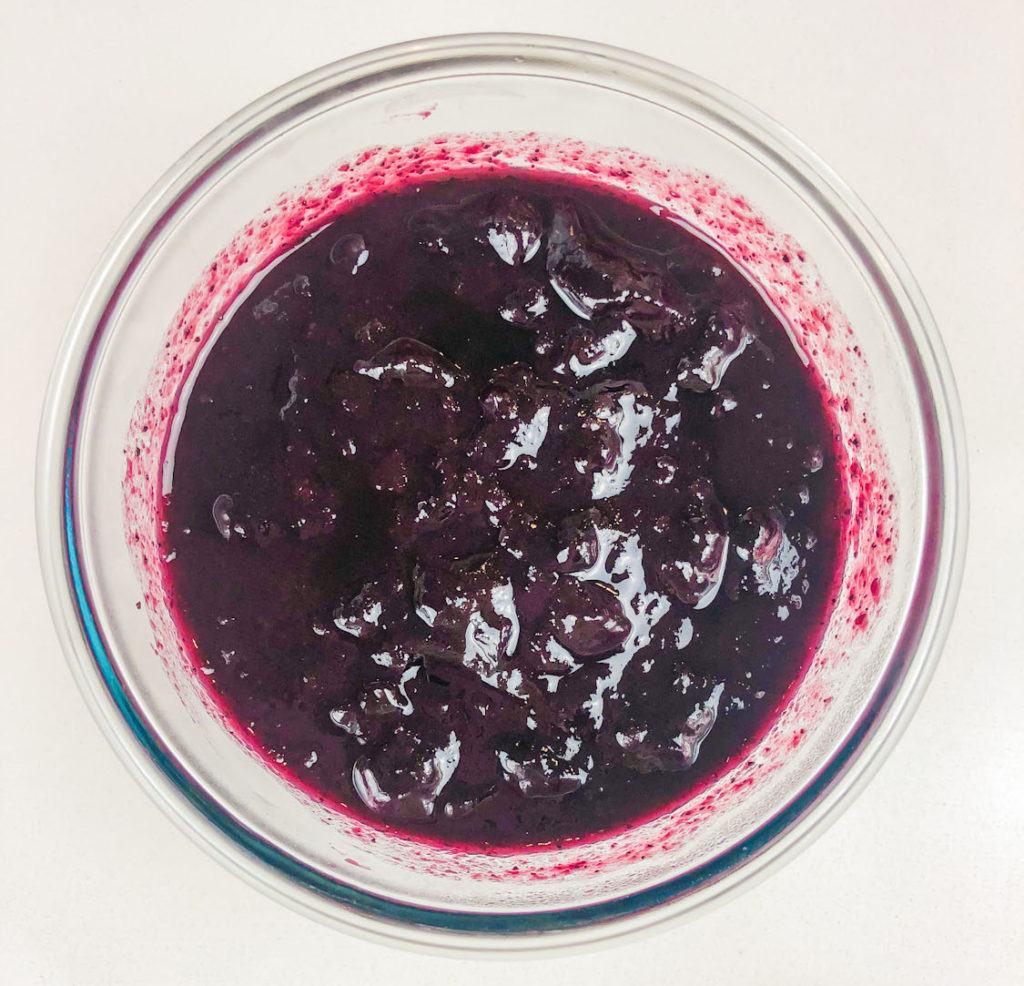
These products are made in the USA in the beautiful mountain state of Montana. (check!) They are reasonably priced for huckleberry products, as well. (check, check!) This combination of huckleberry products made a wonderful fruit filling for the cake.
White Chocolate Buttercream Frosting
To really re-create the cake, I needed to add white chocolate. So, why not add white chocolate to the frosting? And, oh wow – I’m sure glad I did! It adds so much flavor to the frosting!
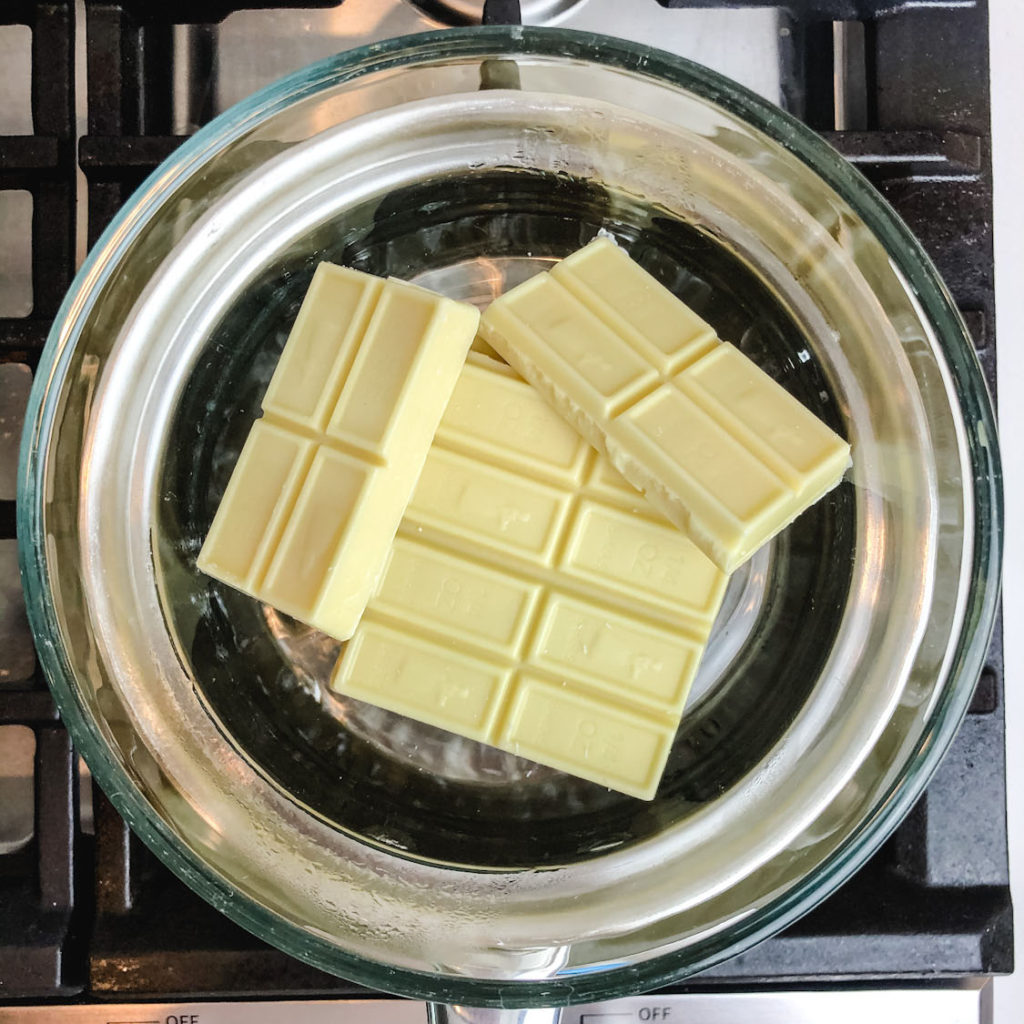
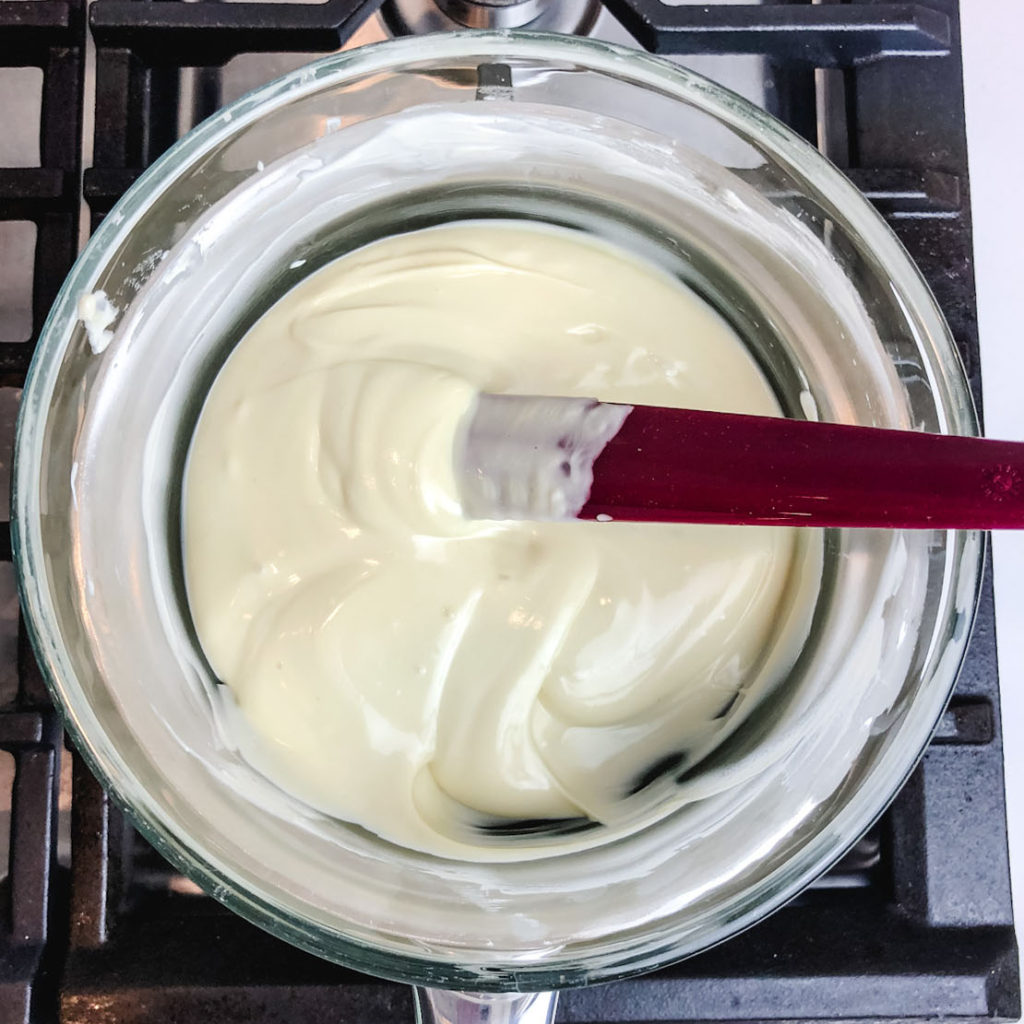
I melted 6 oz of white chocolate, using a double-boiler, and then allowed the chocolate to cool before mixing with the frosting.
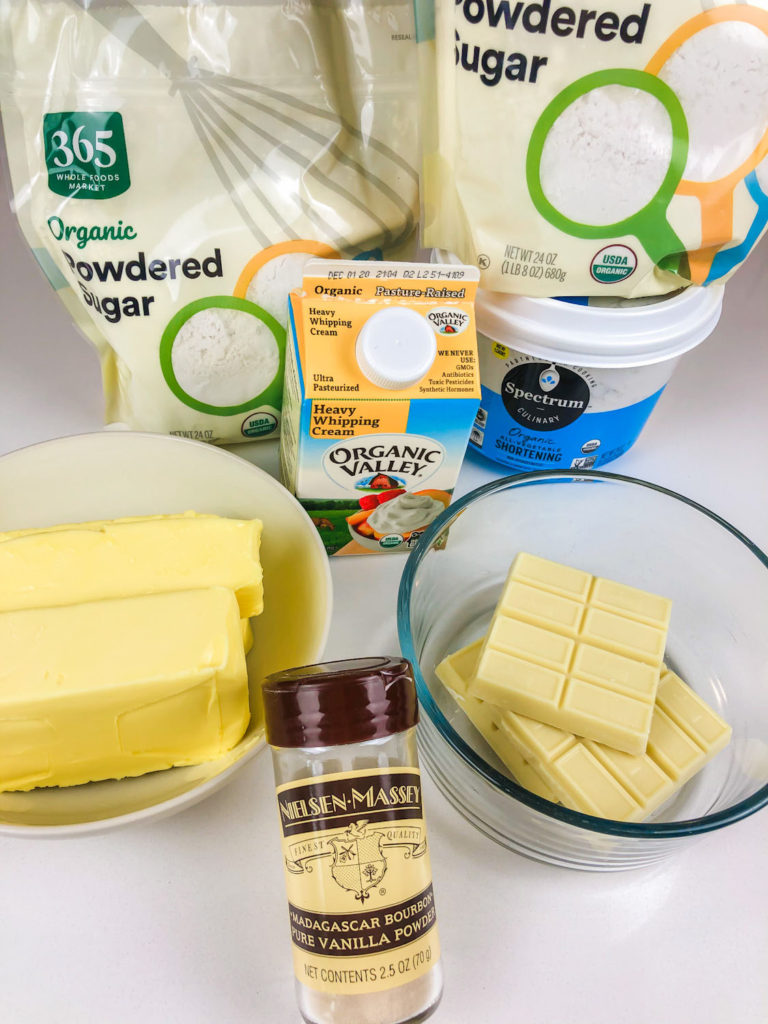
The frosting consists of unsalted butter, vegan shortening (weird, right?), powdered sugar, cream or milk, white vanilla powder, and melted white chocolate. I love the combination of vegan shortening and butter. It creates a nice consistency for the frosting. And, it also holds at room temperature.
How to Make the Frosting
- 2 cups unsalted butter, room temperature
- 2 cups Spectrum shortening
- 9-10 cups powdered sugar
- 4 tablespoons cream or milk
- 4 tablespoons white vanilla powder
- 6 oz white chocolate, cooled to about room temperature, yet not hardened
- Food coloring, if desired
Step 1: Set the butter out on the counter and bring to room temperature.
Step 2: Melt the white chocolate using a double-boiler. Stir frequently until just melted. Remove from heat and allow to cool until almost at room temperature.
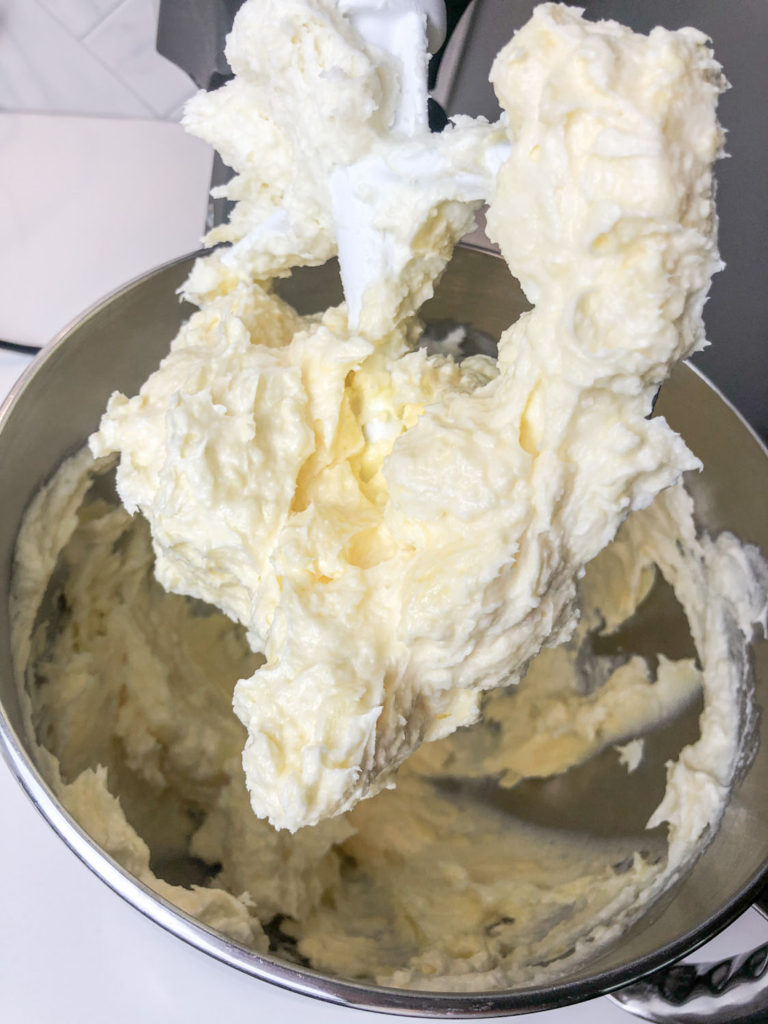
Step 3: While the chocolate is cooling, beat the butter and shortening together in a large bowl using a stand-mixer or hand-mixer. This frosting recipe makes A LOT of frosting. You will need a large mixing bowl! Attach the paddle attachment to a stand-mixer. Beat on low until just blended. Scrape the bowl as needed.
Step 4: Add the powdered sugar, one cup at a time, alternating with the cream or milk. Add the white vanilla powder. Blend at low speed until mixed and smooth. Add more powdered sugar and cream or milk to achieve the desired consistency. Scrape the bowl as needed.
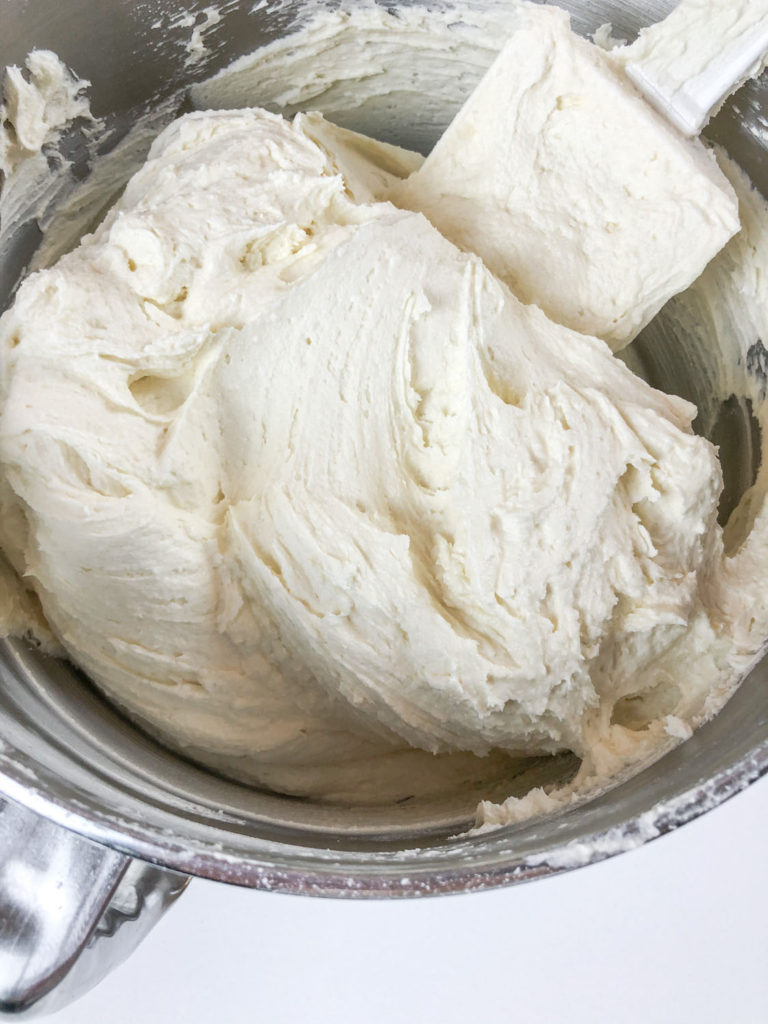
Step 5: Pour the cooled white chocolate into the frosting mixture. (**be sure the chocolate has cooled enough, or it will affect the frosting consistency**) Beat until light and fluffy.
The frosting may be stored at room temperature until later in the day, covered with plastic wrap or in an air-tight container. If using later in the week, it may be refrigerated. Set out and bring to room temperature before frosting.
How to Make the White Cake
This recipe is for three, 9-inch cakes.
Line the bottom of each cake pan with parchment paper. To do so, trace the bottom of the pan on a piece of parchment paper and cut out the circle.
Spray the pans with a butter spray and lightly flour.
Pre-heat the oven to 325 degrees F.
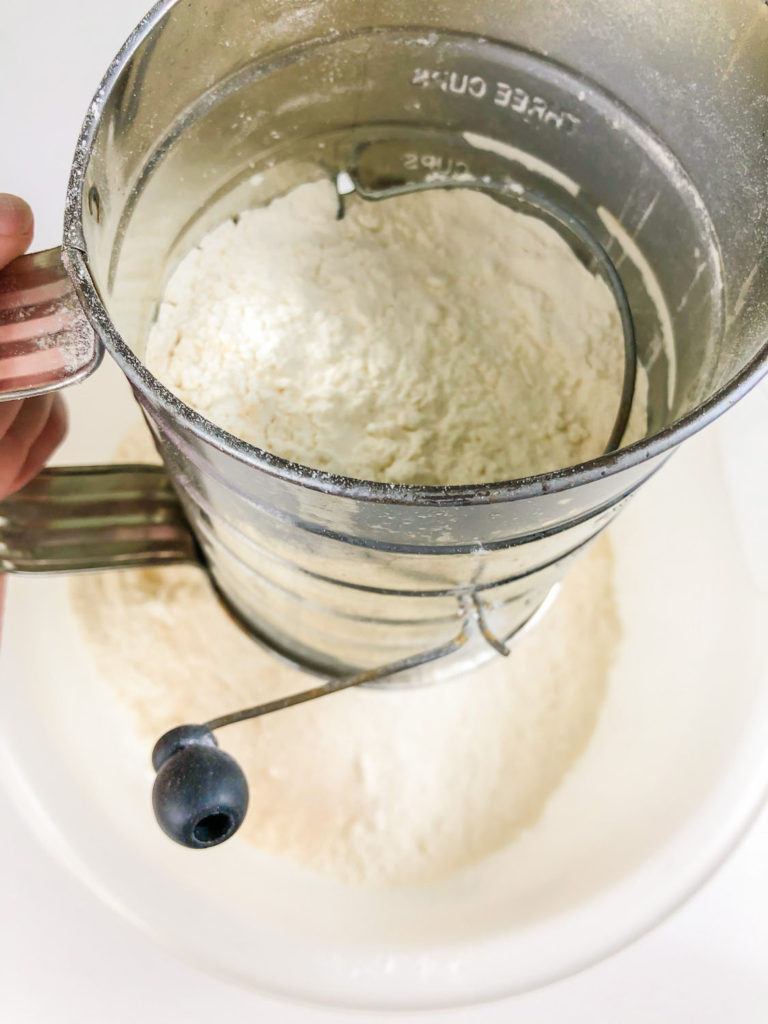
Sift together in a large bowl; set aside:
- 5 cups cake flour, unbleached and unenriched
- 1 tablespoon baking powder
- 3/4 teaspoon baking soda
- 1 tablespoon salt
- 2 tablespoons white vanilla powder

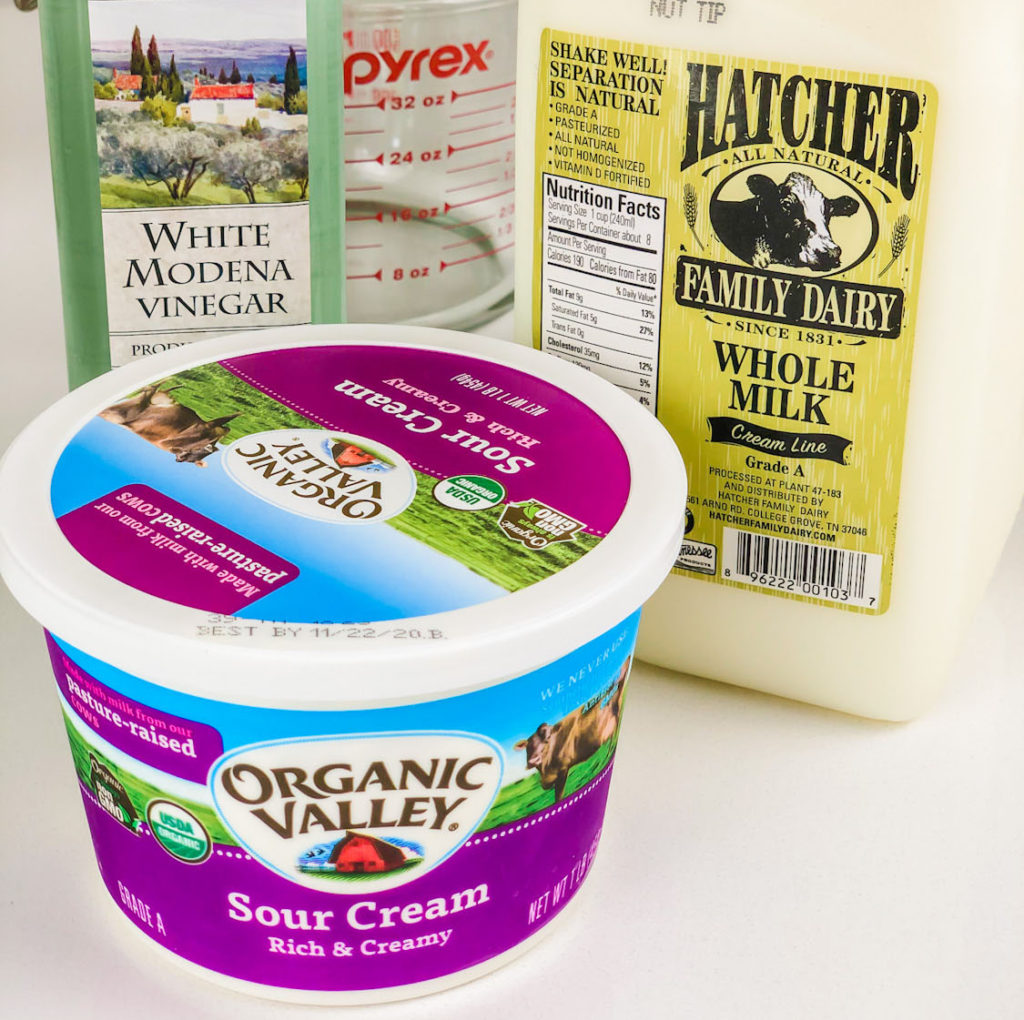
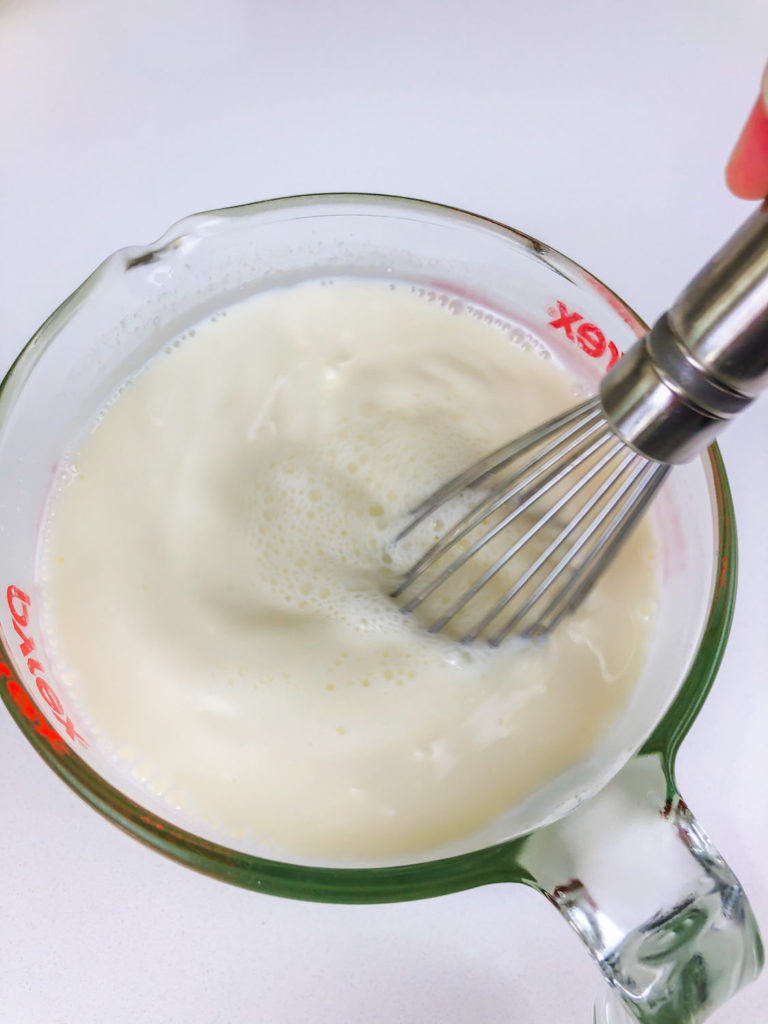
Mix/whisk together in a large bowl; set aside:
- 3 cups milk
- 3/4 cup sour cream
- 3 tablespoons white vinegar
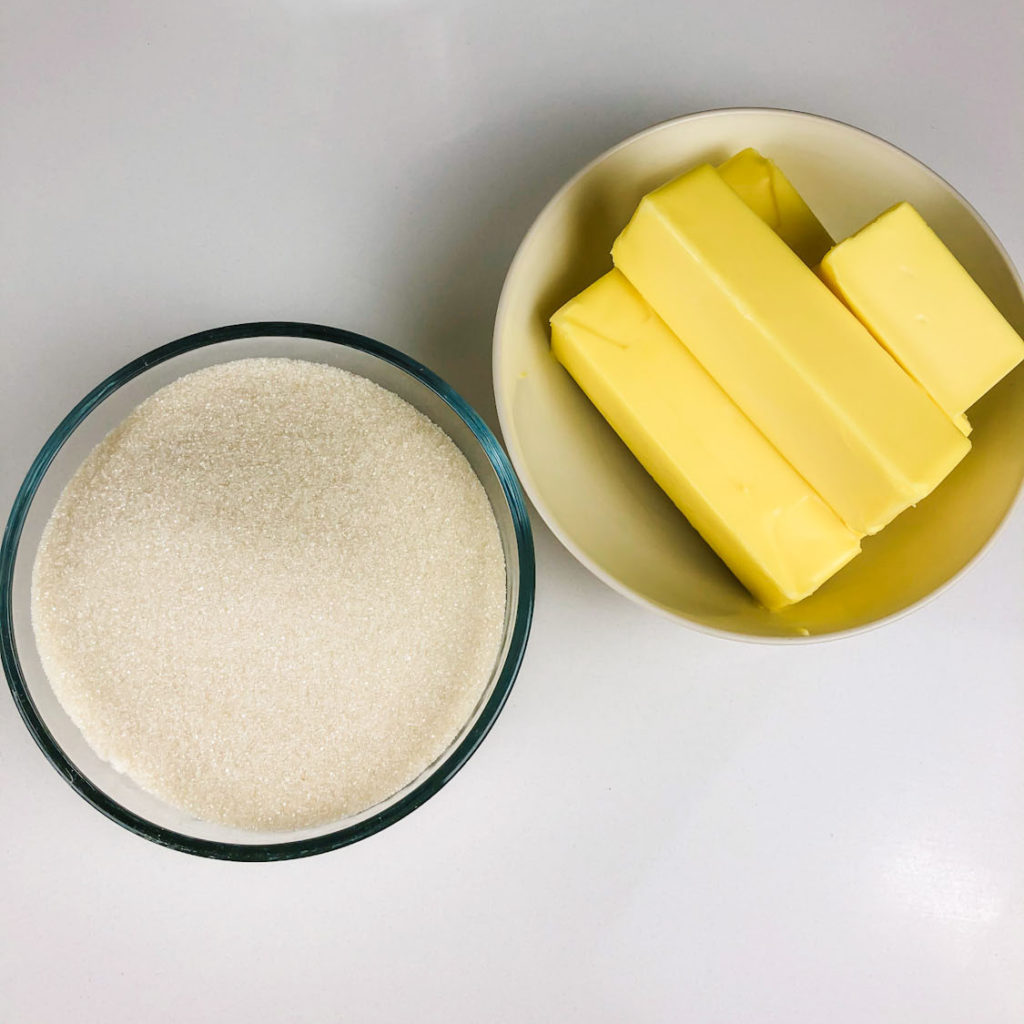
Cream together butter and sugar using a stand-mixer with the paddle attachment. Scrape the bowl, as needed.
- 2 1/4 cup unsalted butter, room temperature
- 3 cups sugar
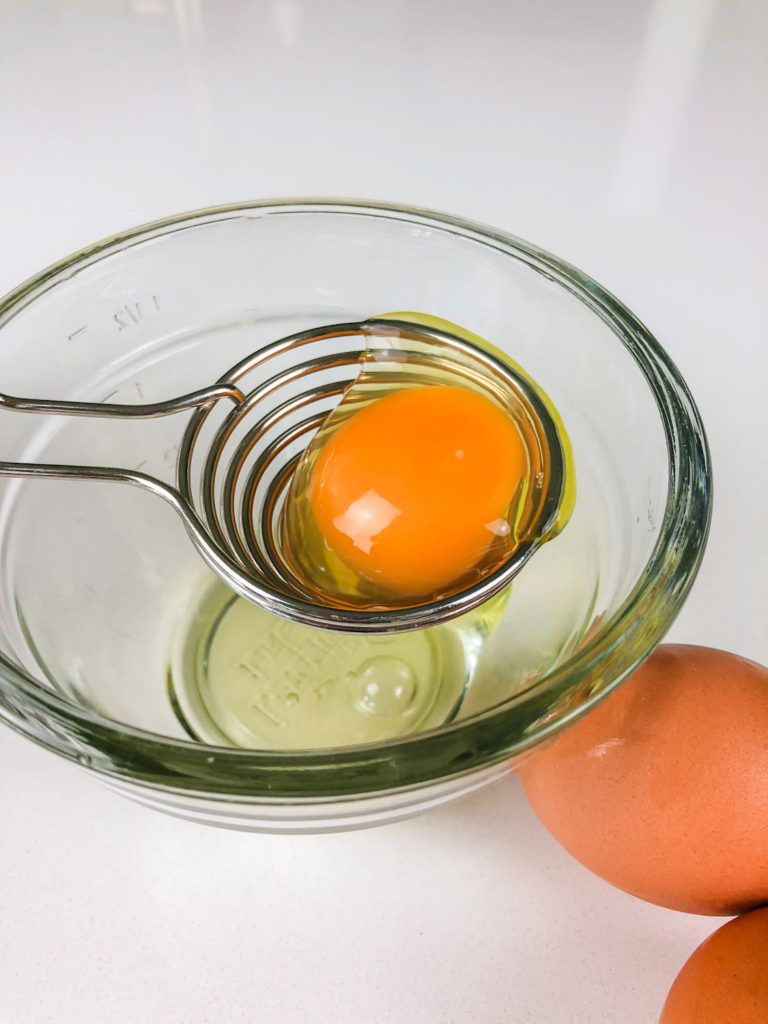
Add egg whites, one at a time, until incorporated into the creamed butter and sugar. Scrape down the bowl, as needed.
- 9 egg whites
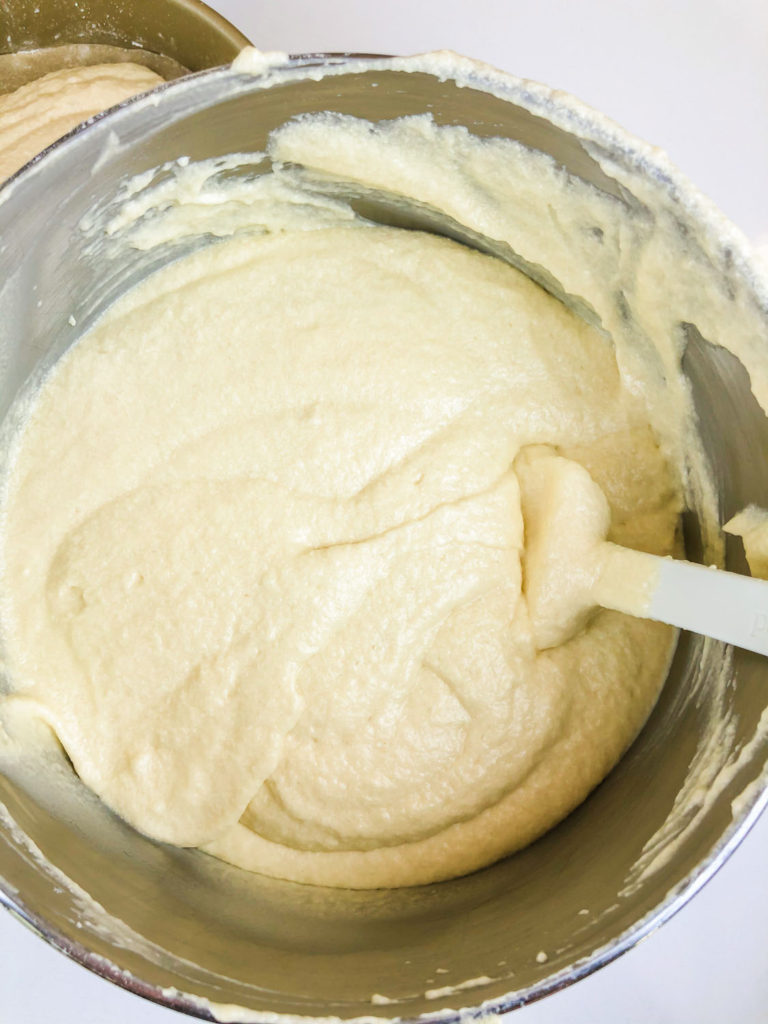
Add the flour mixture and the milk/sour cream mixture to the butter and egg white mixture, alternating between batches. Start with the flour mixture, then add the milk/sour cream mixture. Repeat 2-3 times and end with the flour mixture. Scrape the bowl as needed. Mix until just incorporated; try not to over mix.
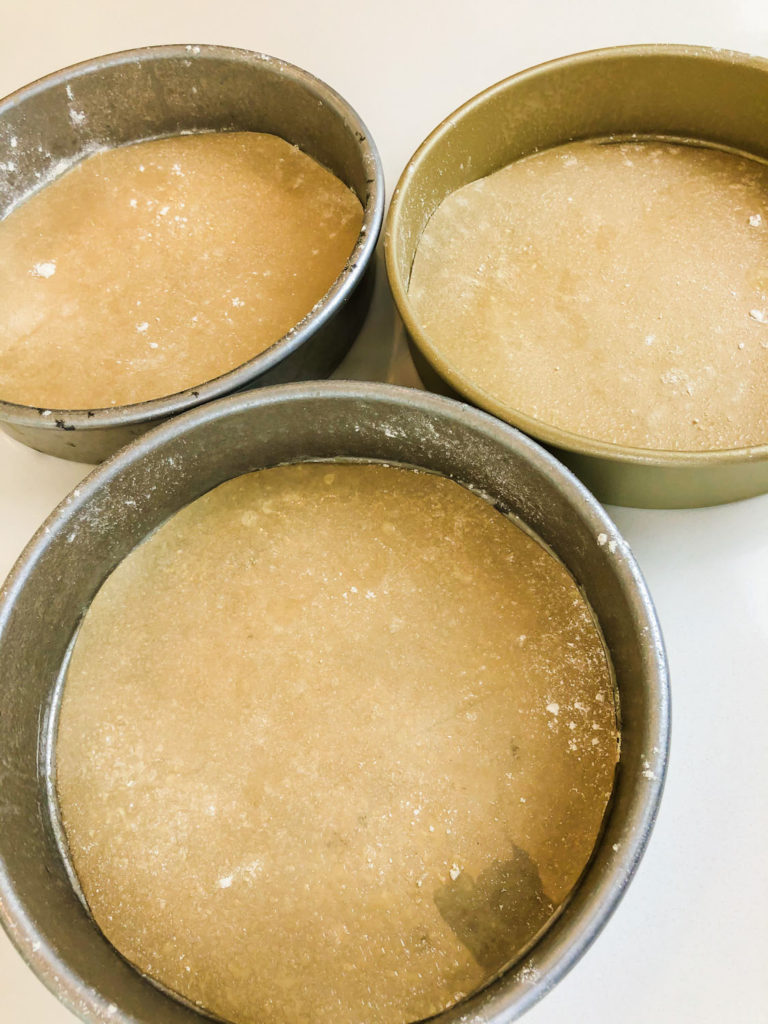
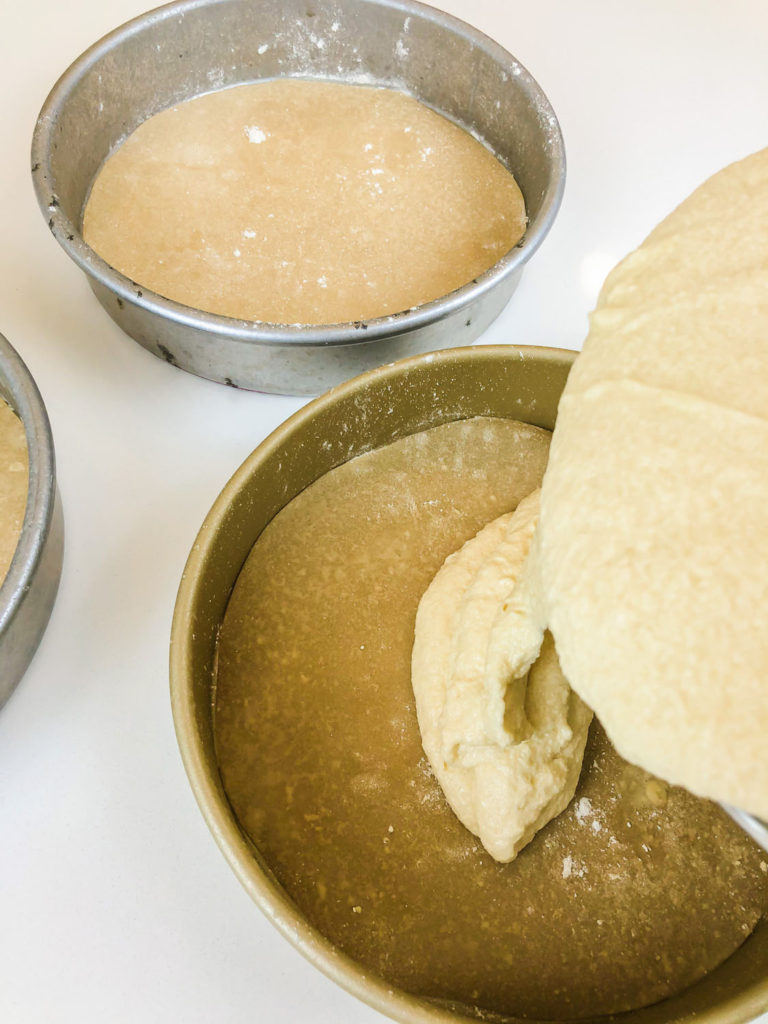
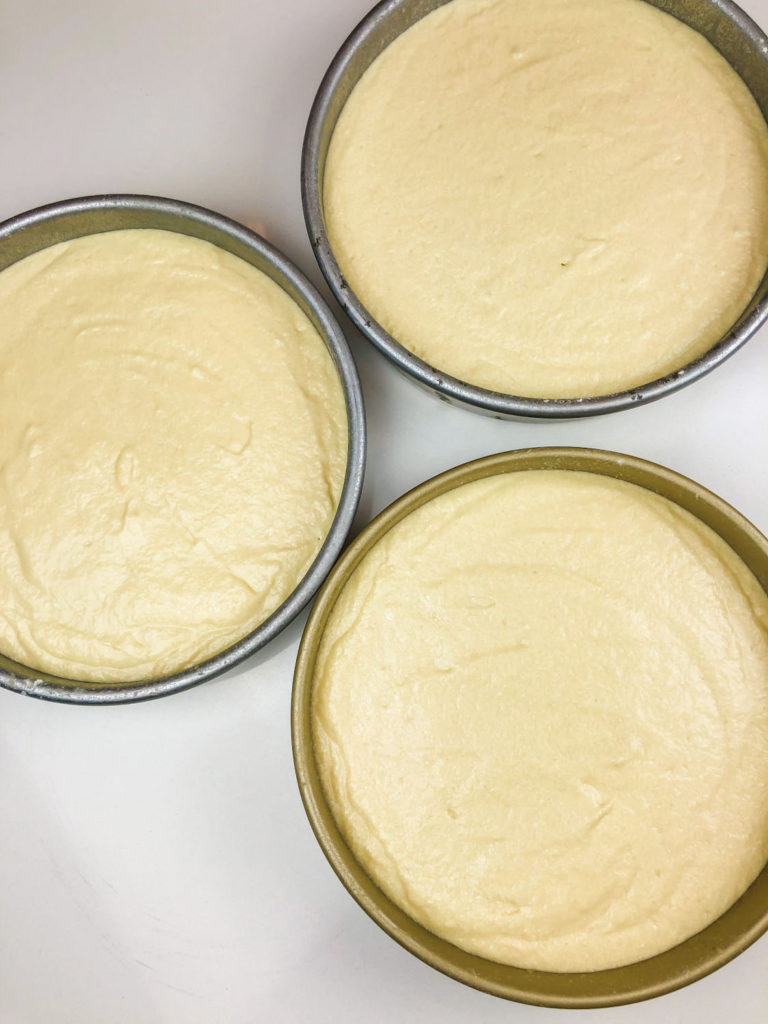
Divide the batter evenly between the three 9-inch cake pans. Bake at 325 degrees F, approximately 45-55 minutes. After about 40 minutes, check the cakes with a toothpick; remove cakes from the oven when it comes out clean.
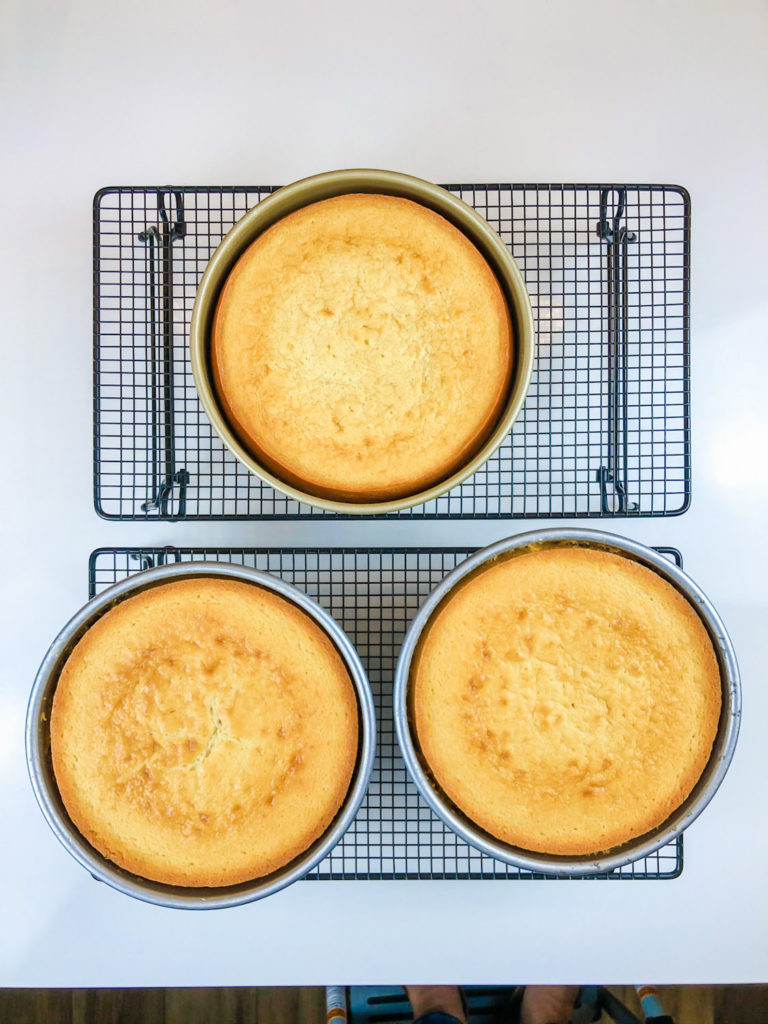
Cooling the Cakes
Remove cakes from the oven when a toothpick comes out clean and place on cooling racks. Leave the cakes in the pans to cool, until cooled almost completely! This helps to ensure your cakes will not sink and will allow the cakes to firm up.
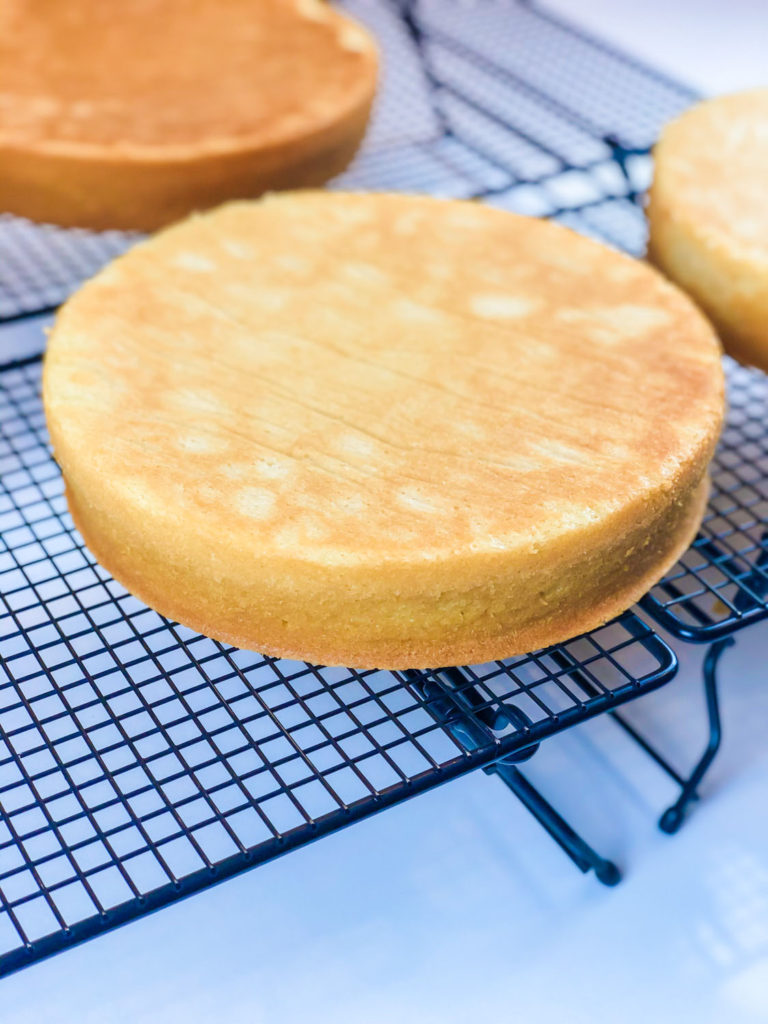
Once cakes are almost completely cooled, flip them over onto the cooling rack. Remove from the pans. Peel off the parchment paper and allow the cakes to cool completely. Individually wrap the cakes in plastic wrap and refrigerate for at least one hour. Wrapping and refrigerating helps to seal in the moisture. It also makes for easier cutting when trimming up the cake tops and sides before frosting.
Remove the cakes from the oven when a toothpick comes out clean. Place the cakes on cooling racks and allow them to cool, almost completely, in the pans. Flip the cakes onto the cooling racks and remove the parchment paper. Allow the cakes to be completely cooled before frosting or before wrapped in plastic wrap and refrigerated.
Tip – Make the cakes a day or two in advance, wrap in plastic wrap, and refrigerate. This really seals in the moisture, firms up the cake, and allows for easy slicing if you’d like to level the tops.
Let the cakes chill in the refrigerator for at least an hour, or up to several days, until ready to frost.
Time to frost!
Leveling, assembling, & frosting the cake
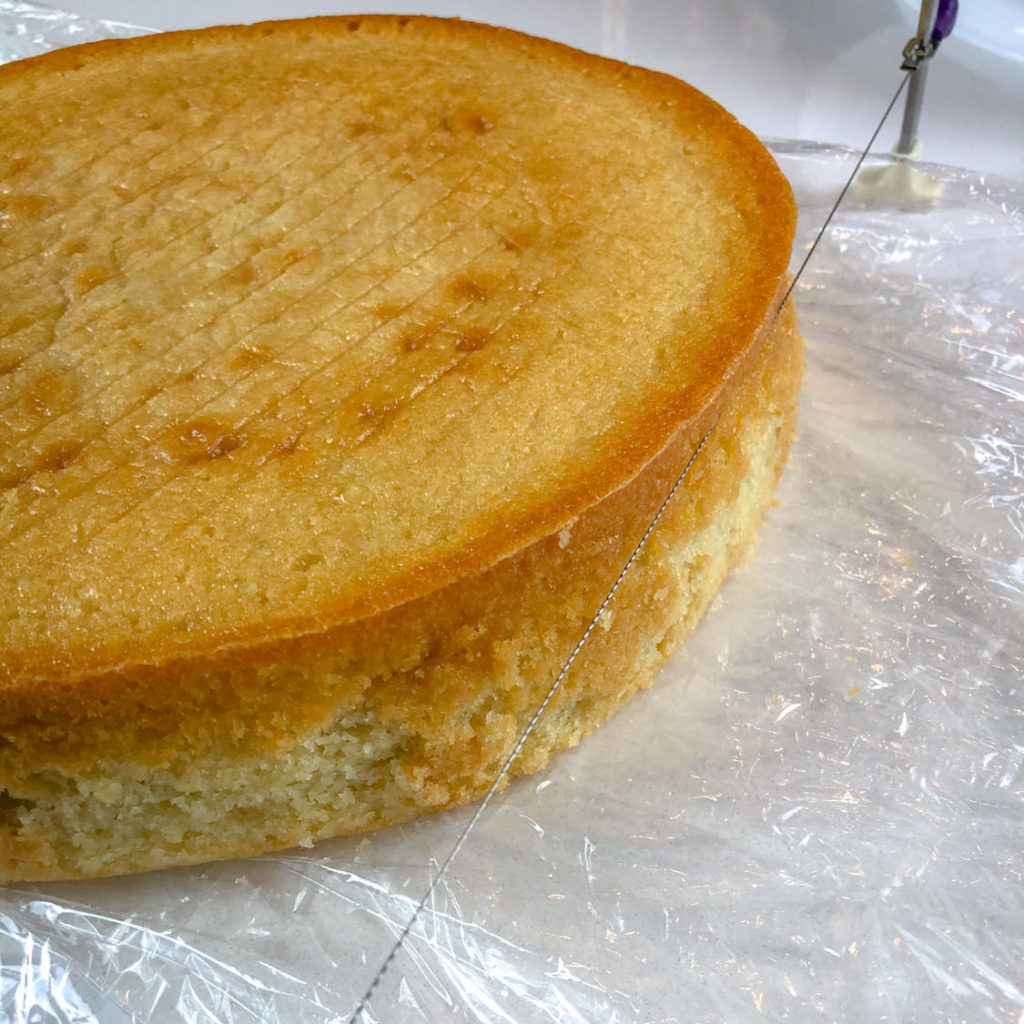
How to Level the Cake
I like to level the tops of my cakes, so the layers are straight and of consistent thickness. It makes for a lovely presentation when you cut into the cake. To do so, you may use a long serrated knife or a cake leveler. I prefer to use a cake leveler, they are handy-dandy!
Remove the cakes from the refrigerator and unwrap. The bottom of the cake will already be flat from being in the pan. Set the cake so the flat bottom of the cake is placed on the counter. Use the cake leveler to slice off the top of the cake, to your desired thickness, which can be adjusted with the leveler. Repeat for the remaining cakes.
How to Assemble & Fill the Cake
Place one of the cakes on a cake board. I used a 10 in cake circle. Prior to placing the cake on the board, you may add a dollop of frosting to the board. This helps the cake to stay put!
If you have a cake decorating wheel, now would be the time to place the cardboard with the first cake layer on the wheel. I have a wheel that I purchased as a set that included spatulas and scrapers – I love it!
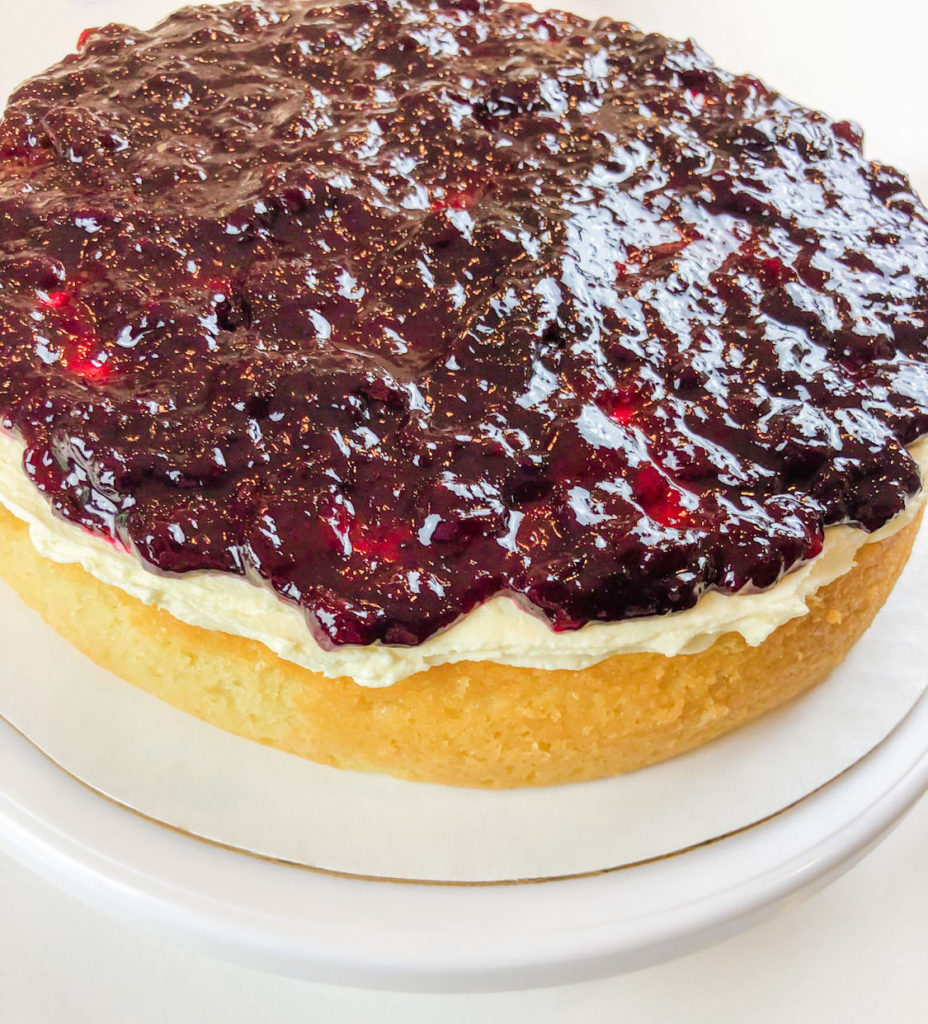
Add a layer of the White Chocolate Buttercream Frosting to the top of the first cake layer and smooth. Use a large offset spatula to smooth out.
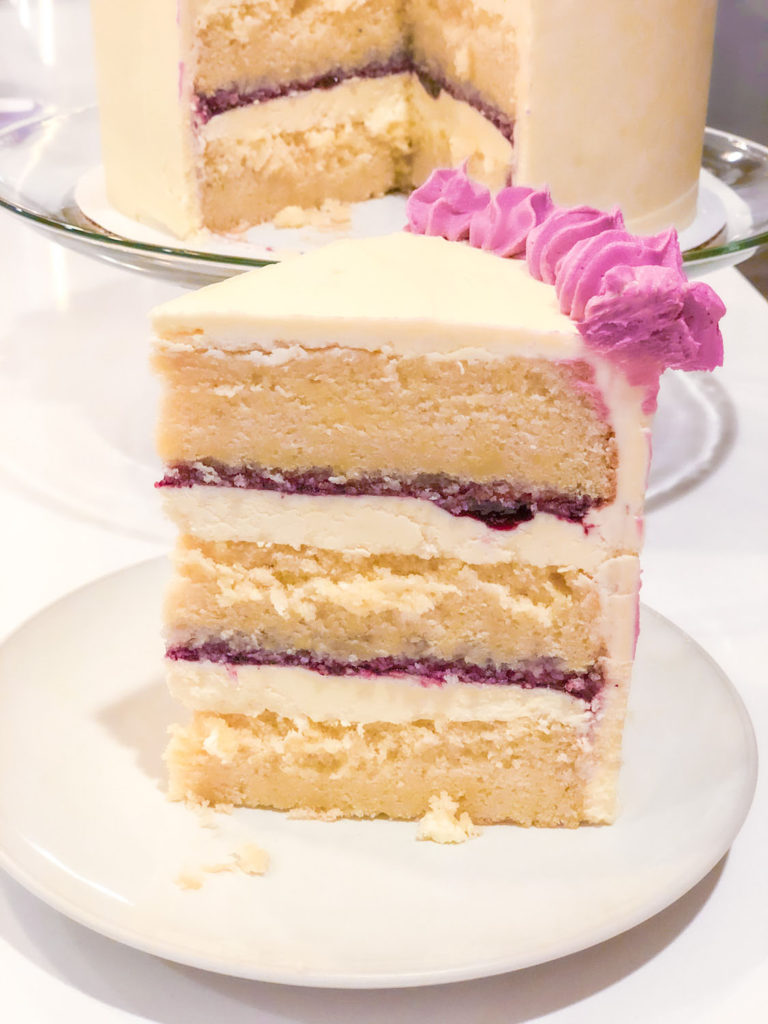
Add a layer of the huckleberry mixture on top of the frosting. Even out the berries across the entire layer.
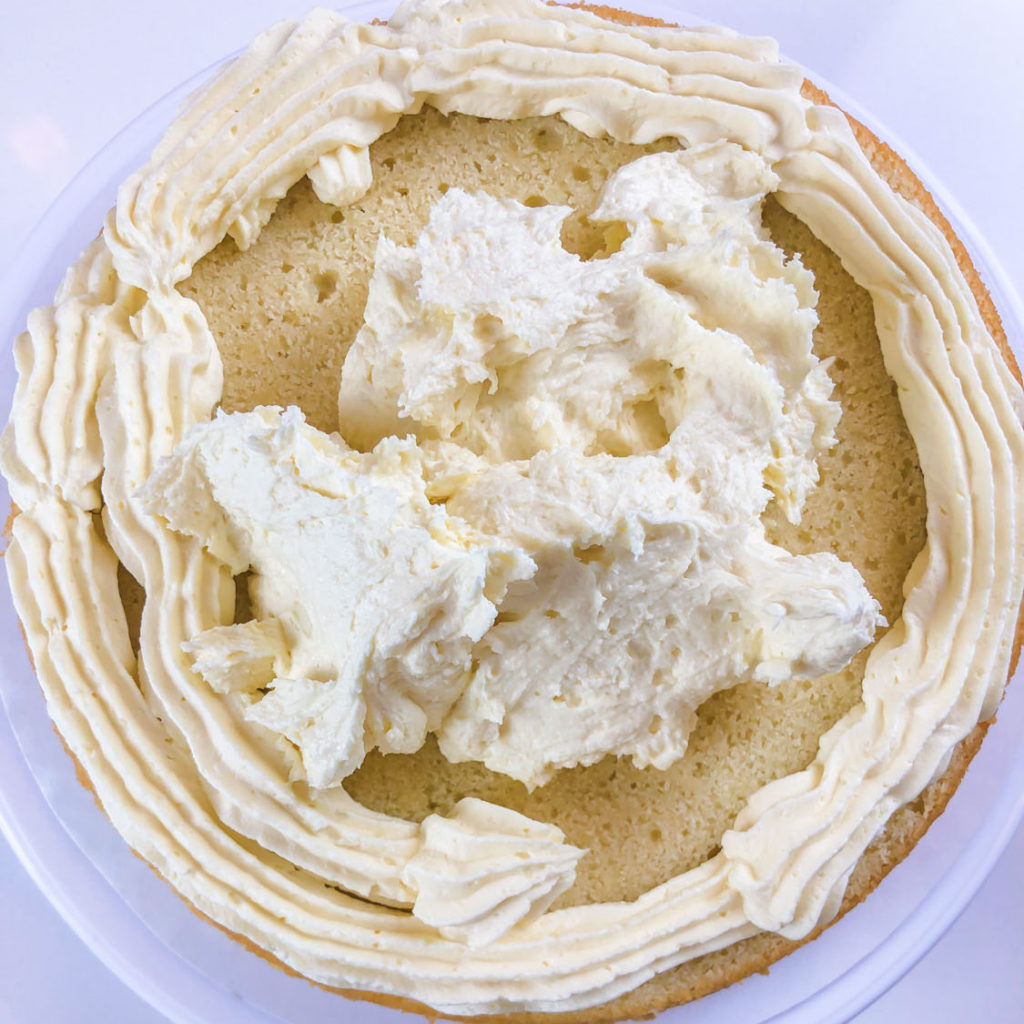
Repeat with the remaining cakes. (The layers may move around a little bit at this point. That is fine. Straighten the layers before crumb coating. Once crumb coated, it will firm up nicely.) I chose not to add huckleberries to the top of the cake.
Don’t worry about any gaps at this point. Once crumb coated, the frosting will fill in any gaps!
How to Crumb Coat the Cake
Fill a small-medium bowl with frosting. This frosting will be used for the crumb coating. You may be getting crumbs and berry mixture into this frosting, so you’ll want to separate it from the other frosting, which you’ll want to remain pretty for the outer and final layer.
Spread a thin coat of frosting around the cake to fully cover the sides and top of the cake. Fill in any gaps with frosting at this point. **It does not need to look perfect!** Use the large offset spatula and a small offset spatula to smooth and add frosting to the cake.
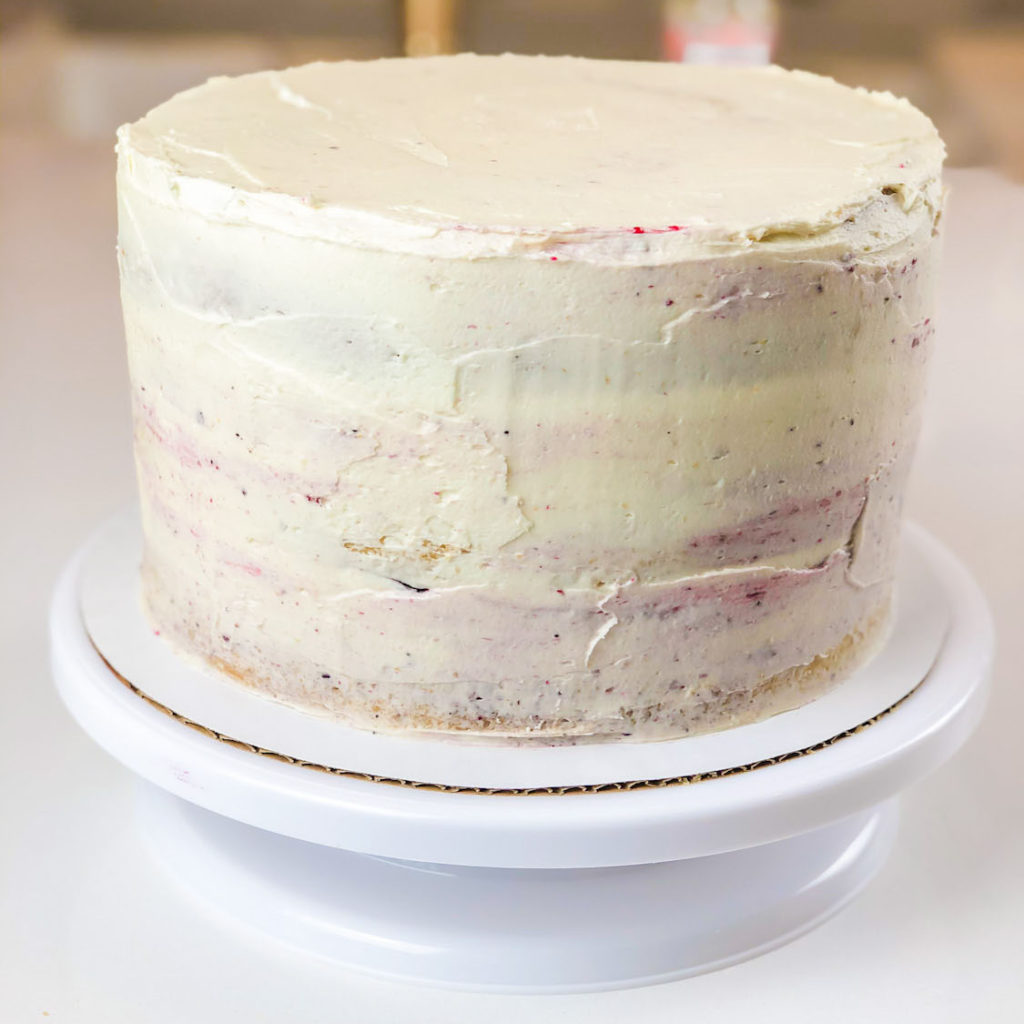
This coating of frosting is sealing all the crumbs in, so when you do the last layer of frosting, crumbs and berries won’t pull off the cake and get into the frosting.
Chill in the refrigerator for at least an hour. This helps the frosting firm up for the last coating.
How to Frost the Cake
Remove the cake from the refrigerator. The crumb coating should be firm, which helps the last layer of frosting go on effortlessly! Well, somewhat effortlessly. The tricky part is achieving a super smooth cake. It takes some practice, but the more cakes I smooth, the easier it gets! Have you ever plastered a wall? Well, if you have, this should be a piece of cake! (ha-punny!) I chose to make a smoothly frosted cake, yet you may frost it as you please!
If wanting to add colored frosting for the decoration, reserve a small amount in a bowl and mix with the desired food coloring. Set aside until the end of frosting. I used purple frosting to use as an accent color for the frosting around the top of the cake.
Smoothing the Cake
The tools I used to frost the the last layer of frosting are:
- Stainless steel pastry scraper
- Large offset spatula
- spatula
- Bowl with warm water
- Pastry bag with tip
Add frosting to the sides and top of the cake with the offset spatula. Make sure it is evenly applied to the whole cake, about the same thickness.
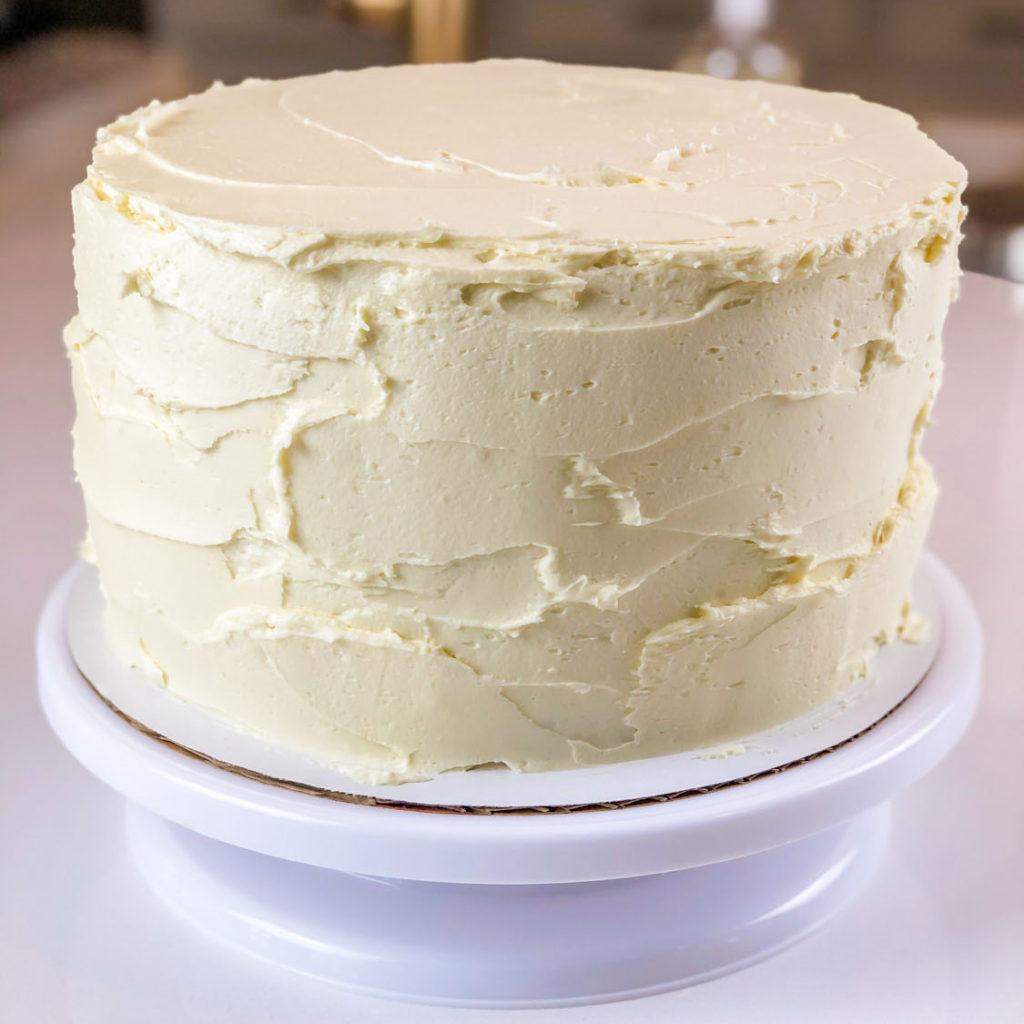
Use the stainless steel scraper, or another scraper, to smooth the sides and top. Use one hand to slowly spin the wheel as you use the scraper in your other hand to smooth the sides. Clean the excess frosting off the scraper and return to the bowl of frosting. Use the warm bowl of water to clean off the scraper between spins. The water also helps to smooth the frosting. Continue to scrape the sides and top of the cake, cleaning between spins, until the desired look is achieved.
Decorating the Cake
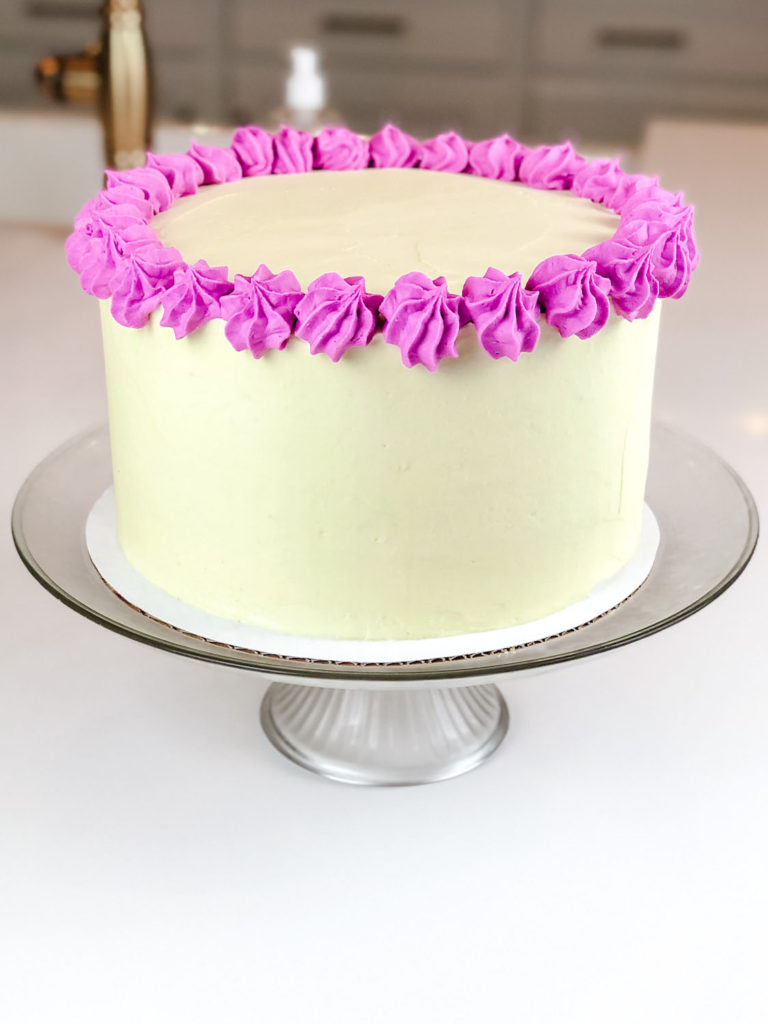
Fill the pastry bag with purple frosting, or another accent color, if wanting to further decorate. Use the tip of your choice. Complete your decorating! Return cake to the refrigerator to chill until ready to serve.
When removing the cake from the wheel, I have a favorite tool to use. I use a cake lifter that can be used to slip under the cardboard the cake is sitting on, to lift, and then I can move the cake to a plate or stand. It is large enough for the cake to sit on and can then be used to transfer. Careful – the cake will be heavy!
Enjoy!
The frosted cake will store in the refrigerator for up to one week. I think the cake tastes the best about a day after it has been frosted. The huckleberries soak into the cake layers and the frosting locks in the moisture.
My husband was elated with his birthday cake, a sweet surprise! If you’re looking for a unique cake for a special occasion, this cake is sure to please. While big enough for a large gathering, it is also unique and delicious!
Enjoy!

Triple Layer Huckleberry and White Cake with White Chocolate Buttercream Frosting
Ingredients
White Cake
- 5 cups cake flour
- 1 tbsp baking powder aluminum free
- 3/4 tsp baking soda
- 1 tbsp salt
- 2 tbsp white vanilla powder
- 3 cups milk whole
- 3/4 cup sour cream
- 3 tbsp white vinegar
- 2¼ cups unsalted butter room temperature
- 3 cups sugar
- 9 egg whites
White Chocolate Buttercream Frosting
- 2 cups unsalted butter room temperature
- 2 cups Spectrum shortening
- 9-10 cups powdered sugar
- 4 tbsp cream/milk
- 4 tbsp white vanilla powder
- 6 oz white chocolate melted and cooled to room temperature, not hardened
- food coloring optional, color of choice
Instructions
Make the White Chocolate Buttercream Frosting
- Set the butter out on the counter and bring to room temperature.
- Melt the white chocolate using a double-boiler, stirring frequently until just melted. Once melted, remove from heat. Allow the chocolate to cool, until almost at room temperature, yet not hardening.
- While chocolate is cooling, beat the butter and shortening together in a large bowl, using a stand-mixer or hand-mixer. Scrape the bowl as needed. Beat on low until just blended.
- Add the powdered sugar, one cup at a time. Alternate with the cream/milk. Add the white vanilla powder. Blend on low until mixed and smooth. Scrape the bowl, as needed. Add more powdered sugar and/or milk to achieve desired consistency.
- Pour the cooled white chocolate into the frosting mixture. (**be sure the chocolate has cooled enough, or it will affect the frosting consistency**) Beat until light and fluffy.
Make the White Cake
- Pre-heat the oven to 325° F.
- Line the bottoms of three, 9-inch cake pans with parchment paper. To do so, trace the bottom of the pan on a piece of parchment paper; cut out the circle. Spray the pans with a butter spray and lightly flour.
- In a large bowl, sift together cake flour, baking powder, baking soda, salt, and white vanilla powder. Set aside.
- In a large bowl, whisk together milk, sour cream, and white vinegar. Set aside.
- Using a stand-mixer with the paddle attachment, cream together the butter and sugar on low speed, until light and fluffy. Scrape down the bowl, as needed.
- On low speed, add the egg whites, approximately one at a time. Mix until the egg whites are incorporated. Scrape down the bowl as needed.
- Add the flour and the milk/sour cream mixtures to the butter, sugar, and egg white mixture, alternating between batches. Start with approximately a third of the flour mixture, then add a third of the milk/sour cream mixture. Repeat and end with the flour mixture. Scrape down the bowl, as needed. Mix until just incorporated, try not to over mix.
- Divide the batter evenly between the three prepared 9-inch cake pans. Bake at 325° F, approximately 45-55 minutes. After about 40 minutes, check the cakes with a toothpick; remove cakes from the oven when it comes out clean.
- Place the cakes on cooling racks. Leave the cakes in the pans to cool, until almost cooled completely!
- Once cakes are almost completely cooled, flip over onto the cooling rack; remove from the pans. Peel off the parchment paper and leave cakes on the rack to cool completely.
- Wrap each cake in plastic wrap and refrigerate until chilled, at least one hour, prior to frosting. (The cakes may also be wrapped and frozen, if they will not be frosted within a few days to a week.)
Make the Huckleberry Filling
- Combine jars of the huckleberry preserves and jam in a medium bowl. Mix together. Cover with plastic wrap or place in an air-tight container and refrigerate until chilled. This can be done while the cakes are baking.
Assemble; Fill & Frost Cake Layers
- Remove the cakes from the refrigerator and unwrap. The bottom of the cake will already be flat from being in the pan. Lay the cake so the flat bottom of the cake is placed on the counter. Use the cake leveler to slice off the top of the cake, to your desired thickness, which can be adjusted with the leveler. Repeat for the remaining cakes.
- Place one of the cakes on a cake board. Prior to placing the cake on the board, you may add a dollop of frosting to the board. This helps the cake to stay put!
- Add a layer of the White Chocolate Buttercream Frosting to the top of the first cake layer and smooth. Use a large offset spatula to smooth out.
- Add a layer of the huckleberry mixture on top of the frosting. Even out the berries across the entire layer.
- Repeat with the remaining cake layers. (The cake layers may move around a little bit at this point, because of the huckleberry mixture in the layers. That is fine, you can adjust to straighten. The cake will firm up a lot once it is crumb coated.) You may add another layer of huckleberries, then frosting, on the top, prior to crumb coating.
Crumb Coat the Cake
- Fill a small-medium bowl with some of the frosting. You may be getting crumbs and berry mixture into this frosting, so you'll want to separate from the other frosting, which you'll want to remain pretty for the outer and final layer.
- Spread a thin coat of frosting around the cake, to fully cover the sides and top of the cake. Fill in any gaps with frosting at this point. Use the large offset spatula and a small offset spatula to smooth and add frosting to the cake.
- Chill in the refrigerator for at least an hour. This helps the frosting firm up for the last coating.
Finish Frosting & Smooth the Cake
- Remove the cake from the refrigerator.
- Reserve a small amount of frosting. Add to a small bowl and mix with purple food coloring, or color of choice. Set aside.
- Add remaining white frosting to the sides and top of cake with the offset spatula. Make sure it is evenly applied to the whole cake, about the same thickness.
- Use a stainless steel scraper, or other scraper, to smooth the sides and top. With the cake placed on a cake wheel, use one hand to slowly spin the cake wheel as you use the scraper in your other hand to smooth the sides. Clean the excess frosting off the scraper and return to the bowl of frosting. Use a warm bowl of water to clean off the scraper between spins; the water helps to smooth the frosting. Continue to scrap the sides and top of cake, cleaning between spins, until the desired look is achieved.
- Fill a pastry bag with the purple frosting, or other accent color, if wanting to further decorate. Use a tip of your choice. Complete your decorating! Return cake to the refrigerator to chill, until ready to serve.
Notes

Leave a Reply